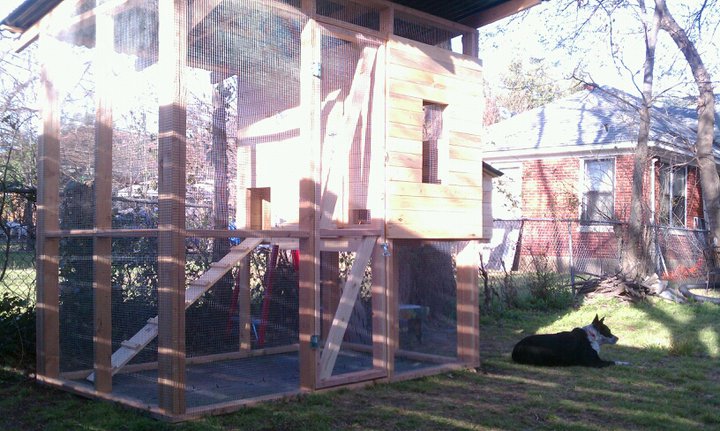
Chickens in your Garden

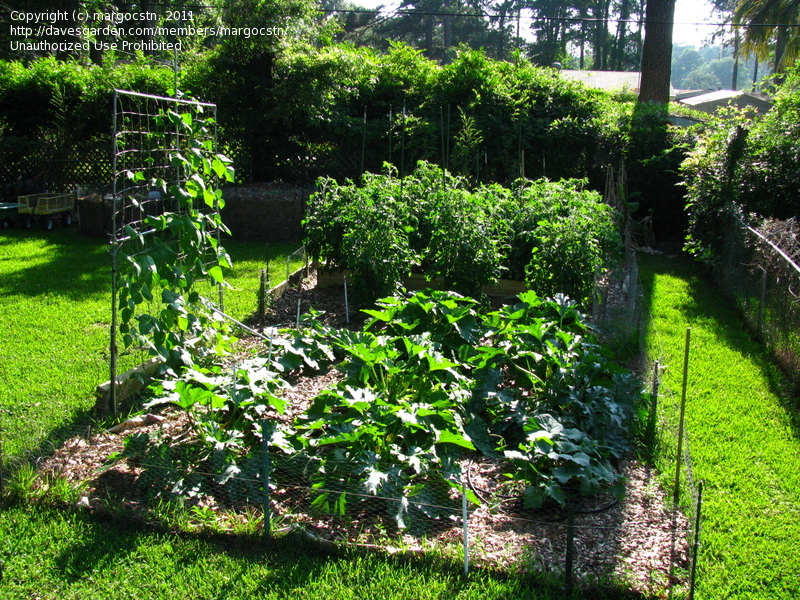
Trying to figure out how to garden with chickens can be problematic.  Here are some tips from Storey's Guide to Raising Chickens. Whatever system you use, keep chickens away from crops you plan to eat to avoid contamination with droppings that may carry salmonella, E.coli, or to other pathogens harmful to humans.  Pathogens may absorb into a plants cells, where they can not be washed off.  To be on the safe side, for root crops and any other crop in which the edible portions touches soil, keep chickens away for 120 days; for crops without soil contact, 90 days is sufficient.

  • Divide the garden area in two with the chicken house in the middle.  Garden on one side and confine the chickens to the other, alternating these uses annually.
  • Build a portable shelter to fit over raised beds so you can rotate the birds along with your veggies.
  • Choose a breed with heavy leg feathering, since they tend to scratch less than others and will do less damage.
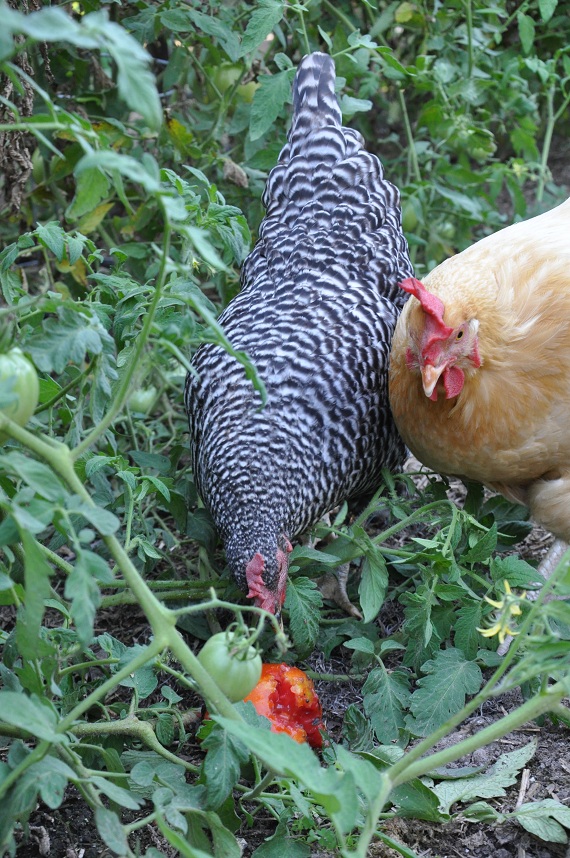
  • Let the chickens into your garden late in the day, giving them an hour or so to glean bugs and nip leaves but not enough time to do serious damage before they're ready to go to roost (keep them out while tomatoes are on the vine, though, as birds invariably make a beeline for the tomatoes)
The roaring 20’s

Tip of the day:  When it is going to be really cold give your girls cracked corn, or extra scratch right before dusk.  The feed will raise their body temperatures and help them get through the night.  Also, corn or scratch first thing in the morning will help them ease into a cold day.  Or, at least until the sun is out. Plus they love it!

  • Since heavy grains rise chickens body heat, Scratch and corn should not be given in hot weather.  Switch to watermelon and cool treats.
  • Don't give scratch to chicks, or really young birds.

Hooray! The holidays are over

I am not going to lie.  The past holiday season was brutal.  But, I am feeling better now!  So onward with the news of the Chickens!First of all we are rapidly approaching spring (here in Texas) and if you want to get chicks soon, you’re going to HAVE to start construction on a chicken coop! 

Depending on what you want to build you better get to planning…or calling me so I can plan for you.  

Here is what you should be thinking about…

  • Figure out what type of chickens you want and how many.

  • Design/Build them a coop for them. Different chickens require different roost, run, and nest box space. (This is serious because an overcrowded coop will lead to cannibalism)

  • Get the chicks (Chick Days will be here soon at Tractor supply)

  • Wait until the chick’s feather out and purchase 8 week old that are out from under a heat source. (tractor supply will not have them, but I know where to get them)

Hurry up!! Or you're going to miss out on all the chicken fun!

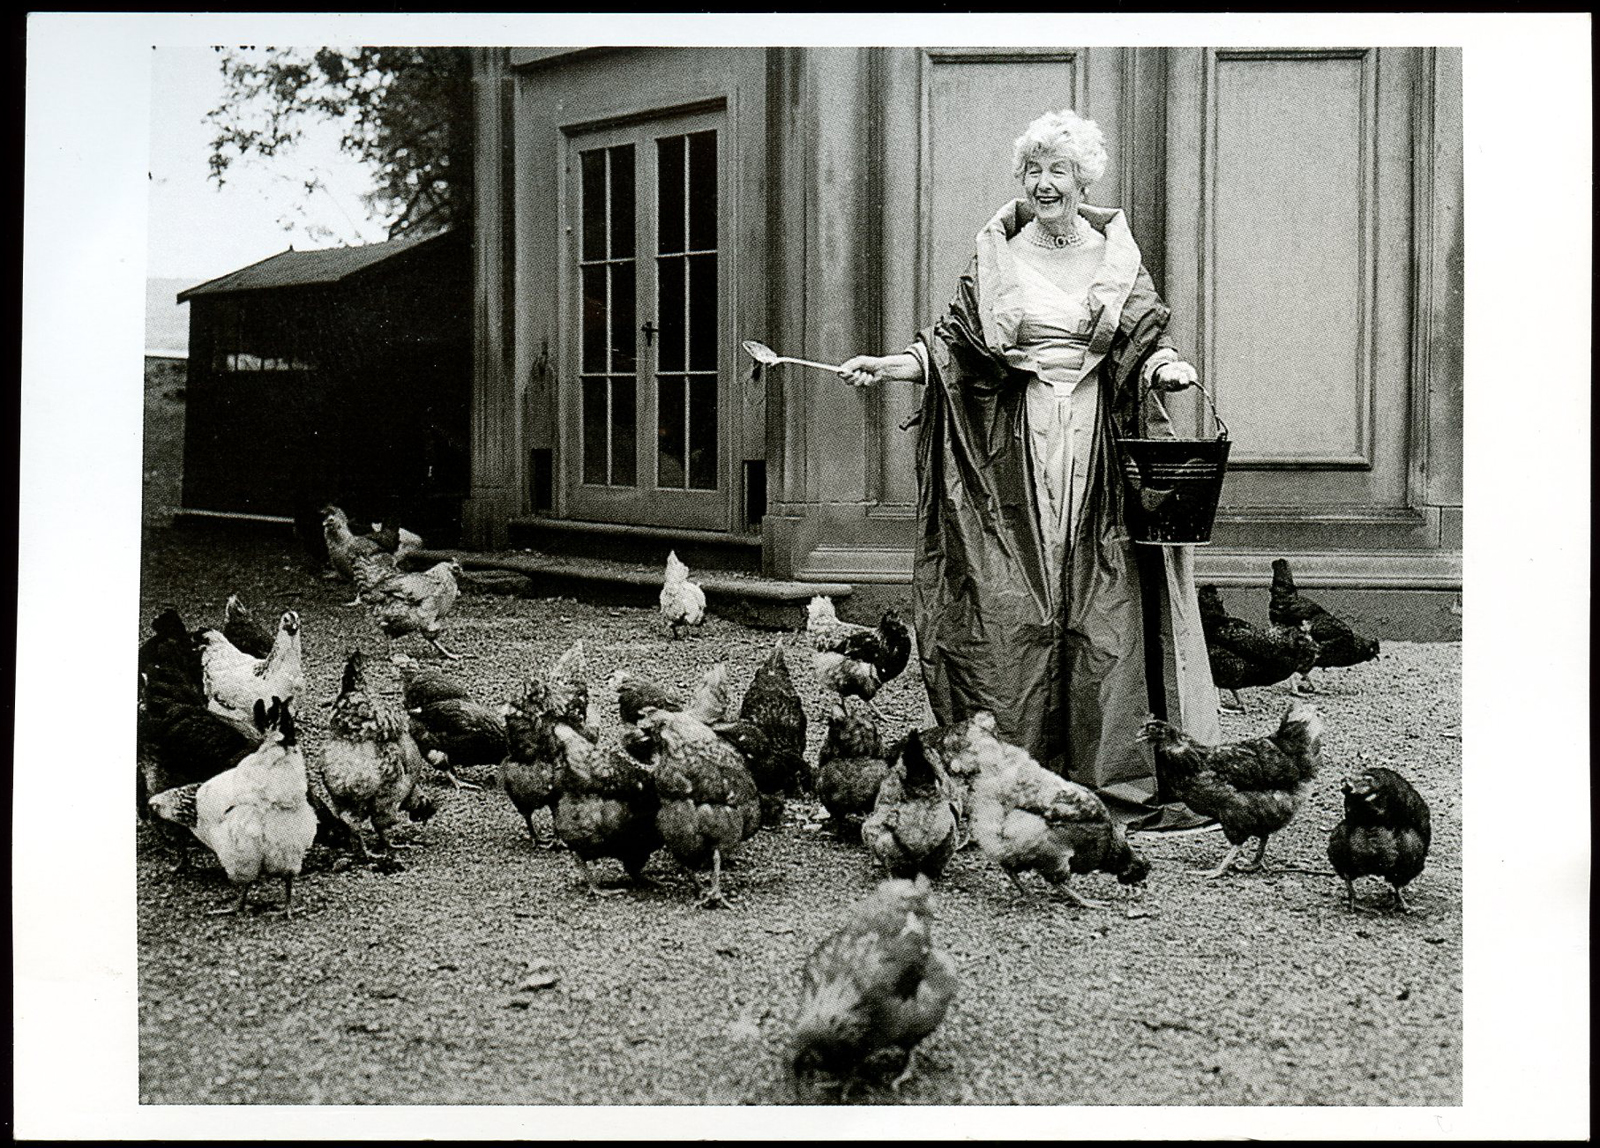
chickpostcrd1

chickpostcrd1

RICH CHOCOLATE CAKE WITH COCONUT FILLING AND GANACHE

This recipe is originally from Food 52, I have made some slight changes to the recipe like doubling up the cream cheese and mixing it in a food processor.  It is always a slam dunk!

RICH CHOCOLATE CAKE WITH COCONUT FILLING AND GANACHE

 Serves 10 to 12

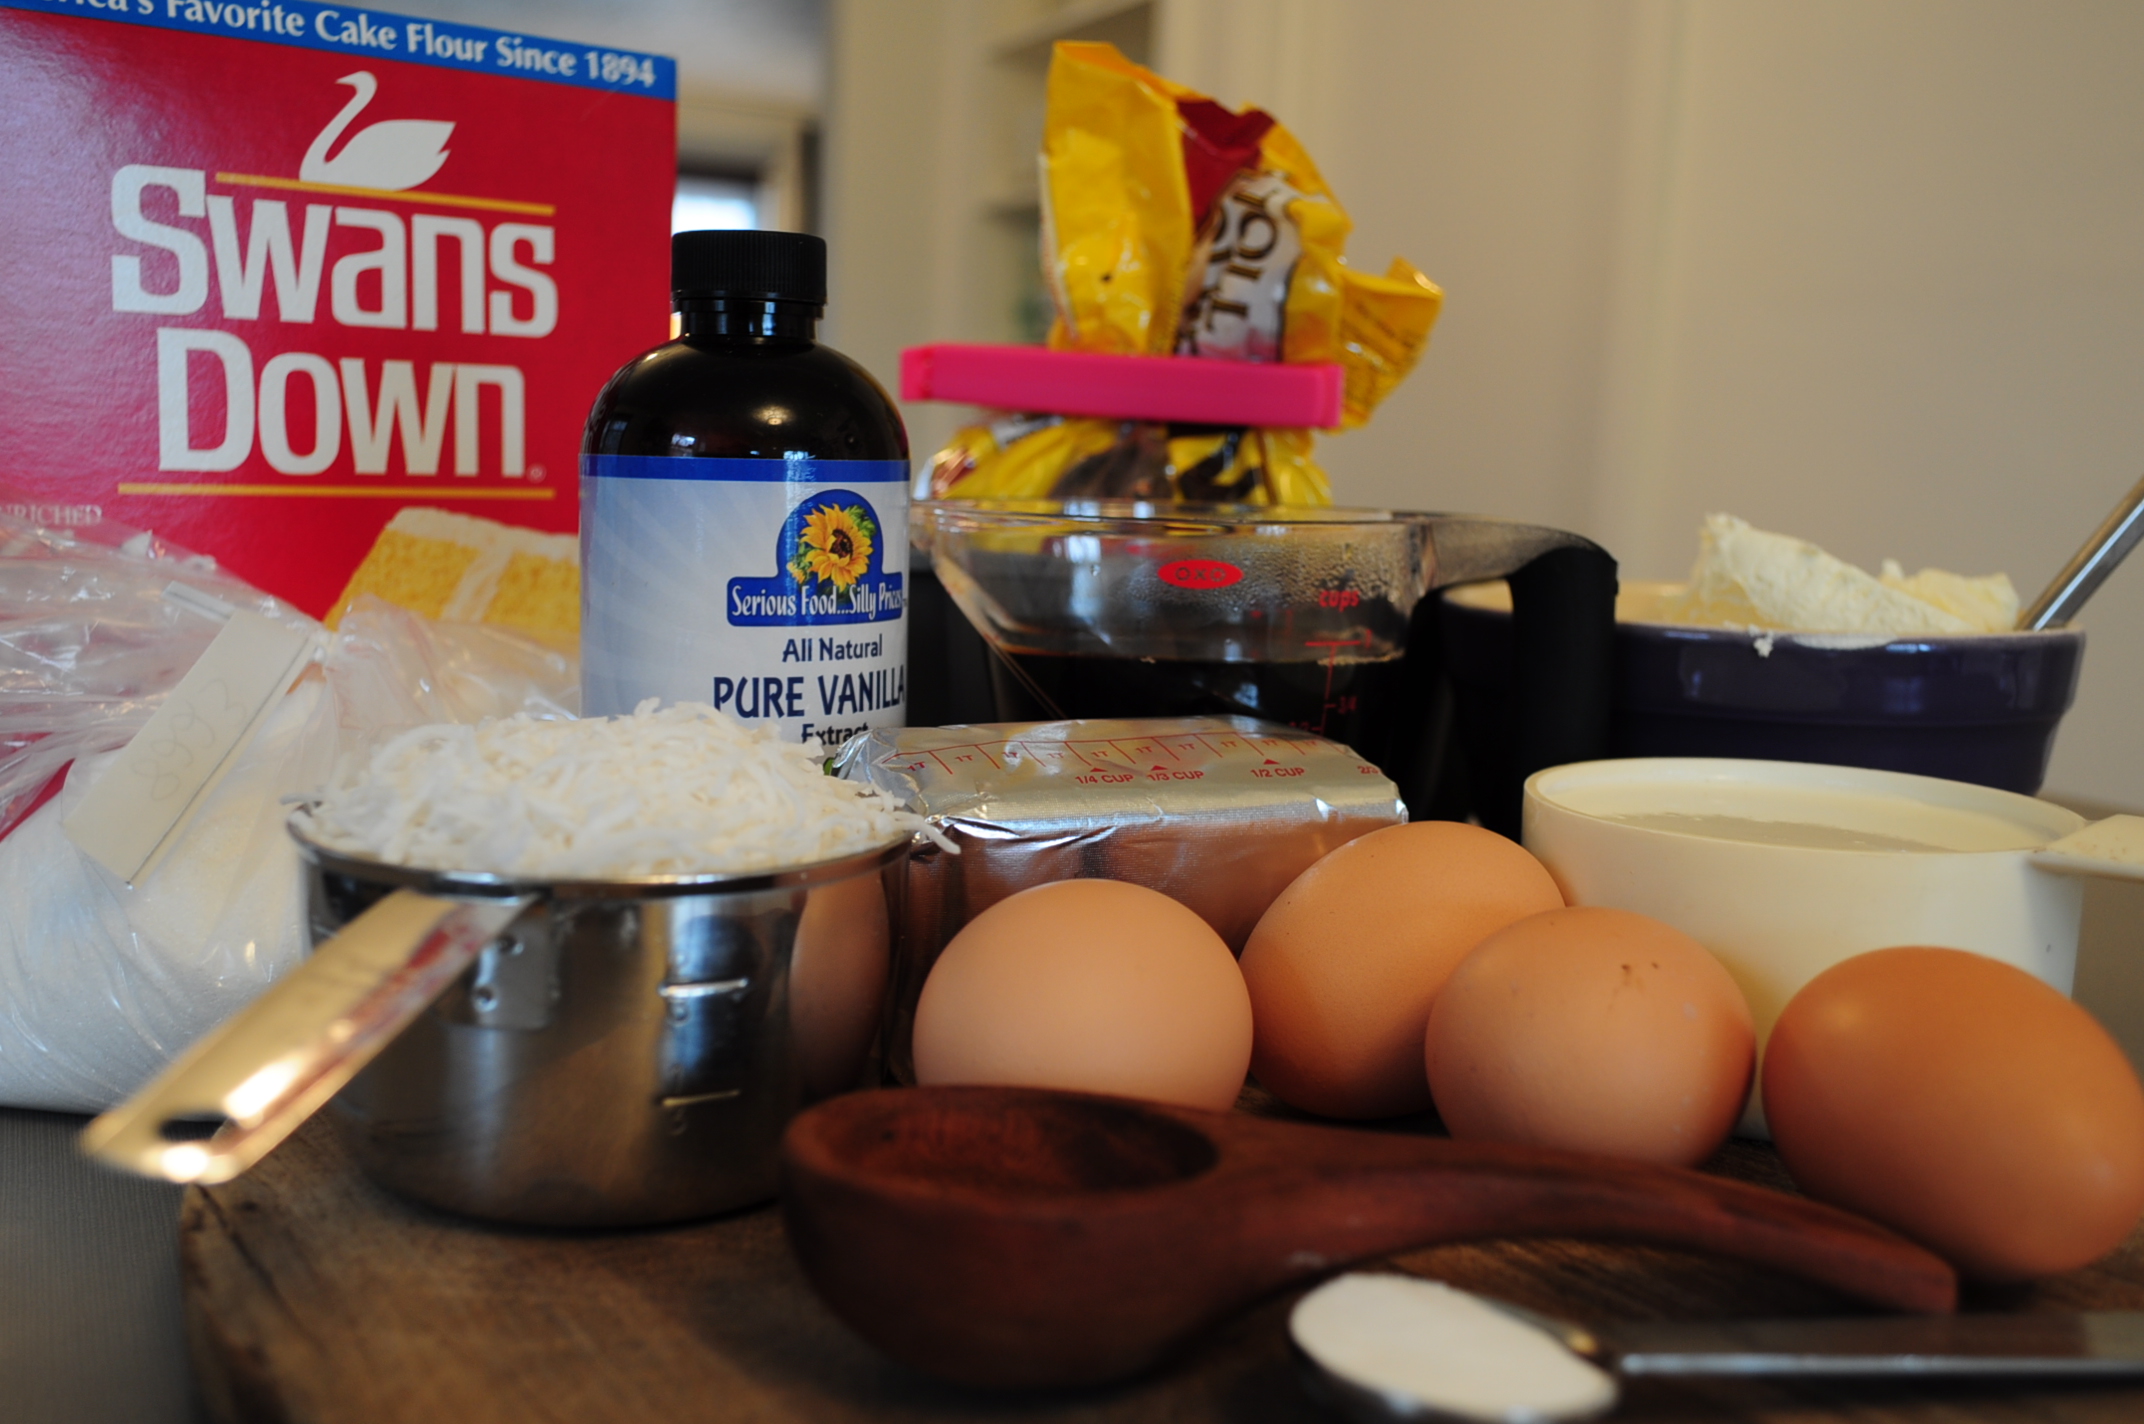
18 ounces good quality bittersweet chocolate, divided, chopped

2/3 cups shortening

4 eggs

2 teaspoons vanilla, divided

1 1/2 cup strong black coffee

3 1/3 cups sugar, divided

3 cups cake flour

1 1/2 teaspoon baking soda

1 teaspoon salt

8 16 ounces softened cream cheese

1 cup unsweetened flaked coconut

1 cup heavy cream 3 Big bowls, seriously use Big bowls.

  1. Set out the cream cheese to soften. Preheat the oven to 350 degrees. and dust with cocoa powder.
  2. Grease a 10-12 cup Bundt pan.
  3. In a small saucepan, melt 8 ounces of the chocolate with the shortening. Set aside to cool slightly. (this will take longer than you think, just pop it in the fridge)
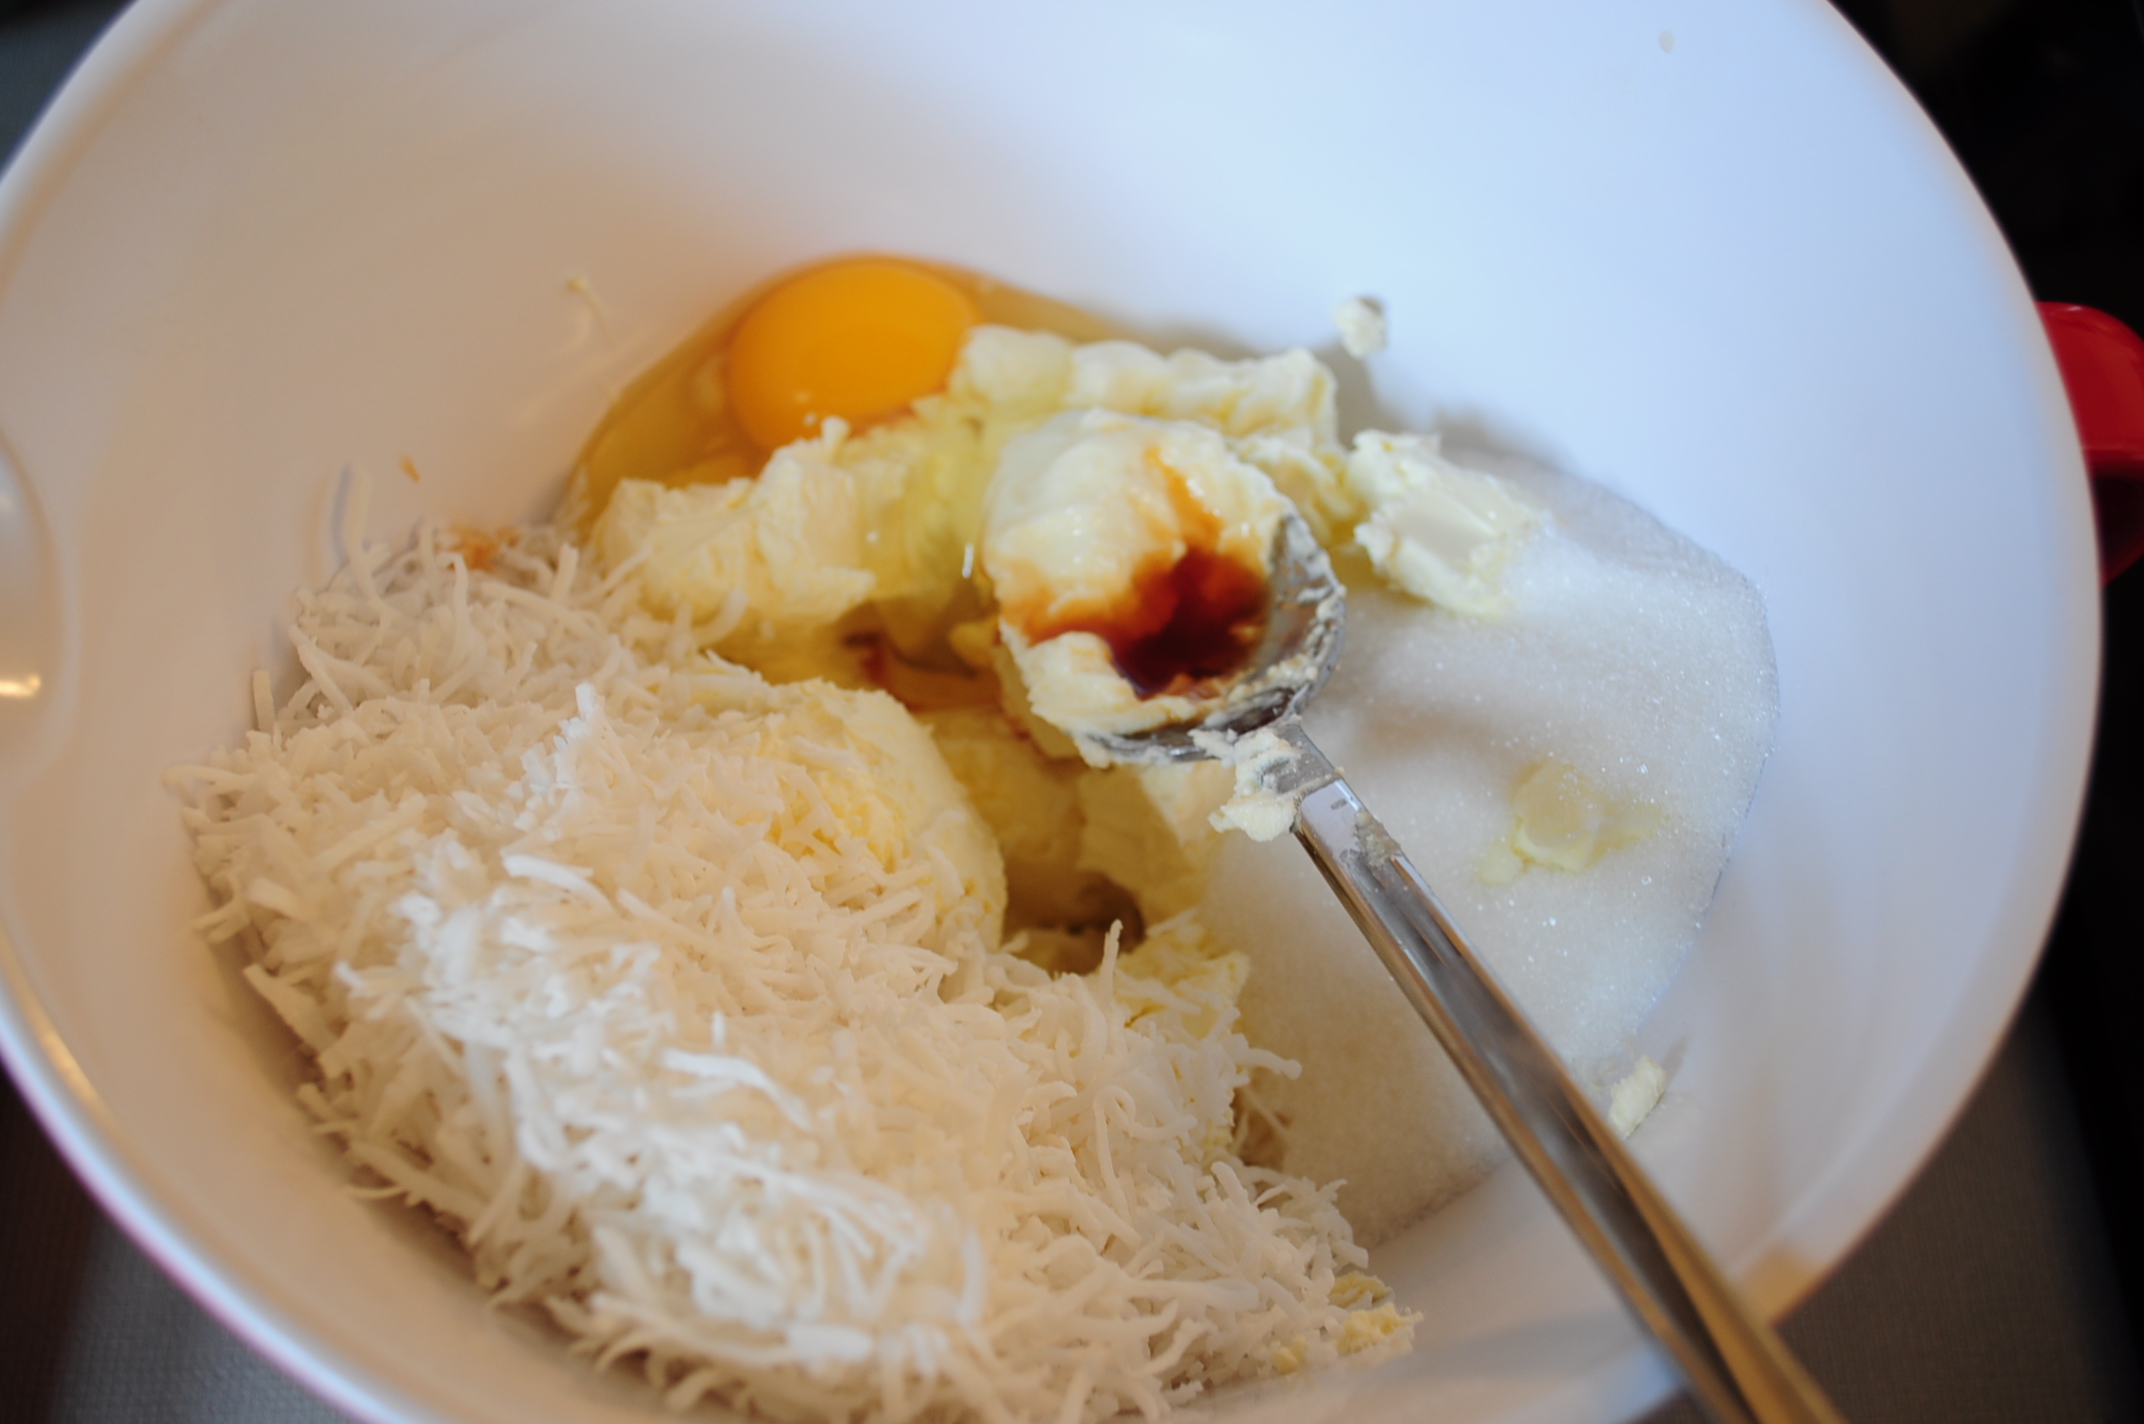
  4. In a mixing bowl, food processors combine the cream cheese with 1 egg, 1/2 teaspoon vanilla, 1/3 cup sugar and the coconut. Set aside.  Using a food processor will make this part super easy and light and fluffy.  If you just have it mixed it will be too heavy and settle to the top of your cake instead of floating in the middle.
  5. In a large mixing bowl, combine cooled chocolate mixture, 3 eggs, 1 1/2 teaspoon vanilla, and coffee.
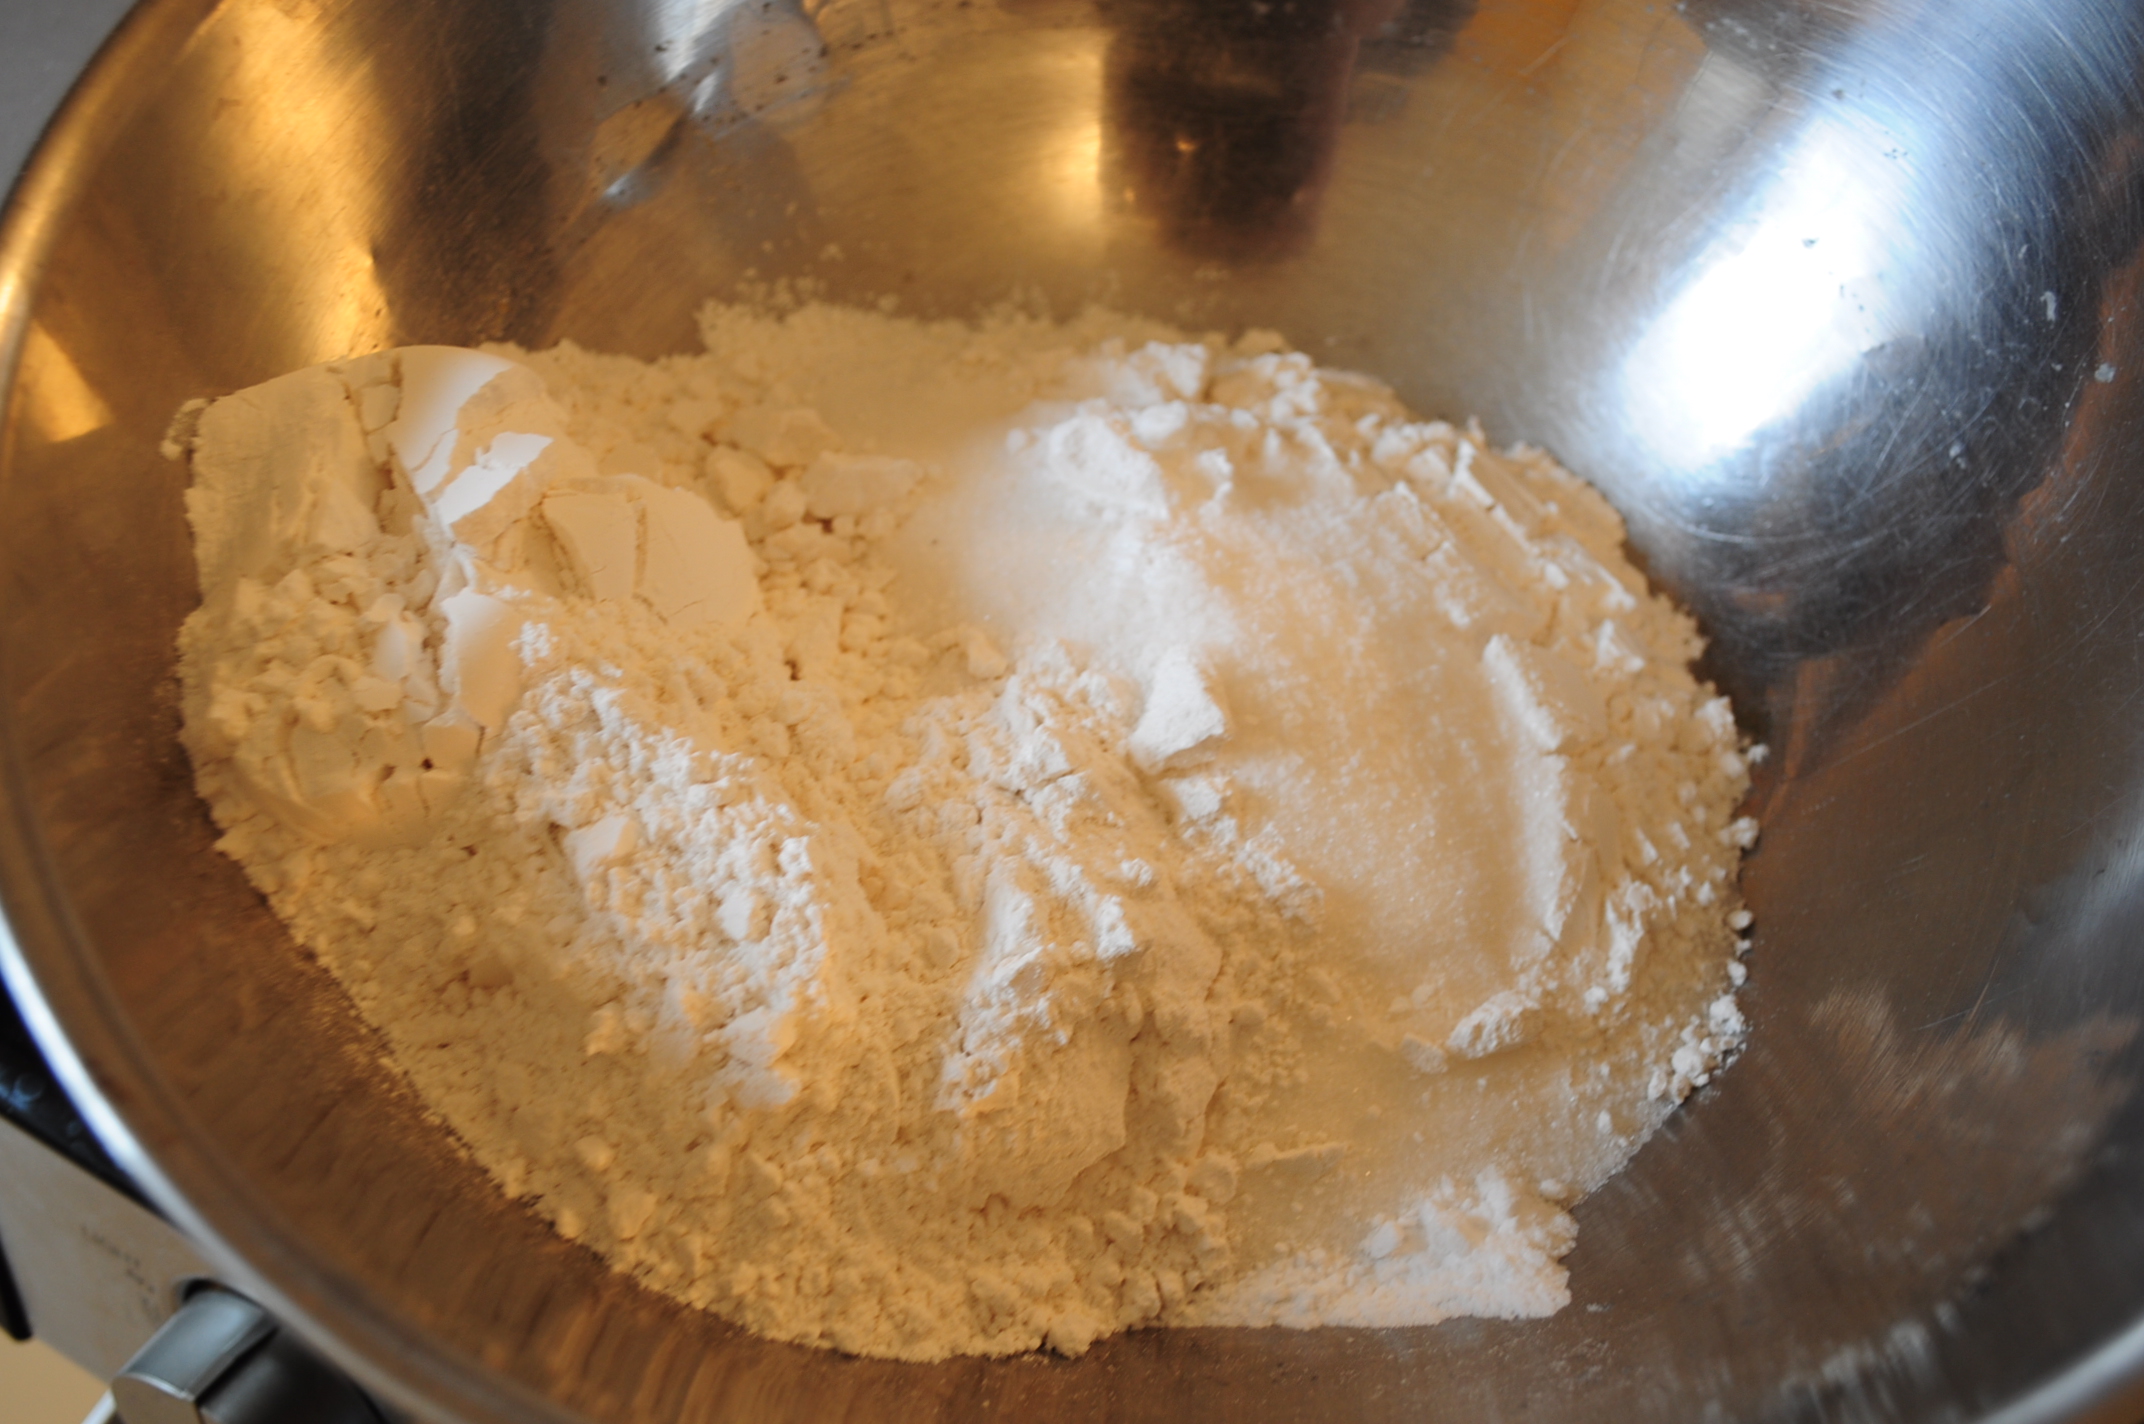
  6. In another mixing bowl, whisk together the sugar, cake flour, soda and salt.
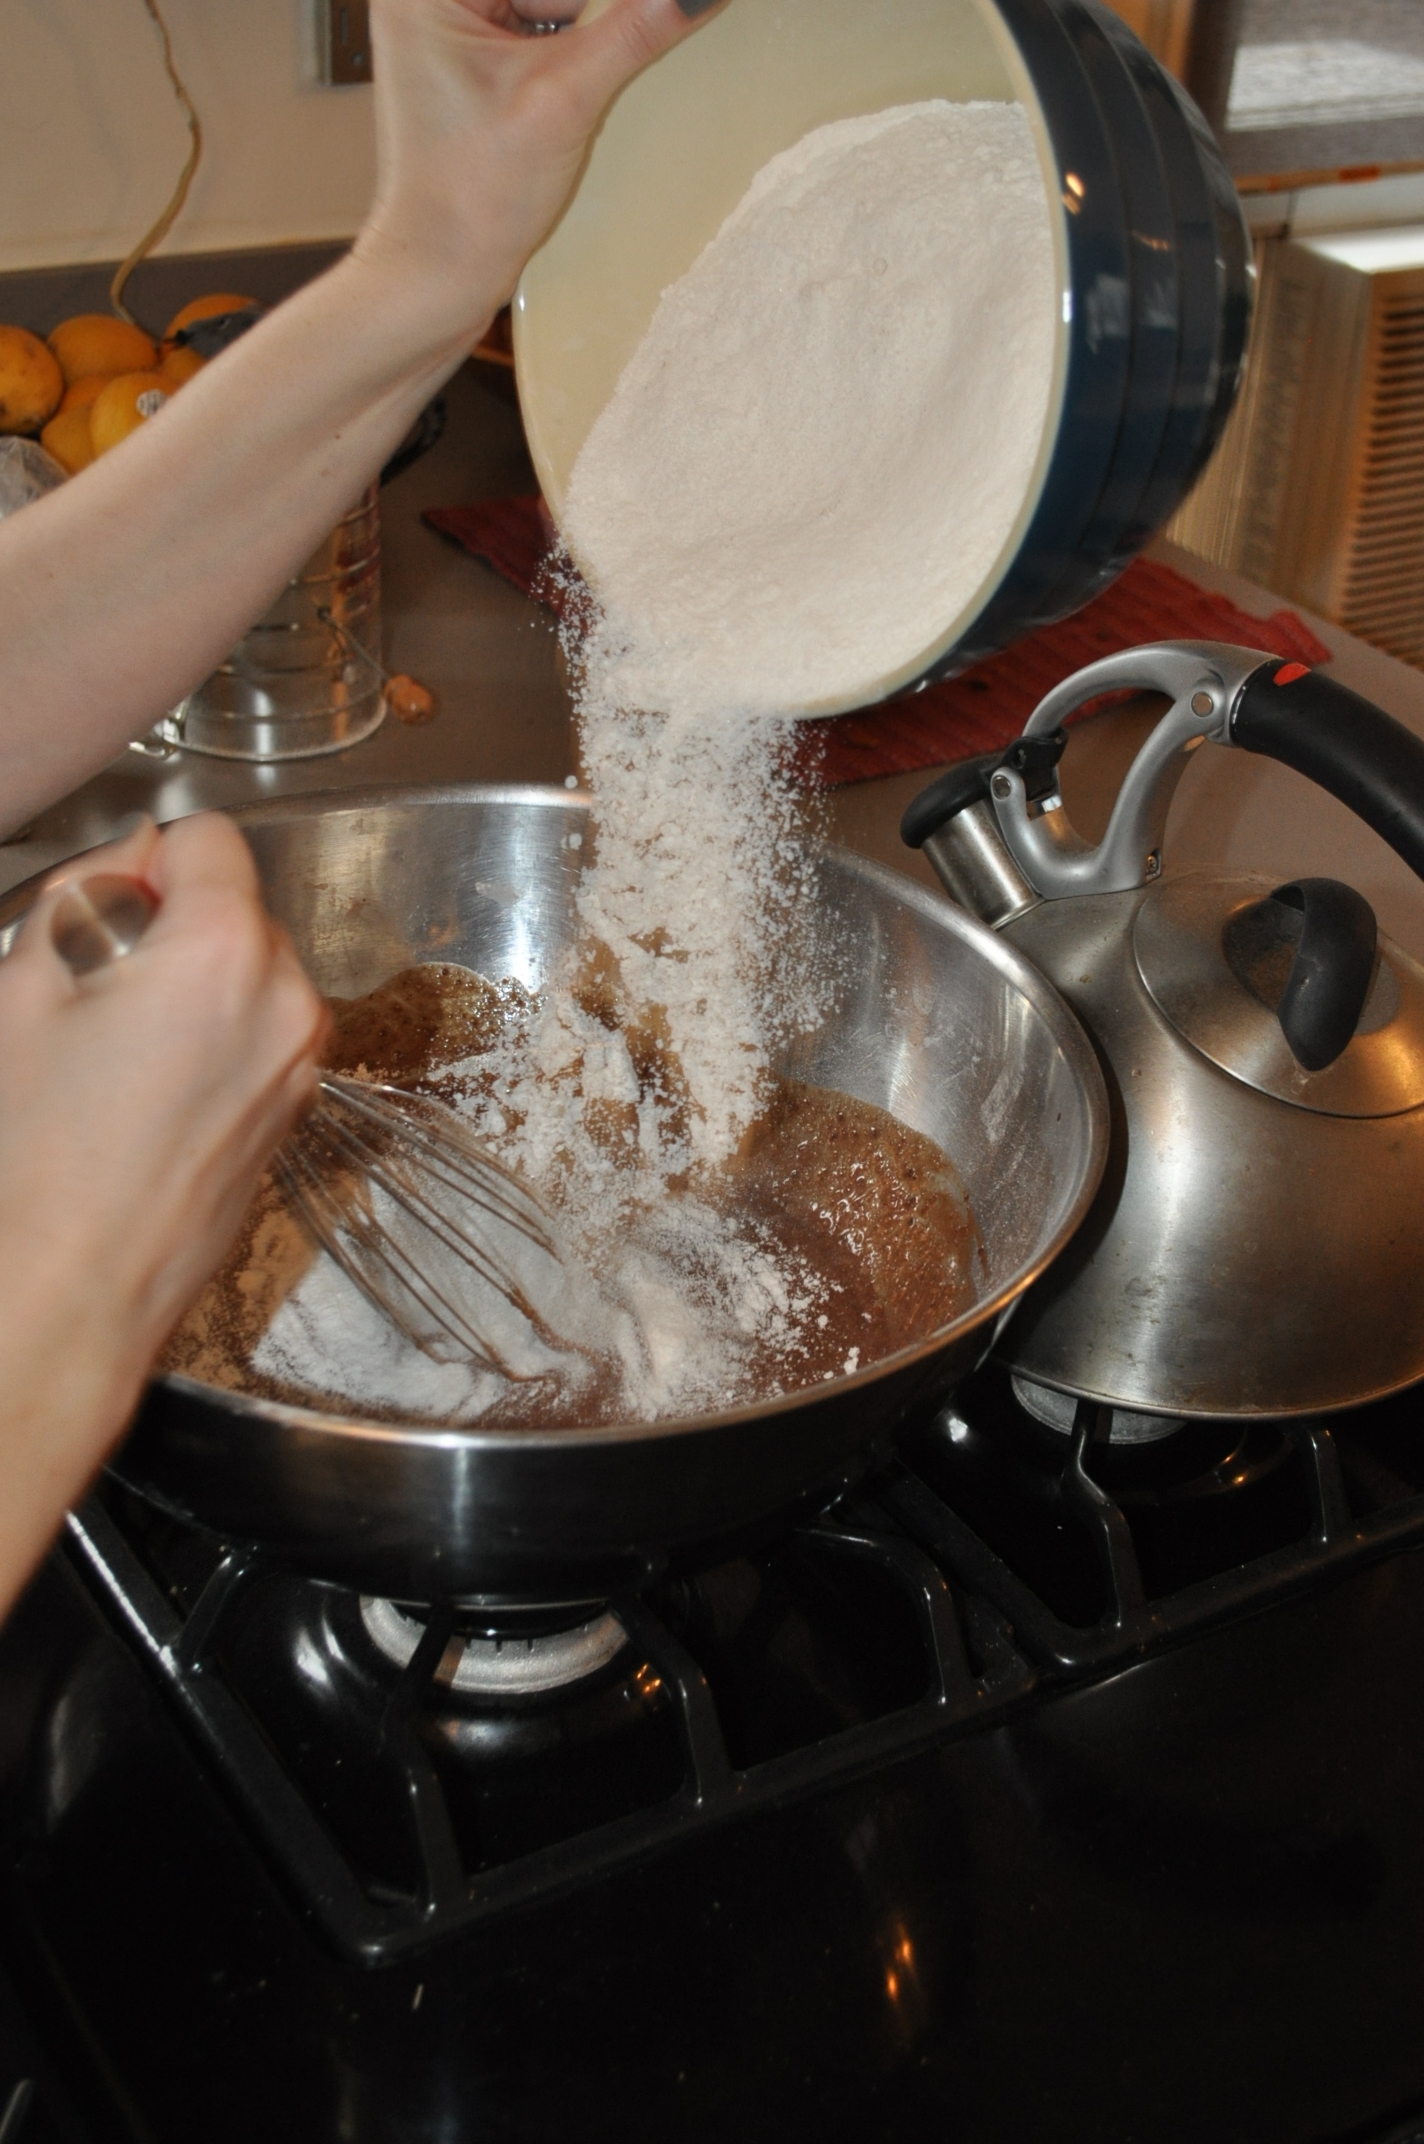
  7. Combine dry ingredients into wet ingredients until just incorporated.
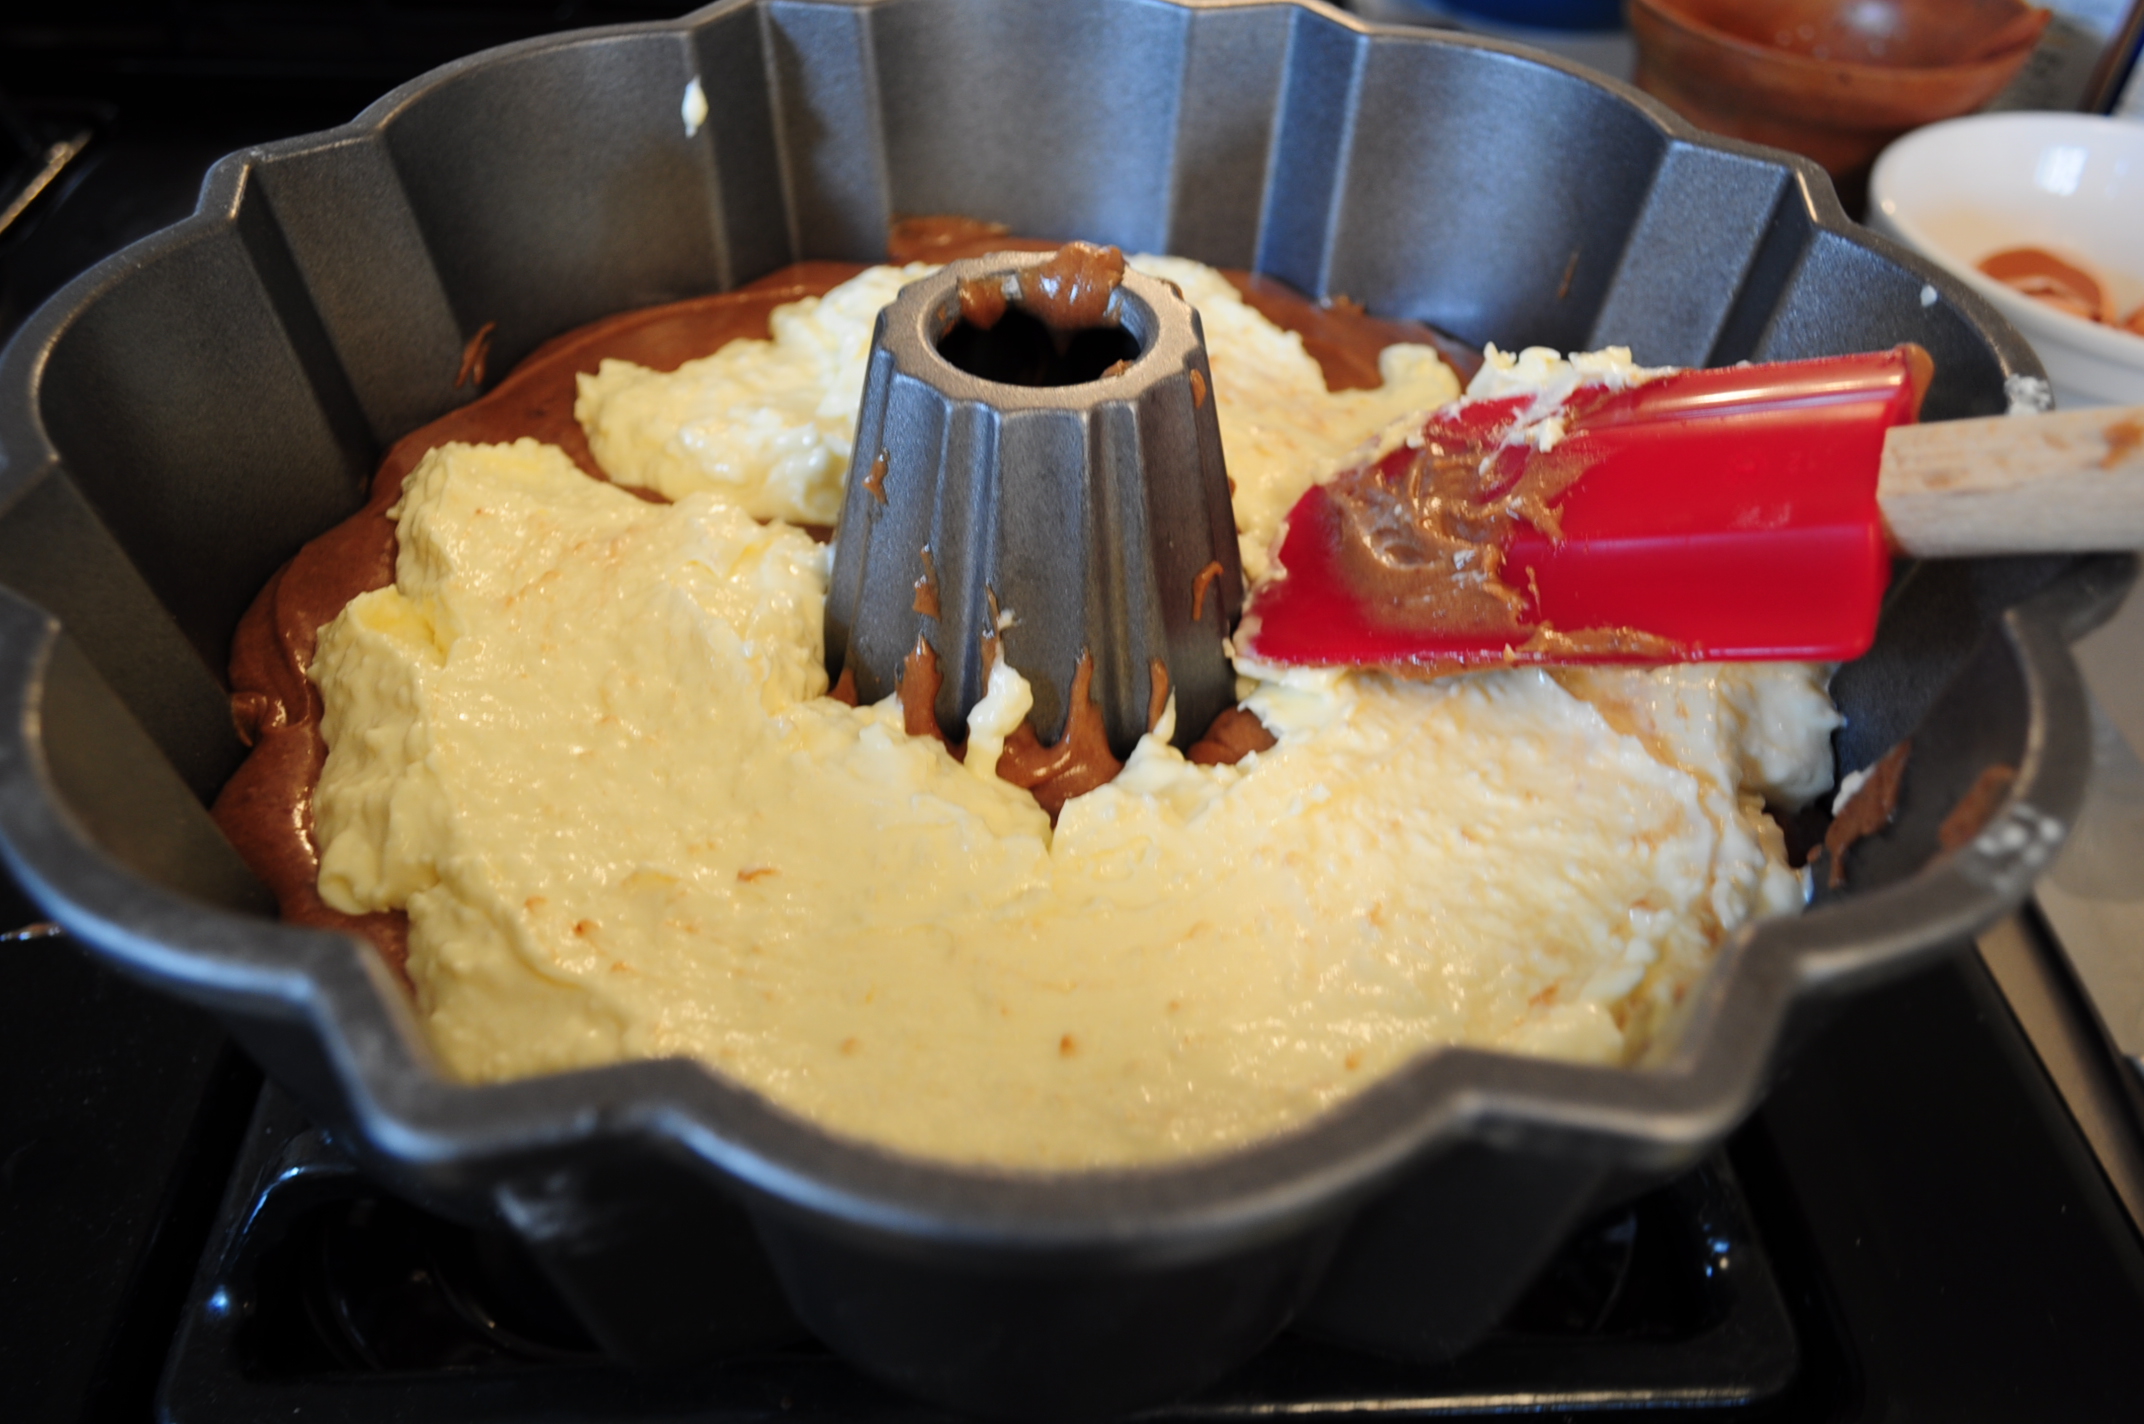
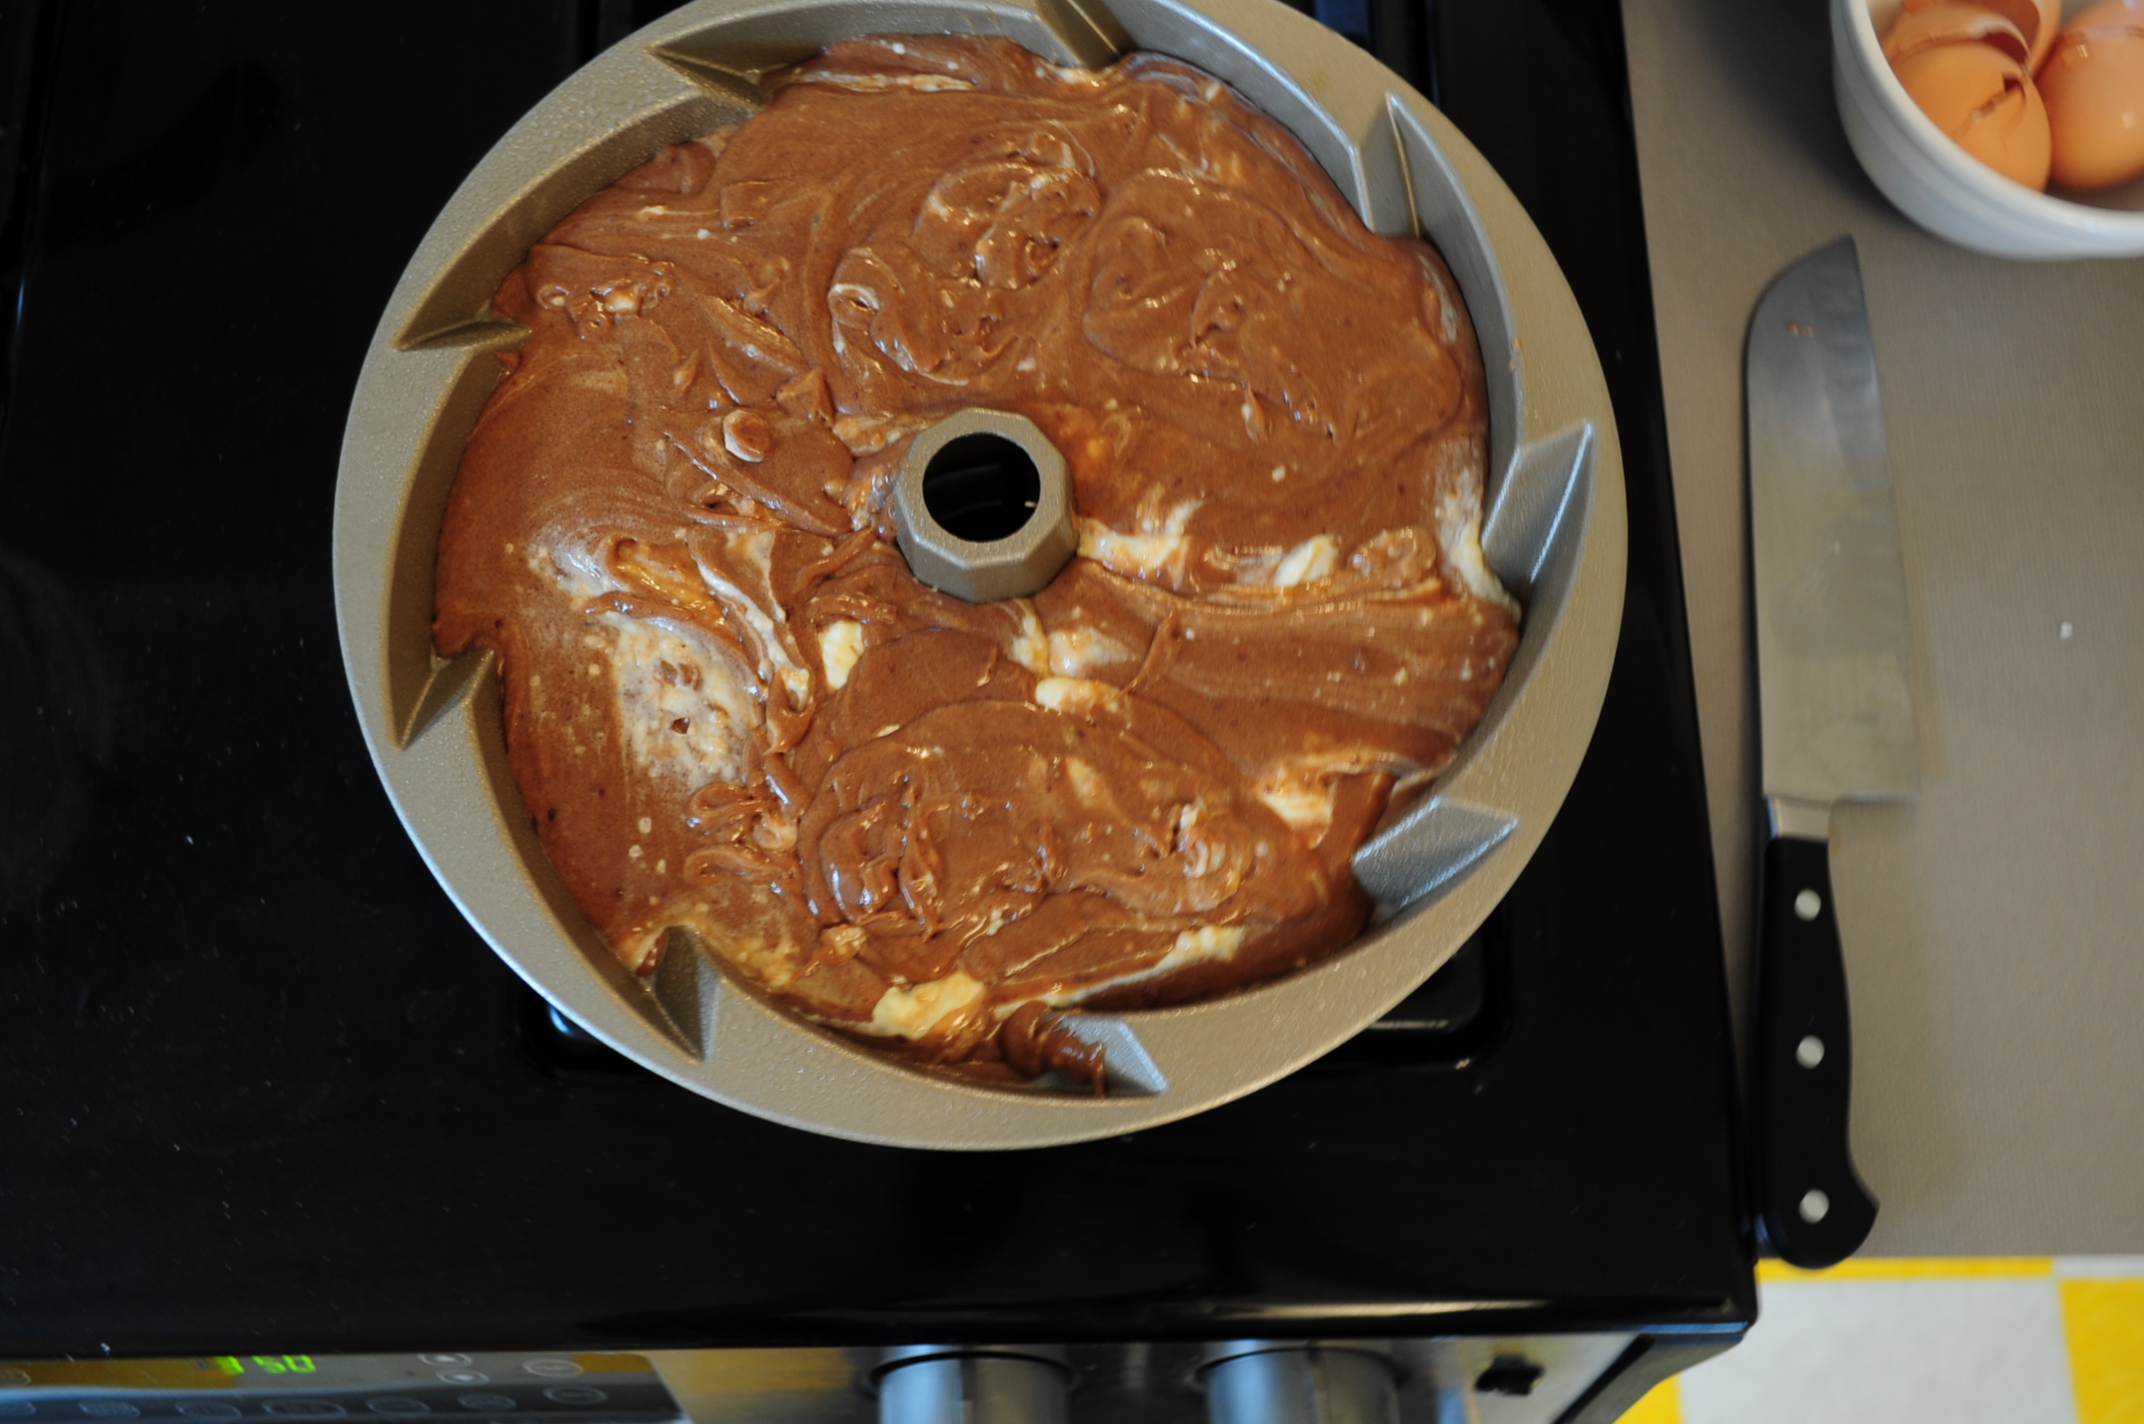
  8. Pour half of the chocolate cake mixture in to the Bundt pan. Top that with the coconut/cream cheese mixture and then top that with the remaining cake mixture.
  9. Bake on the center rack of a 350 degree oven for 45-65 minutes or until tester comes out clean.

10. Cool the cake in the Bundt pan on a wire rack for 10 minutes. Invert the cake on a serving plate to cool further.

11. While cake is cooling, bring the heavy cream to a simmer. Remove from heat and whisk in 10 ounces bittersweet chocolate until smooth. Set aside to cool.

12. Once the cake has cooled, drizzle or pour (depending on how much icing you want) the ganache on to the cake.

*half way through this post you will notice that the cake pan changes from a traditional bundt to a Swirl, this is because I forgot to grease the first Bundt.. I blame my husband and the mimosas!

Local Awesome Alert: Garden Inspirations Classes

Want to learn how to grow an organic vegetable garden?  How to make and use compost?  What about canning and preservation classes? Container gardens? Meet the architects of your new & better life, mother and daughter team Donelle and Marilyn Simmons.  They are the proprietors and operators of Garden Inspirations.  Which is WAY more than a farm/garden.  From start to finish these ladies can teach you what you need to know to change your life and footprint.

Spring classes are forming now.  Visit their website and get signed up!   http://www.gardeninspirations-tx.com/index.html

10 Great Reason to Keep Chickens

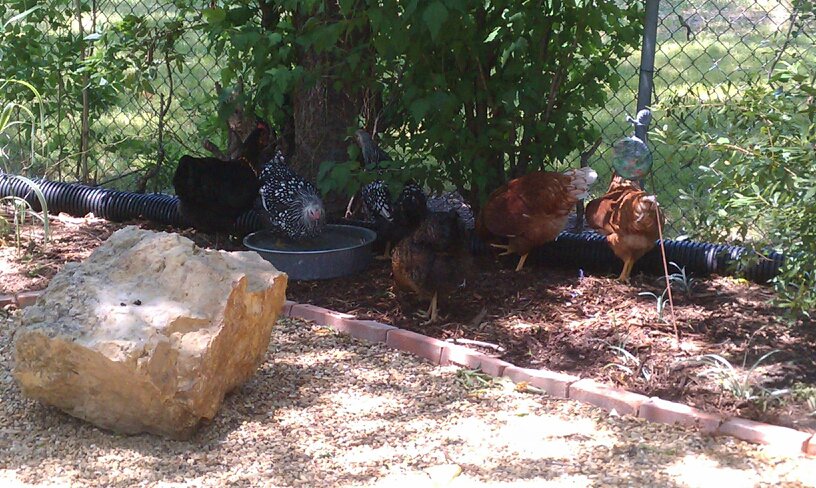
[caption id="attachment_318" align="aligncenter" width="490" caption="Lola cooling off in the water pan"][/caption]

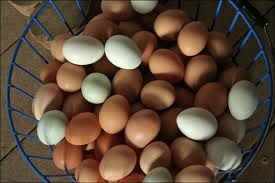
  1. Know where your eggs come from.  You can be part of the solution! Factory farms do unspeakable harm to chickens.  I wont go into details, because I will just get upset.  Google it for yourself. When you raise your own eggs you know that the hens were treated humanly, feed well, and given space they deserve.
  2. You can produce enough eggs for your family and others What a great lesson for you and your children.  Teaching them about where their food really comes from.  Also, teaching them to share with others.  You will become an ambassador for fresh food and sharing!
  3. Natural pest control! Chickens eat mosquitoes, ticks, cockroaches, pretty much all insects that are pests! (even mice and snakes, turns out chickens are not chicken)
  4. Endless entertainment Chickens are endless entertainment.  They are always exploring and playing around.  They have a lot of personality!  Running and pecking.  Looking for grubs.  Your chickens will run up to you after a long day at work (looking for snacks)..but its still really cute.
  5. Easy to care for If you can take care of a dog, you can take care of a small flock of chickens.
  6. Home grown eggs are WAY better for you.  1/3 less cholesterol • 1/4 less saturated fat • 2/3 more vitamin A • 2 times more omega-3 fatty acids • 3 times more vitamin E • 7 times more beta carotene
  7. Free Range does not mean Free. Cage free is a joke. Terms like 'free-range' and 'cage-free' don't always mean what people think (and hope) they mean. In fact, because there is very little regulation for these words, they basically have no meaning whatsoever. Cage-free is simply that the chickens aren't raised in battery cages but that doesn't mean they aren't stuffed into huge houses with forty thousand other chickens, leading only a slightly less miserable life than if they were in cages.  They do not get to go outside.
  8. For all the Money you can make!  Just Kidding! Just Kidding! You will not make money with selling your backyard flocks eggs.  Don't get me wrong, I sell my eggs at work, but not at a great profit.  Your reward will be will be wonderful though!  The chickens are so fun, and you don't want to be part of the food problem in America..it's just gross and sad.
  9. You will make new friends You will for sure meet other people with chickens.  You may even be on a coop tour!  Way to be awesome.  Teach people about chickens, and improve their health with home grown eggs.
  10. You have to take care of yourself!   There are too many people and not enough ways to feed them..so its all being mass produces in the most disgusting ways.  The government watch over our food safety by testing one in every 18 million eggs consumed, which is hardly reassuring.
  1. Read more: http://www.motherearthnews.com/Real-Food/2007-10-01/Tests-Reveal-Healthier-Eggs.aspx#ixzz1gejOOXBw 

Pear Ginger Butter

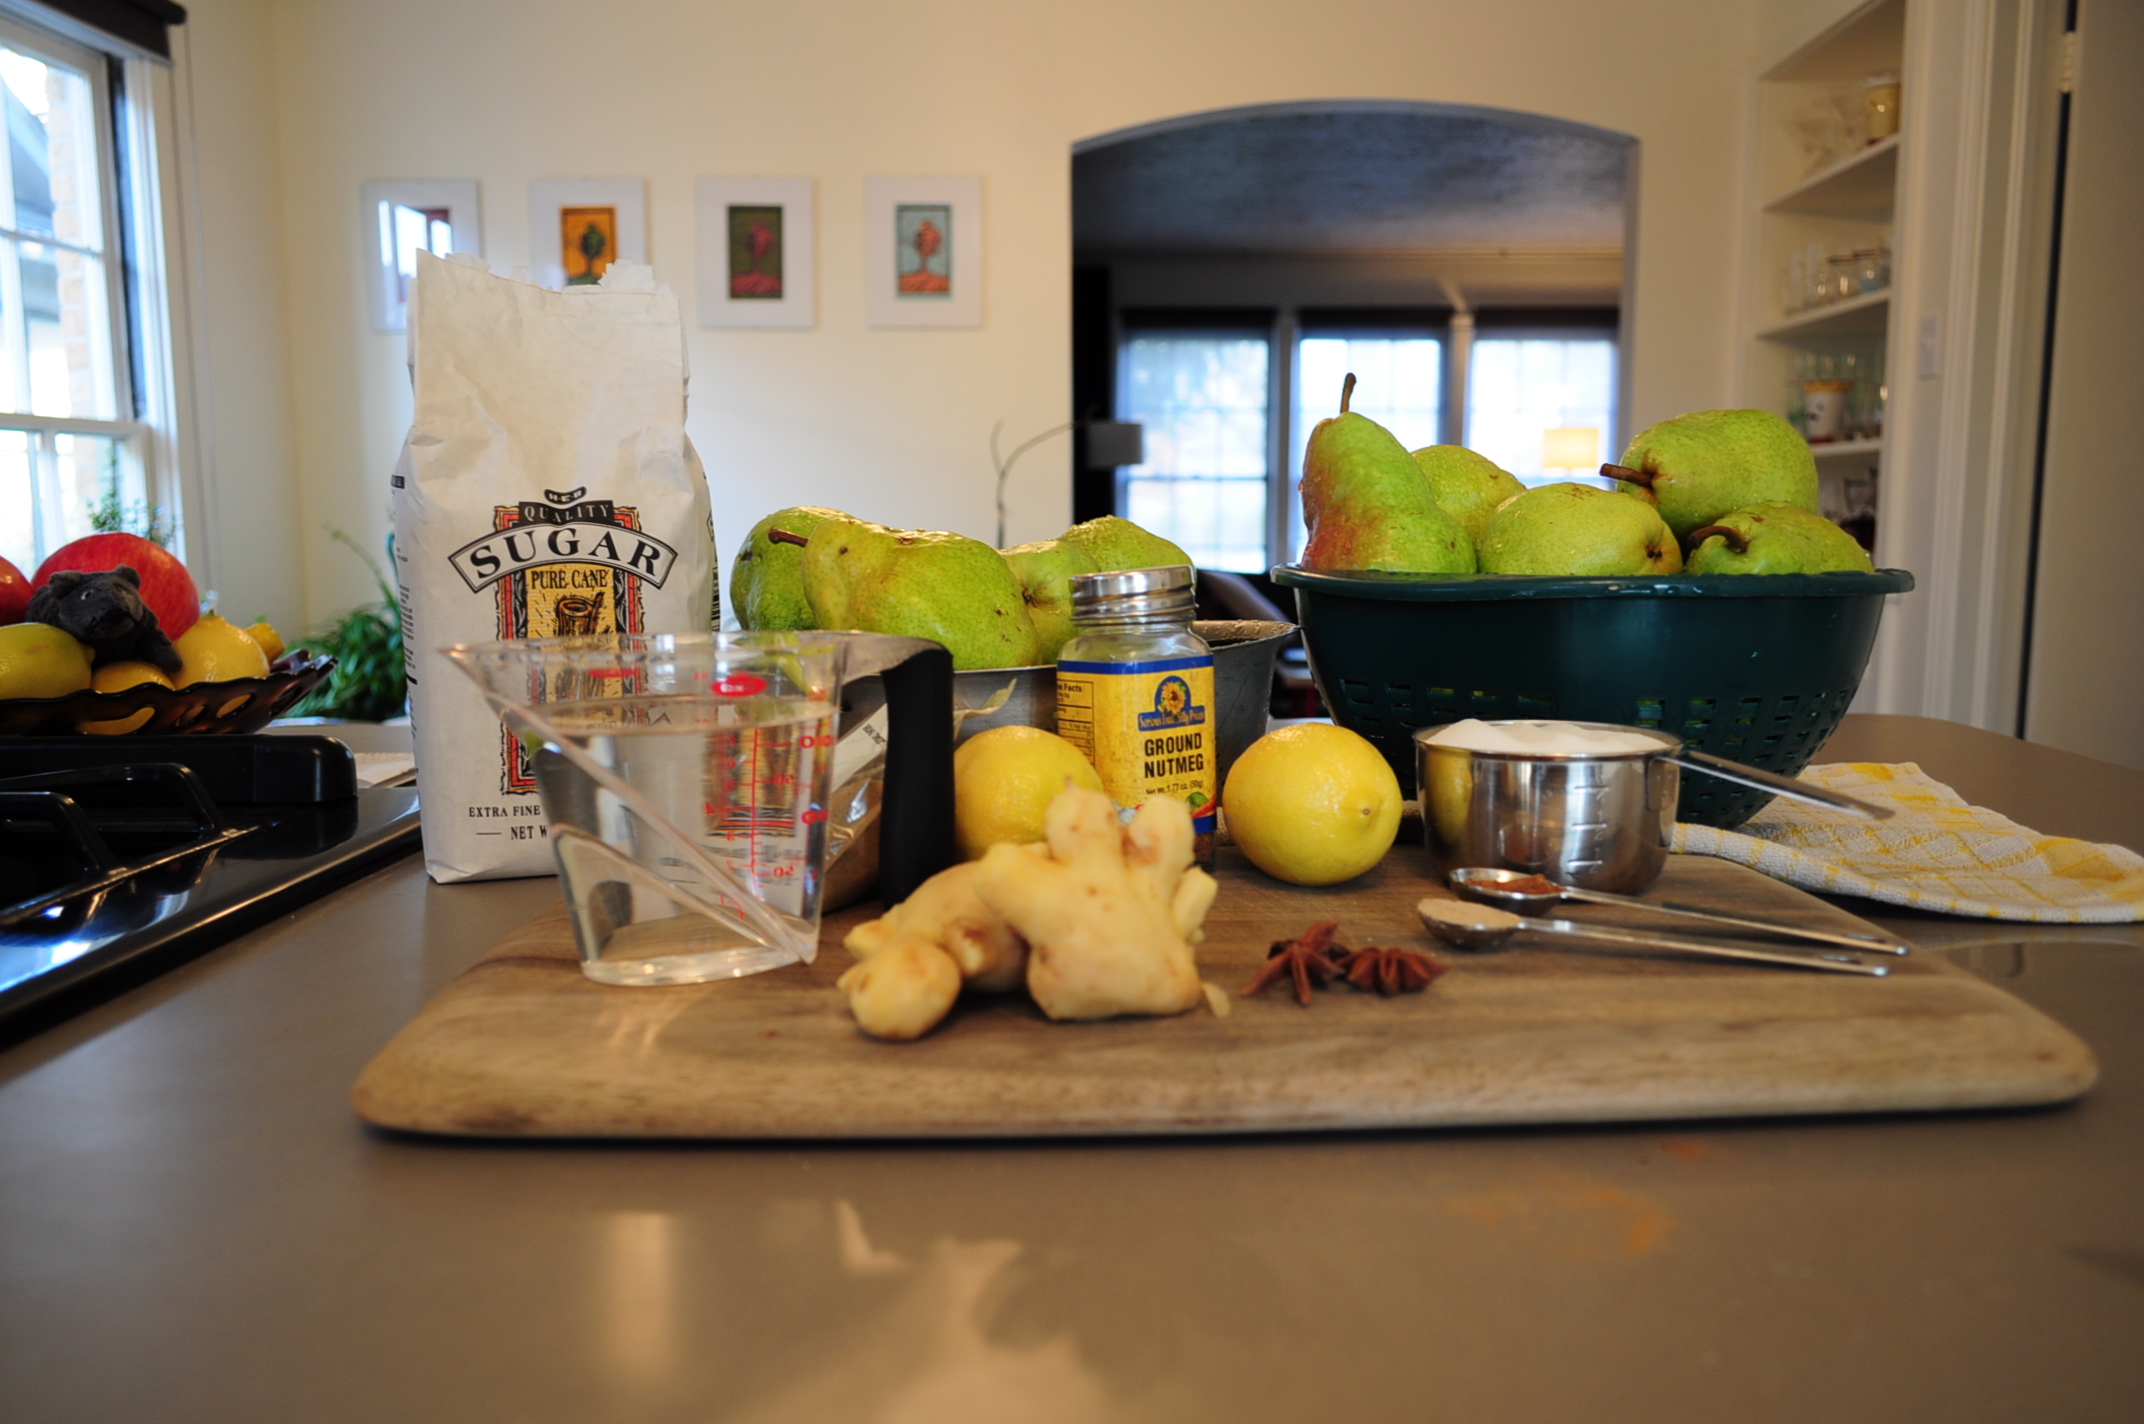
Ingredients 4 to 5 lbs of chopped pears.  Core them, but do not peel them.  Just removed any damaged parts 1 star anise 2 tbsp chopped fresh ginger 2 cups water 1 cup lemon juice (6 small lemons will = 1 cup of juice) 3 or 4 cups a sugar ½ teaspoon ground cardamom ½ teaspoon ground nutmeg 1 teaspoon lemon zest

Equipment needed A wide 8 quart, thick bottom pan or Dutch oven food processor water bath canner 6-8 8oz ounce canning jars, lids, and rings (you can get these pretty cheap at a hardware store)

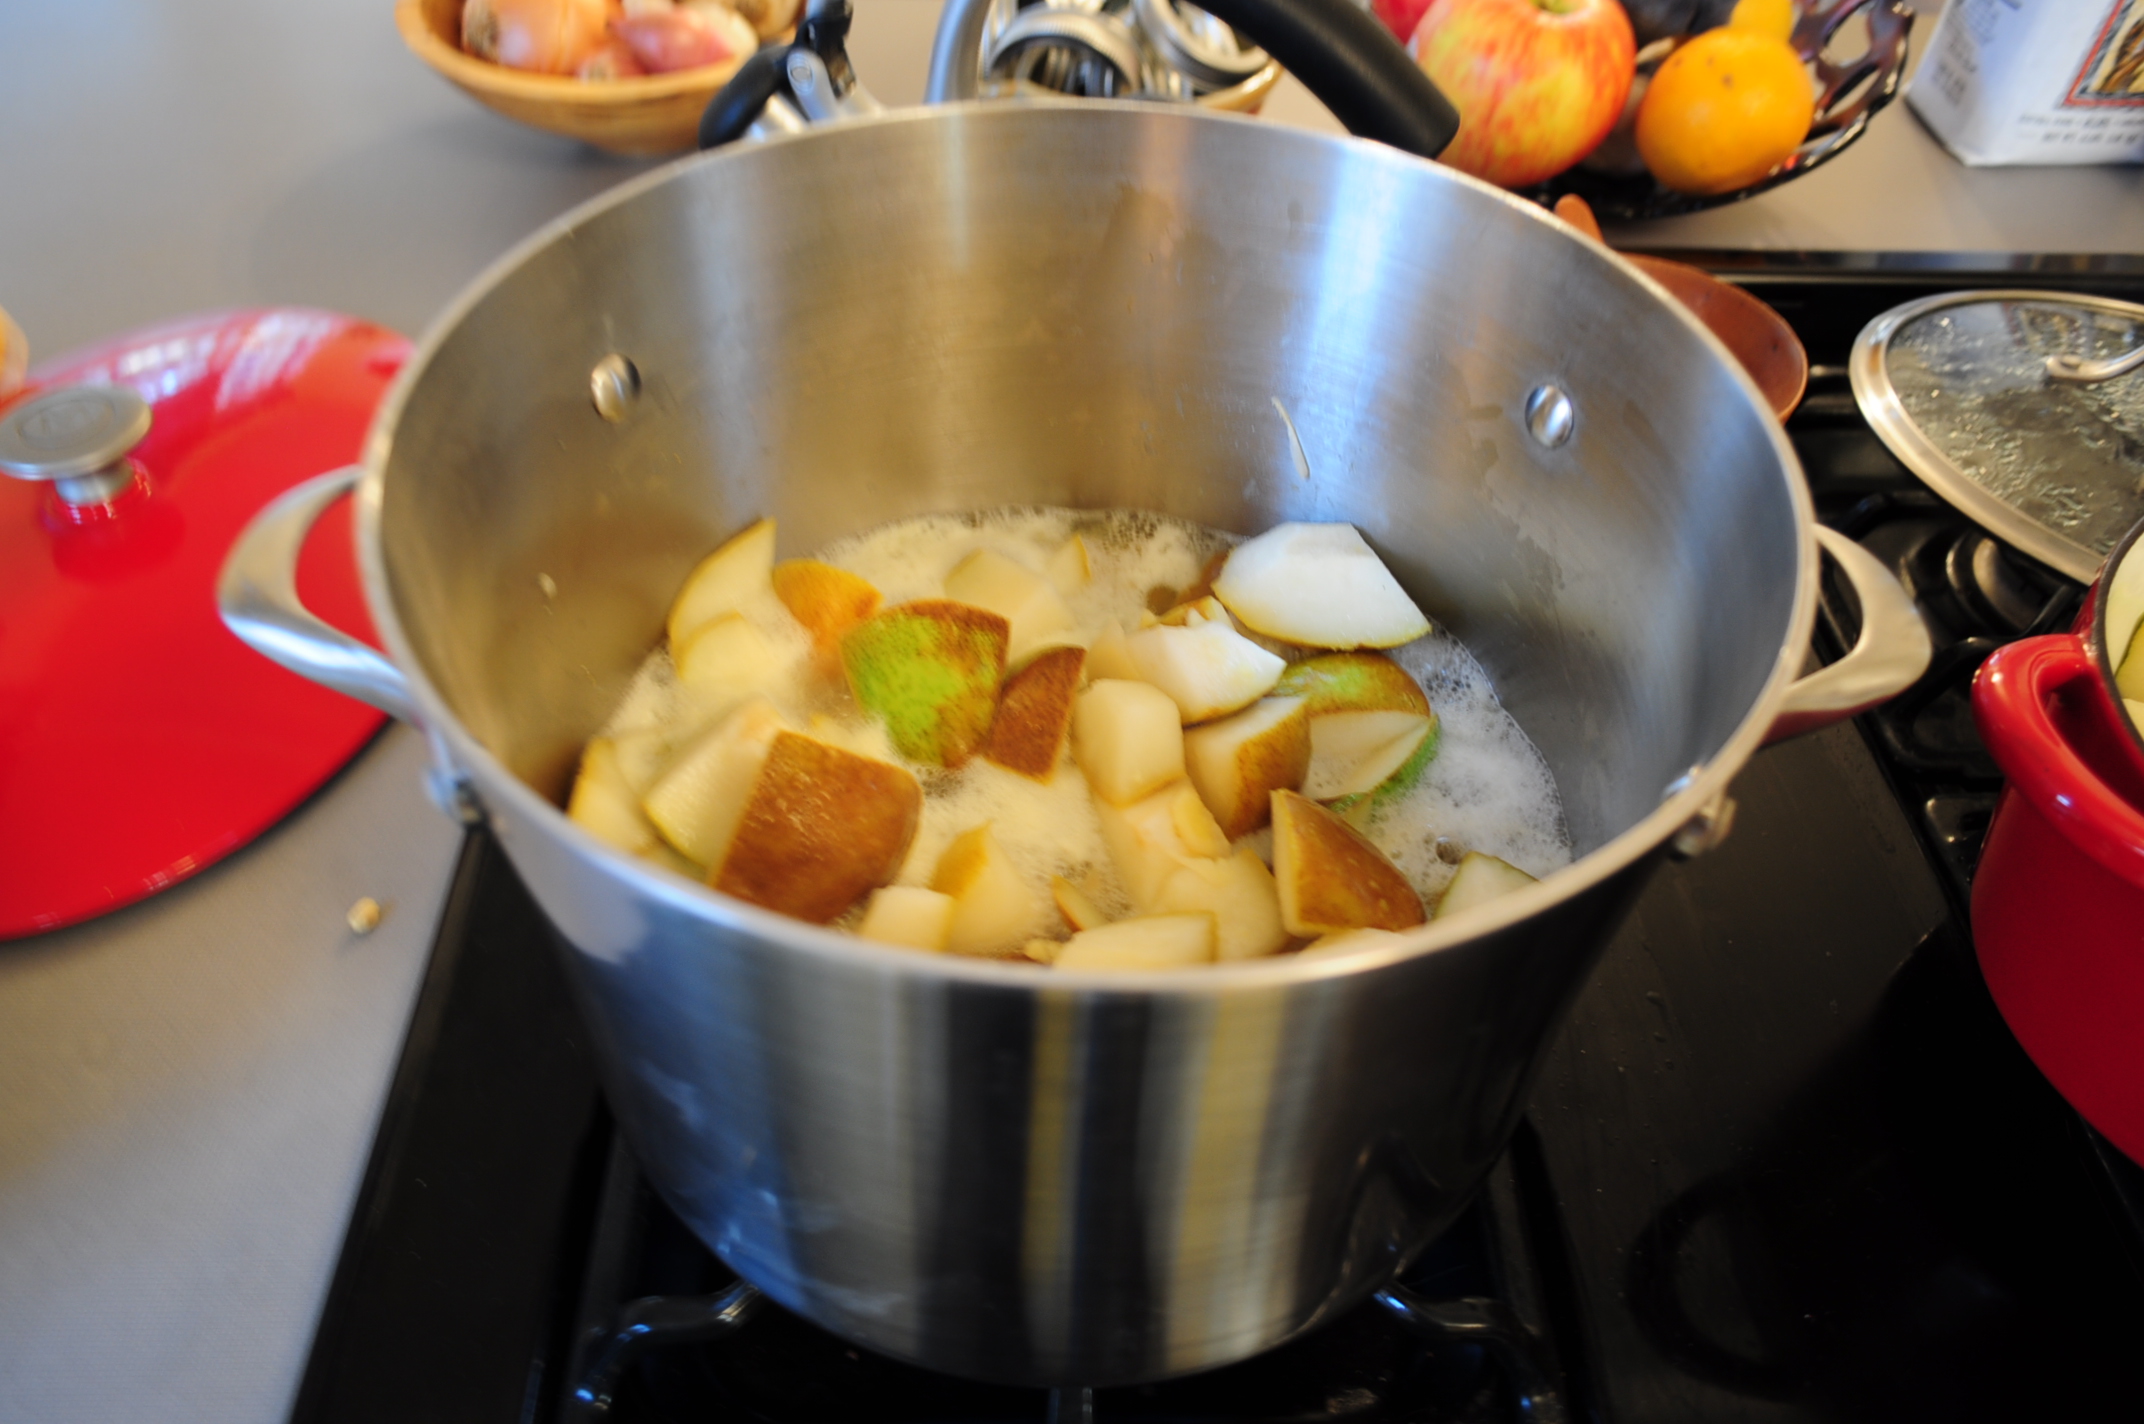
Put chopped up pears, star anise, and ginger into a large pot.  Add 2 cups of water and 1 cup of lemon juice.

Bring to a boil, reduce to a simmer, cover and cook until the pears are soft.  About 25-45 minutes.  Remove from heat

Scoop out the Star Anise.  Ladle the pear mixture (liquid included) into a food processor.  Puree!

Scoop the puree back into the thick bottom pan.  For every cup of pear puree, add ½ cup of sugar.  Add the cardamom, nutmeg, and lemon zest.  Taste and season if needed.

Cook on Medium heat, siring often to prevent puree from sticking to the bottom if the pan and burning, Cook until the mixture is thick.  Place a spoonful on a chilled plate.  If liquid does not run out from the purée it is READY!  This could take any where form 45 minutes to 2 hours.  The longer the better.  The pears will continue to break down and get smoother, and smoother.

While the mixture is cooking, sterilize your jars for canning.  To sterilize the jars, either 1 run them through the dish washer, 2 rinse them and place them in a 225F oven for 10 minutes, or 3 place them on top of a steaming rack in a large pot of water which you bring to a boil for 10 minutes.

When the Pear butter is ready, pour into hot, sterilized jars and allow for ¼ inch head space.  (Head space is the distance between the jam and the rim of the jar.)  Wipe the rims off and place the lids (these should be under hot running water in a bowl) on the jars.  If you do not wipe off the rims, the jar will not seal.

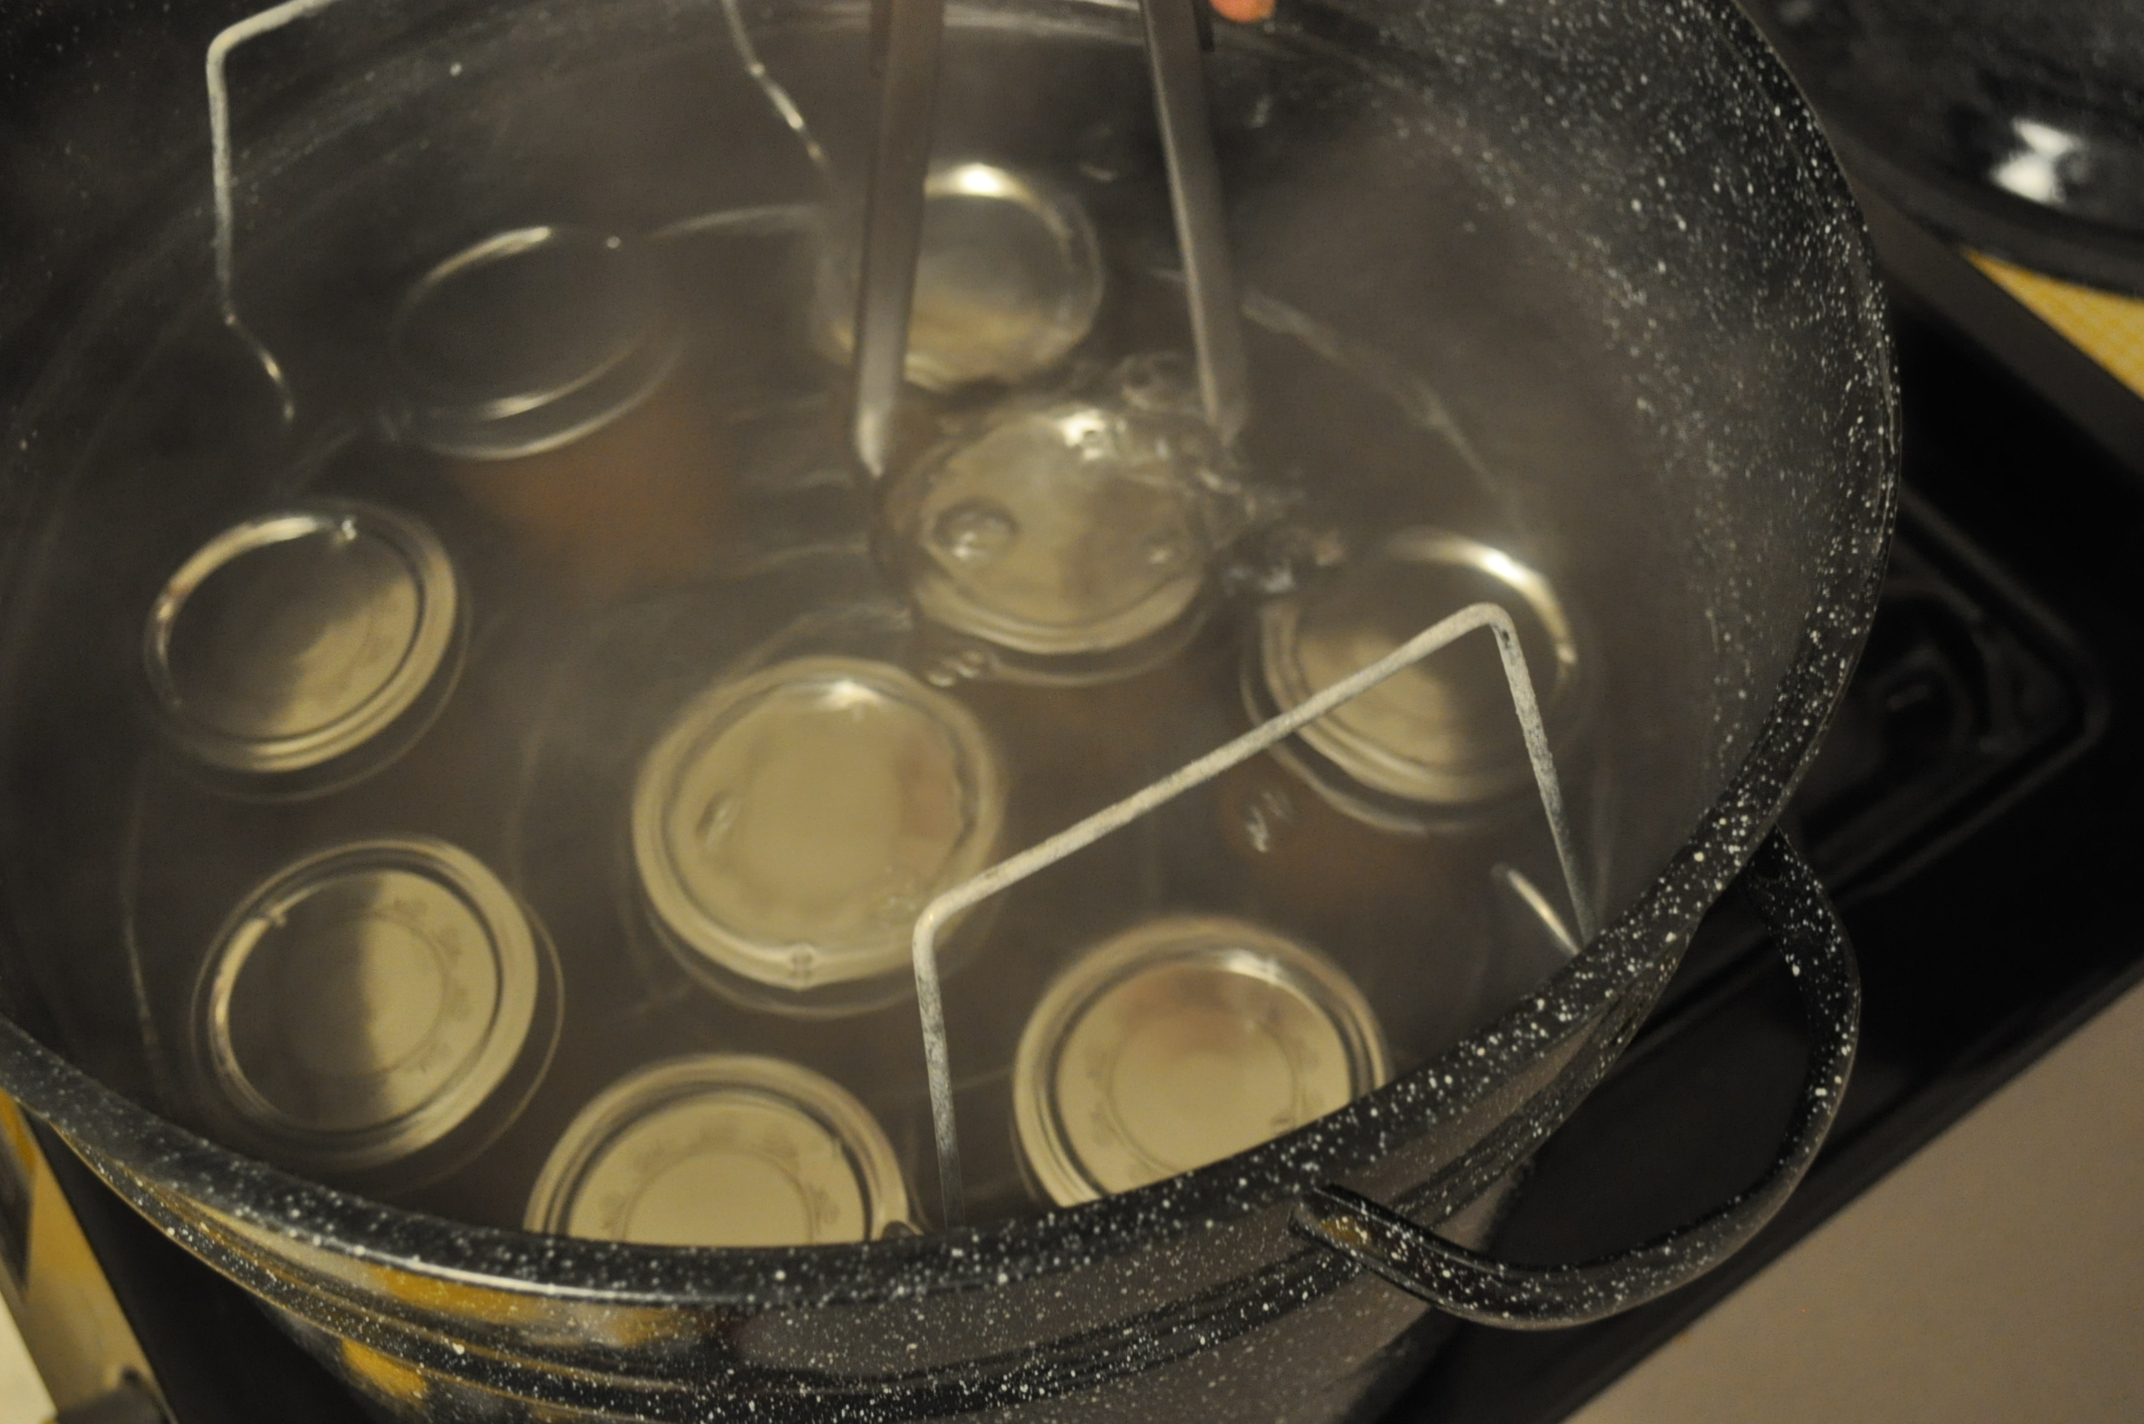
Screw on the ring and place in the canner water bath.  Repeat until canner is full!  Use a hot water bath for 10 minutes to ensure a good seal.

[caption id="attachment_253" align="aligncenter" width="490" caption="My very sweet husband helps me with this part!"][/caption]

After 10 minutes remove, tighten again, and place under a towel.  DO NOT let the hot jars touch, and don’t peek until the morning.

Egg- cellent questions of the day

Q. Should wash my eggs in hot water?
A. No, you will wash off the bloom and possibly transfer bacteria from the outside to the inside!

When a chicken lays an egg, there is a microscopically thin membrane that covers the shell. This membrane is called "the bloom". The bloom actually blocks the pores that allow air and germs to transfer into an egg, causing aging and possible contamination.  Eventually, the bloom will wear away because of handling, etc, allowing air to transfer into the egg - and maybe some other stuff, too. Leaving an egg unwashed allows the bloom to do its job.

Q. How do I clean my eggs if they are dirty?

A.  Use a fine grit sandpaper to buff off the dirt.  Or use the abrasive part of the sponge.  Make sure that sponge is used exclusively for this purpose and it never touches dishes, sink, or counter.  Salmonella is a bacterium found in chicken manure and you should be cautious of it in your kitchen.

Also try to scrub the dirt away from the egg rather than scrubbing down onto the egg.  You could push harmful bacteria into the porous shell.

Q. Eggs need to be refrigerated, right?

A. No, they don't. The average egg, if left unwashed, can be stored on your kitchen counter in a bowl for up to two weeks prior to having any obvious aging effects.

Q. How long are eggs good for? A. Eggs last about 4-5 weeks in your refrigerator. If you don't know how long the egg has been in the refrigerator, fill a cup with water (enough to cover the egg), and put the egg in the cup. If the egg sinks to the bottom, it is still good to eat; if the egg floats, however, it is bad and should be discarded.

Q. Why does the egg yolk turns greenish gray when overcooked?

A. The sulphur in egg white reacts with the iron in egg yolk when the egg is heated. They react with each other and *BOOM*  we observe the gray coloration on the egg yolk.

*Blog reference  www.chickenkeepingsecrets.com

Bok Bok Brrrr…

This week the temperatures have dipped into the 20’s.  If you do not have your coop winterized yet here are some tips.

  • Make sure your coop is not drafty.  Caulk any gaps or cracks that might be causing a draft.  Chicken coops need to be ventilated; however a draft across your ladies is no good.
  • Add extra pines shavings to the bottom of the “inside house” part of the coop.  A couple extra inches will help insulate the floor.  Toasty chicken toes.
  • Install a Digital Wireless Weather Thermometer Indoor/Outdoor.  Now you will be able to check the temp inside the coop, from inside your house.  I recommend this one an AcuRite Digital Wireless Weather Thermometer Indoor/Outdoor, 00604

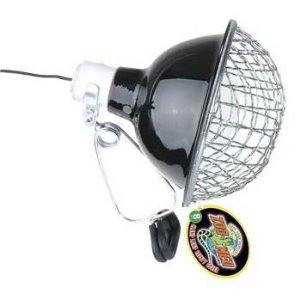
  • Heat lamps.  Depending on the size and shape of your coop will determine how many you need.  I recommend this one:
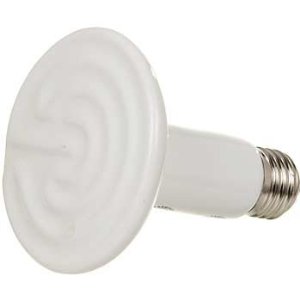
  • Use it with a ceramic infrared heat emitter…No light just heat!  Make sure you purchase the mesh safety cover so the hens don’t get too close. 

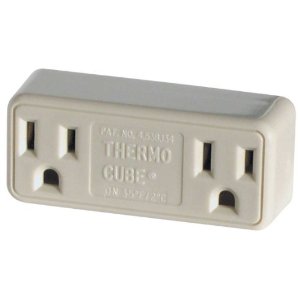
Hook the whole system up to a Thermo Cube Thermostatically Controlled Outlet.  This will turn the lamps on automatically at 35 and turn them off at 45.

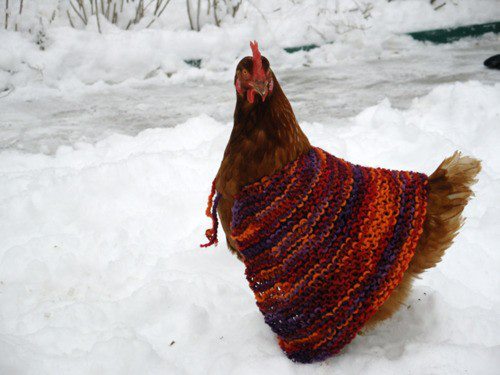
You will read on the internet that chickens don't mind the cold...but as the curator of their lives it is your responsibility to keep them as safe and happy as possible.  If you need assistance with your winterization project please contact me.

[caption id="attachment_146" align="aligncenter" width="300" caption="I don’t know where this photo originated!  If it is yours contact me so I can give you full credit for being so awesome"][/caption]

Consulting services up!

Service  Details Rates per hour
Assessment Consultation

"I am interested, but don't know where to start?"

  • About 2 hours at your residence
  • Assessment of space and coop plans
  • Information on care and keeping of chickens
  • Answers to questions at time of consultation or with an e-mail follow-up
  • One phone consultation after initial visit
$40
Chicken Procurement “where do we get chicks?  What is a Pullet?”
  • I will help you acquire your first chicks, pullets, or hens.
  • Assessment of which flock is best for you and your family?
  • Have children, needed docile chicken?

*NOTE: Please do not mail order chicks, it is very stressful for the birds.  They are often abandoned in post offices without food and water.  Shipments can also get lost in the mail.

$40
Coop and Run Consultation“Pre-fab coop? Custom coop?  That is a great question!  Do you want it to blend in, or be a focal point?”
  • A visit to your residence to choose best location and housing type
  • Advice and/or assistance with building your dream coop.
  • Information on feeders, waters, feed, and general information on chicken accessories
  • Information on coop security
  • Seasonal Coop I.E. Heating and Cooling
  • Chicken Budgeting
  • One free 15-minute phone consultation after initial visit
$40
Design and Build“Are you a mid-century modern coop or a Victorian?”
  • Custom designed coop and run
  • Have your own plans and need a builder?  We are happy to procure materials, and build to specs
  • We place special emphasis on form and function; our chicken houses are cheerful, light and airy, with excellent ventilation and windows for natural lighting.
Varies to size and scale of project
From under the lamp to in the coop
  • A visit to your residence to help your pullets transition to their new coop (about 1 hour)
  • Information on feeding, watering, egg laying general care, and common illnesses
  • Answers to questions at time of consultation or via e-mail follow-up
  • One free follow up phone call
$40
Follow up anytime

“Can you come out and look at this?”

  • A visit to your residence to make sure that your hens are healthy
  • Information on feeding, watering, egg laying general care, and common illnesses
  • Answers to questions at time of consultation or via e-mail follow-up
  • One free follow up phone call
$40
911 Phone Call
  • Troubleshooting advice over the phone for a sick bird
  • Phone call fee can be applied to Emergency House Call fee if I come out within 24 hours
$20 (payable by PayPal or check prior to phone call)
Chicken Sitting
  • Daily visits to water and feed
  • Bedding changes
  • Egg collection
  • Special instructions welcome
Varies on location
911 House Call
  • A visit to your residence to assess a sick bird
  • Research to determine possible causes of sickness
  • Care to address problem, if possible, OR suggestions for care (may include referral for veterinary medicine)
  • Suggestions for follow-up care and care for other members of flock
$75
Add-On Service

“I want chickens, but I don’t have time to go out and get everything for them!

  • Coop maintenance
  • Procurement of supplies needed for your chickens
  • Instillation of seasonal need like lights and heaters
$35 per hour, billable in ½- hour increments

the coop a cabana

"coop a cabana" This is our chicken coop.  It was designed and built by myself and my husband Benjamin.  The coop has three nest boxes and enough roost space for 6+ hens.  Since we live in Dallas the coop has been built in the shadiest part of our backyard.  The windows are oriented to take the least amount of rain and wind.  It has a large access doors for cleaning.  We cut linoleum to place in the bottom of the coop.  It is covered with pine shavings and is hardly ever soiled, but it is nice to have the option of removal.  There are two lights in the coop which are on automatic timers.  The chickens need a certain amount of light to keep laying eggs.  We also have two ceramic bulbs that do not emit light, but heat for when it is cold.  They are also set on a timer to come on at 35 degrees and shut off at 45 degrees.

I will get into more of the in’s and outs of the coop in different sections.

Chicken Consulting

[caption id="attachment_17" align="alignright" width="300" caption="Easter 2011"][/caption] I am the caretaker of all creatures great and small (James Herriot).  More specifically six backyard hens.  Lola, Mrs. Cluckersworth, Penny, Quennie, Marpoo, and Aunt Mildred.  They are red/black stars and two silver laced wyandottes.

I want to help you keep urban chickens successfully.  Thoughtful planning on the front end of your project will ensure you have a wonderful experience.  I can tailor the perfect chicken keeping scenario that best fits your space and life.  A custom coop and maintenance program is a must.

As a professional event designer and manager.  I organized and execute all my endeavors with the same panache.

Did you know windows should not face your nestbox?  Do you know what size nestbox you need?  Or how much room each chicken needs on a roost?  No worries!  I do.