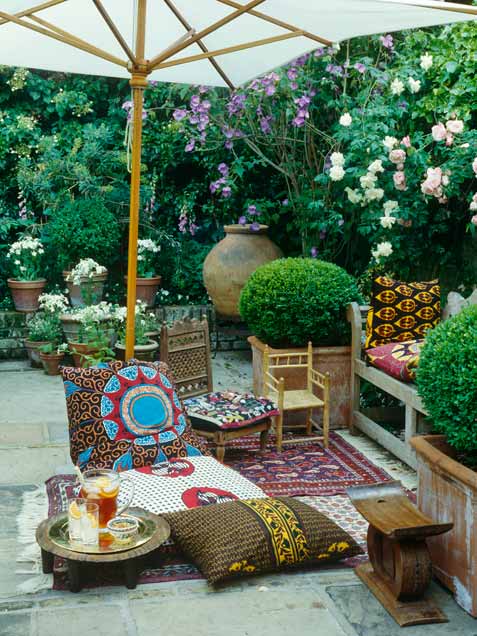
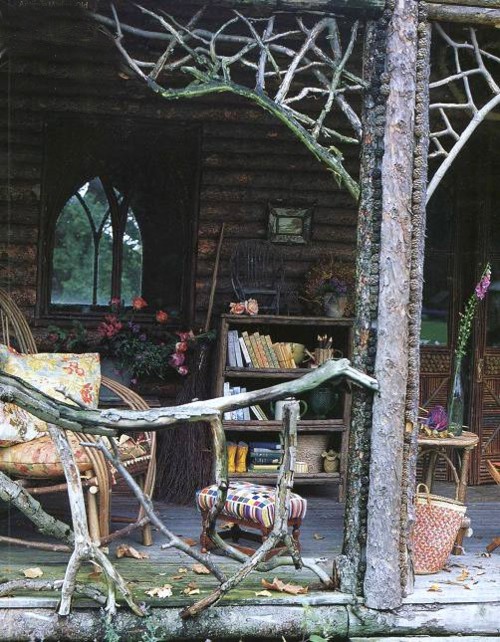
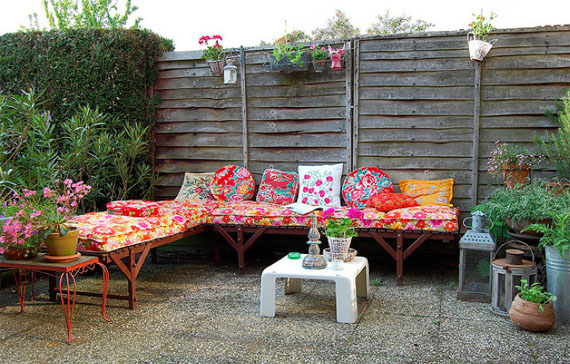
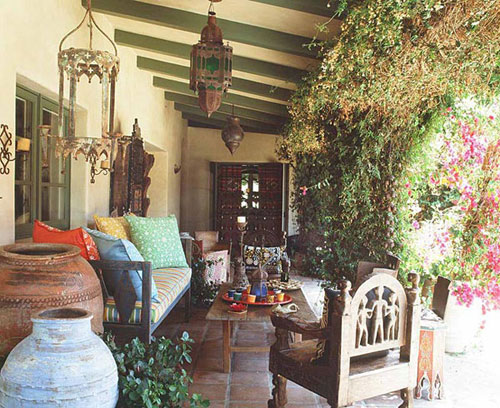
Southern existing

Big things this fall

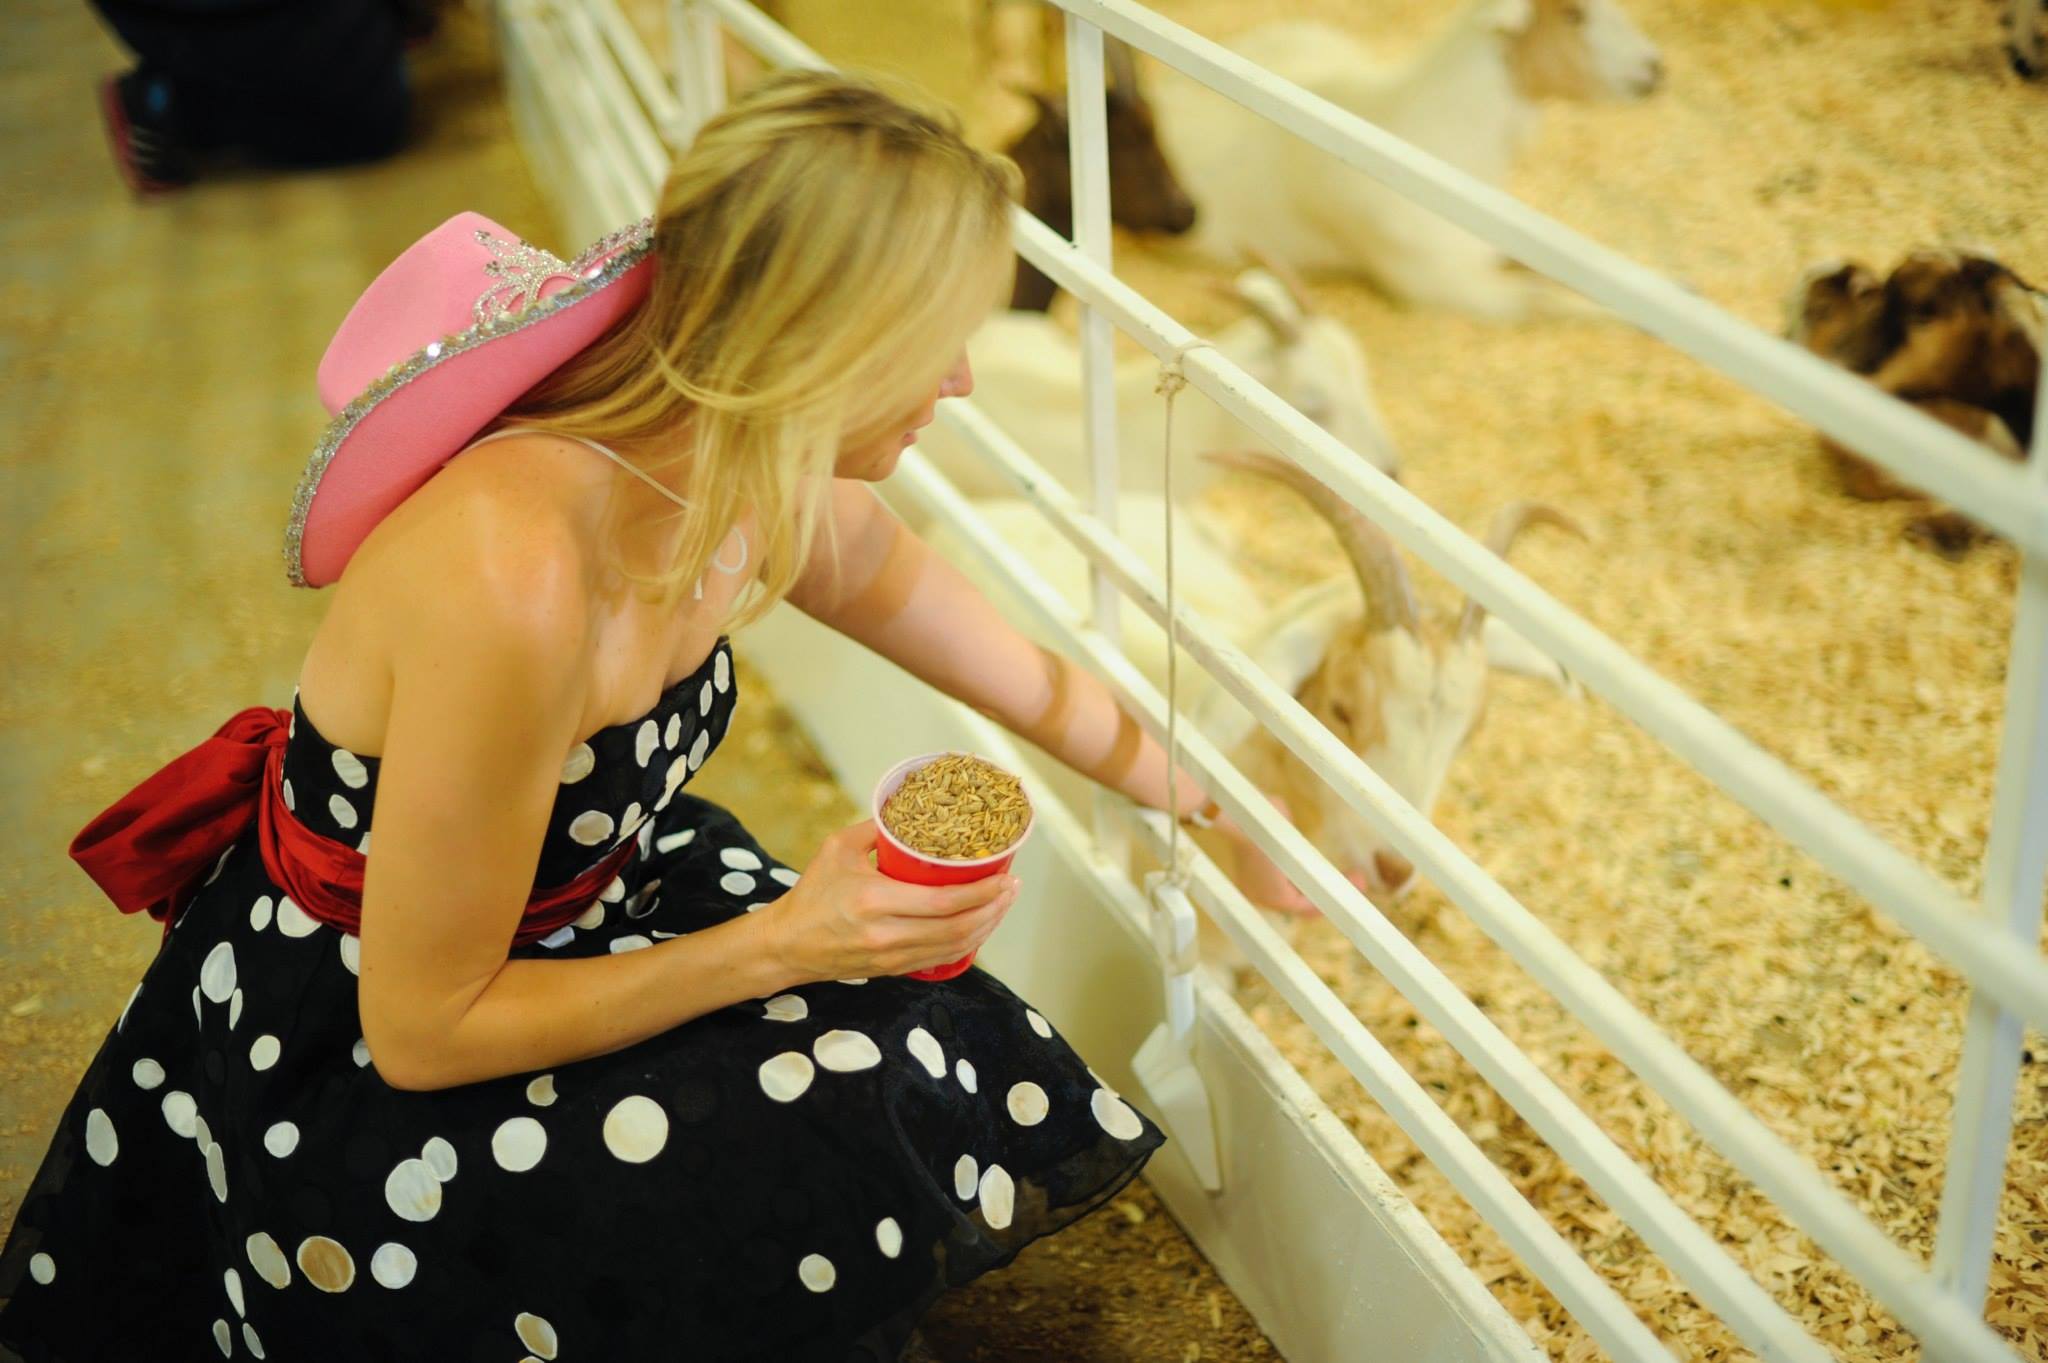
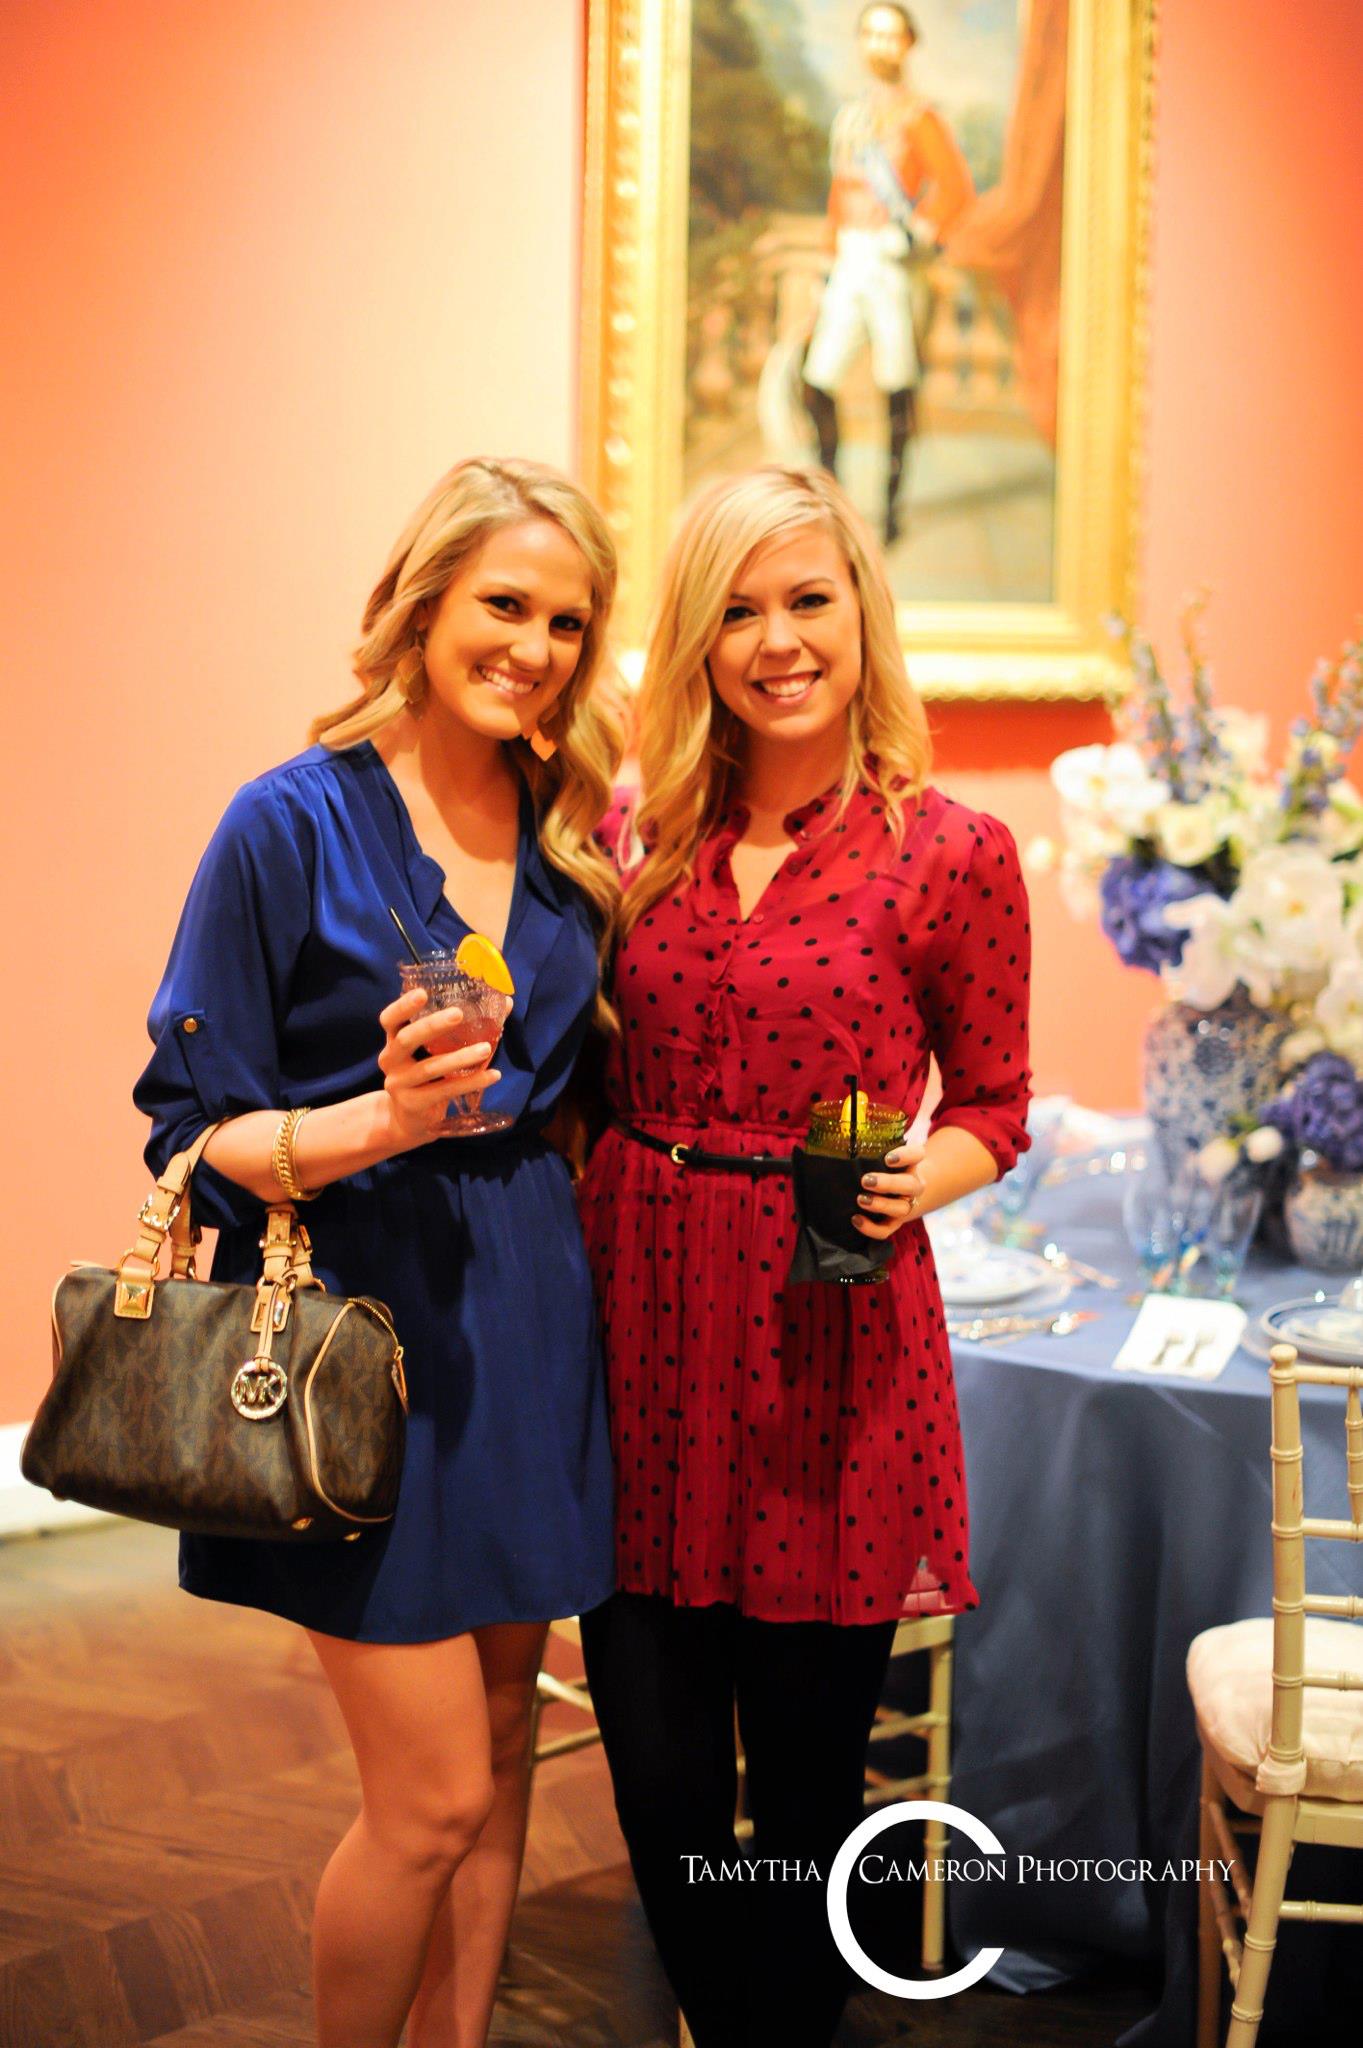
Well, a lot has happened in the past three months... I have moved from the Meadows Museum, downtown to the DMA, (Dallas Museum of Art)  and things are busy!  I am acclimatizing to my new museum home, slowly but surely.  I also turned 35 opening night of the Texas State Fair!  With the absolute sweetest group of friends a gal could ever have. Of course, all the beautiful images of us were taken by tamytha cameron photography.  This has been a lucky fall! 

Had to take a break.

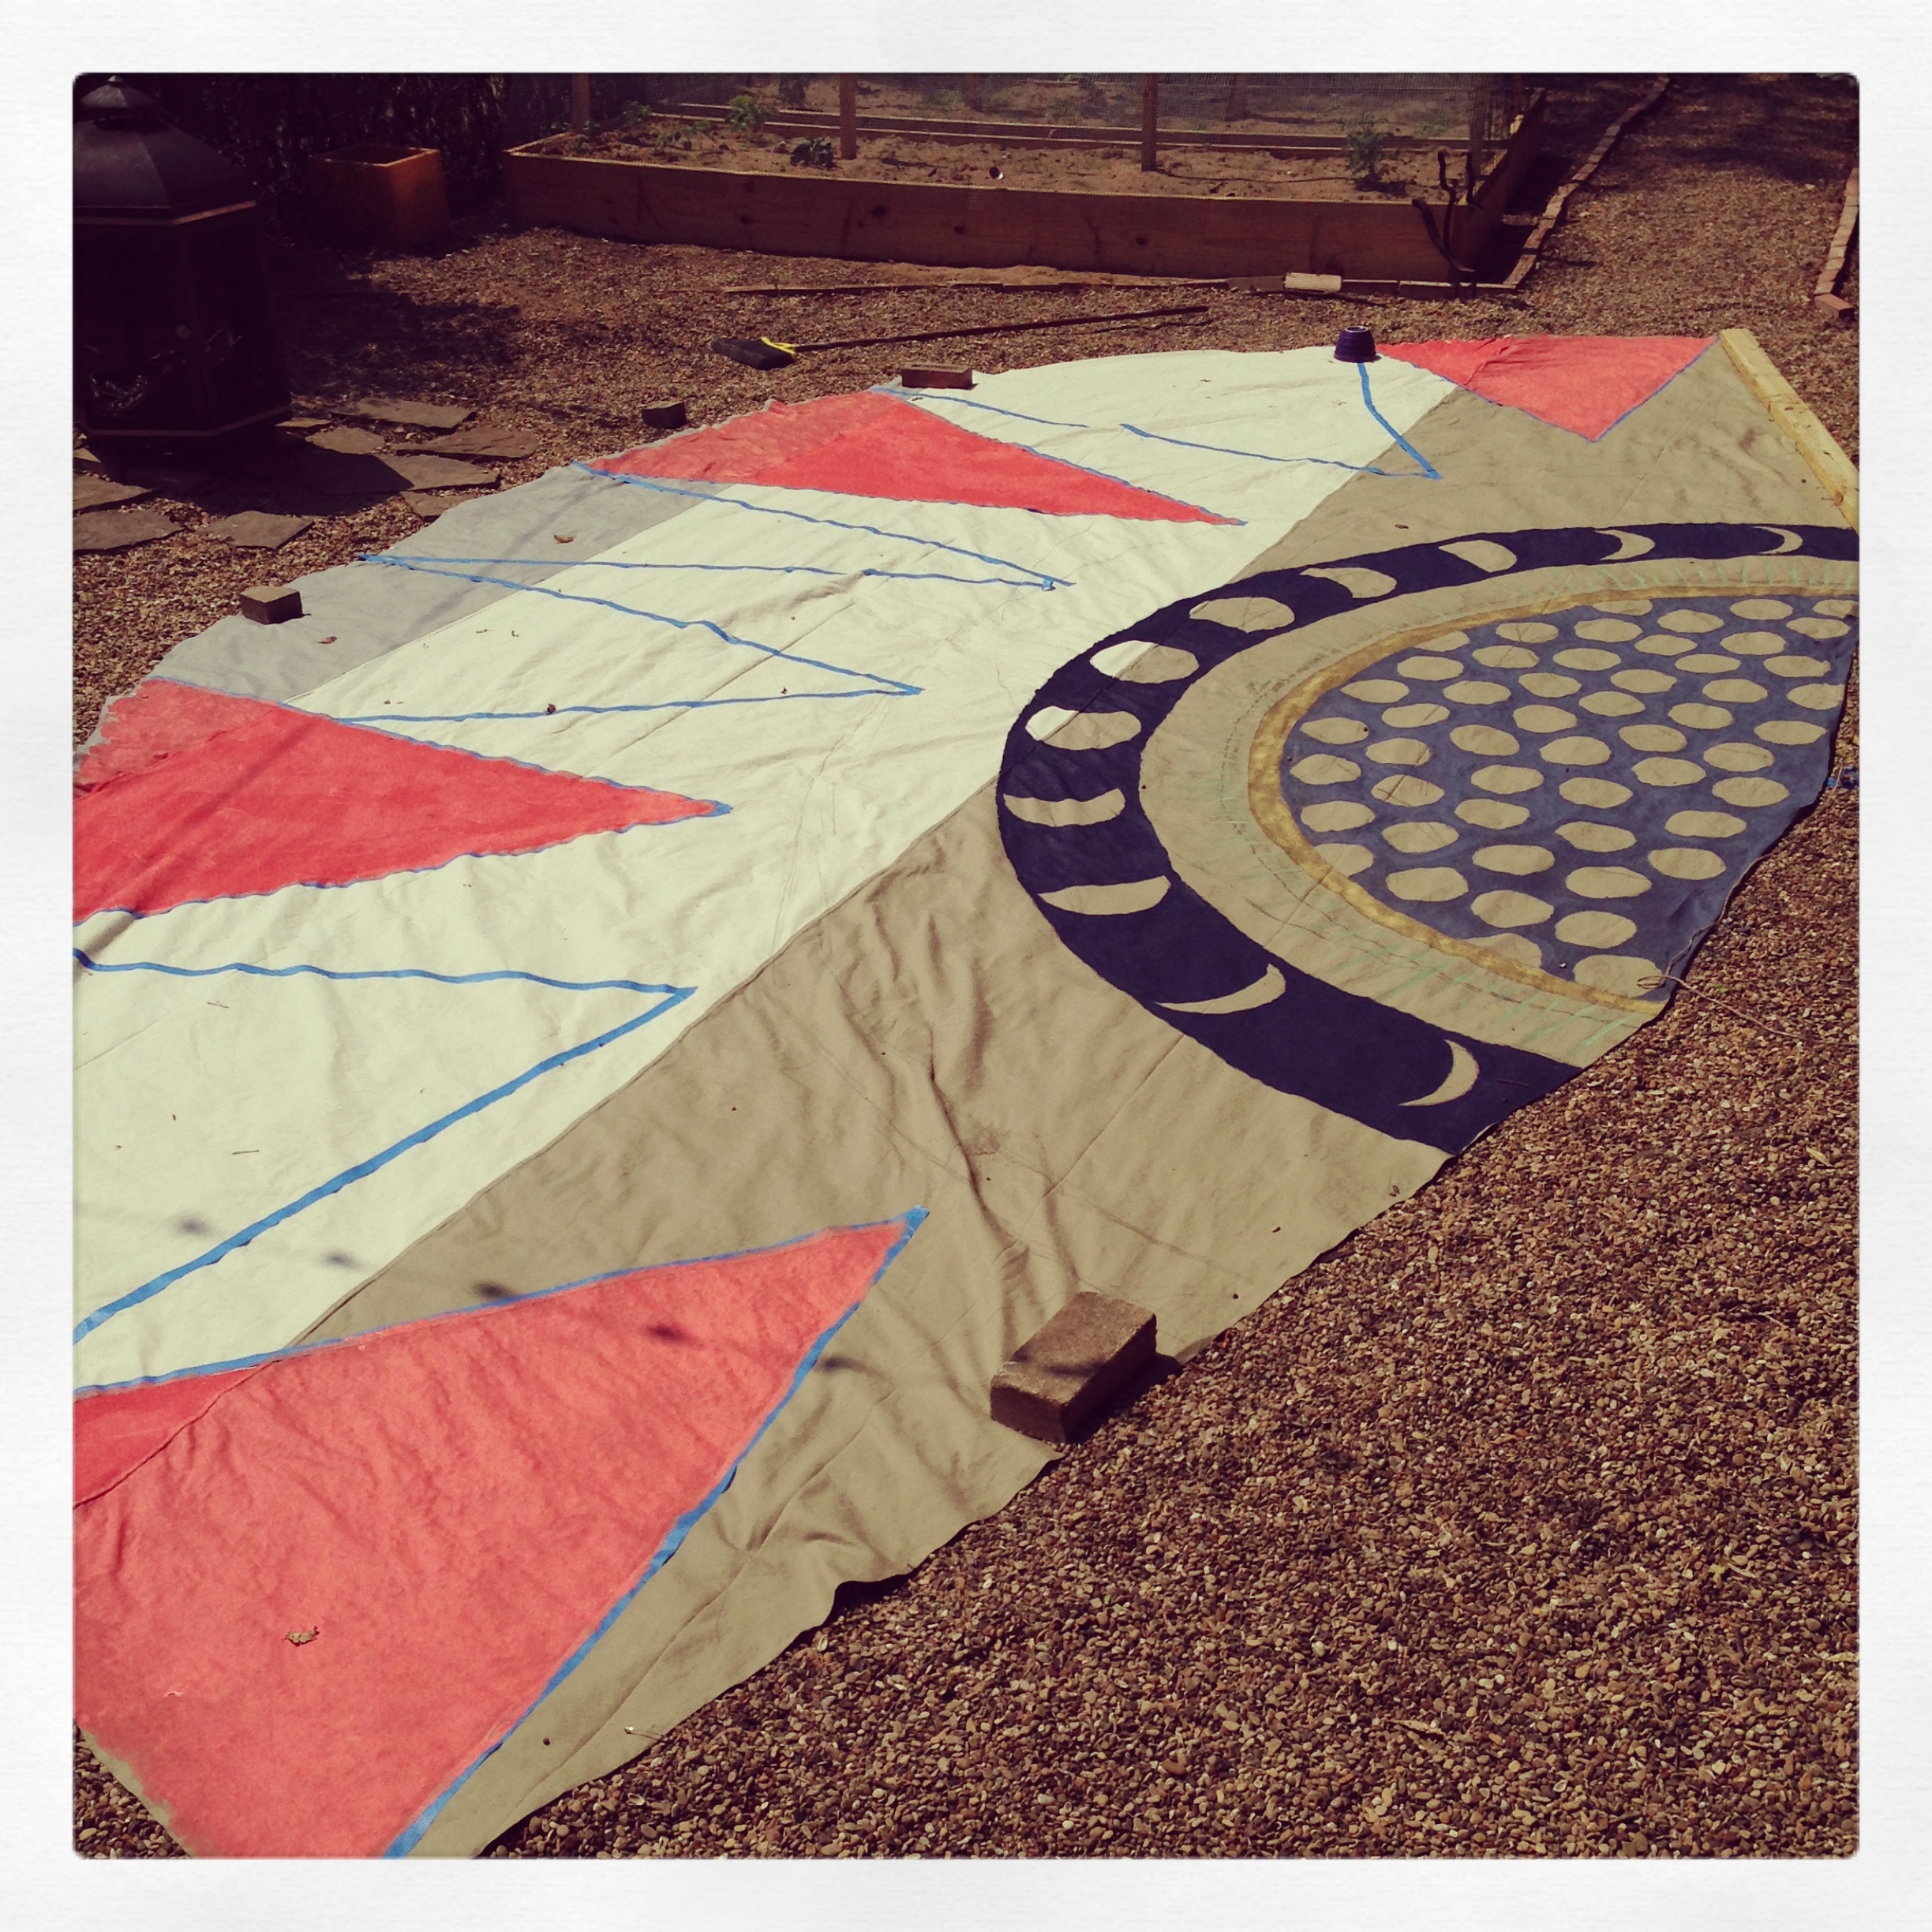
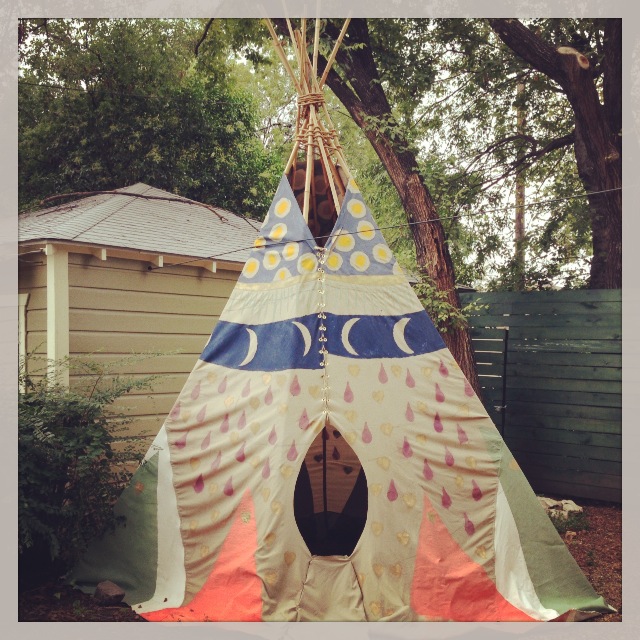
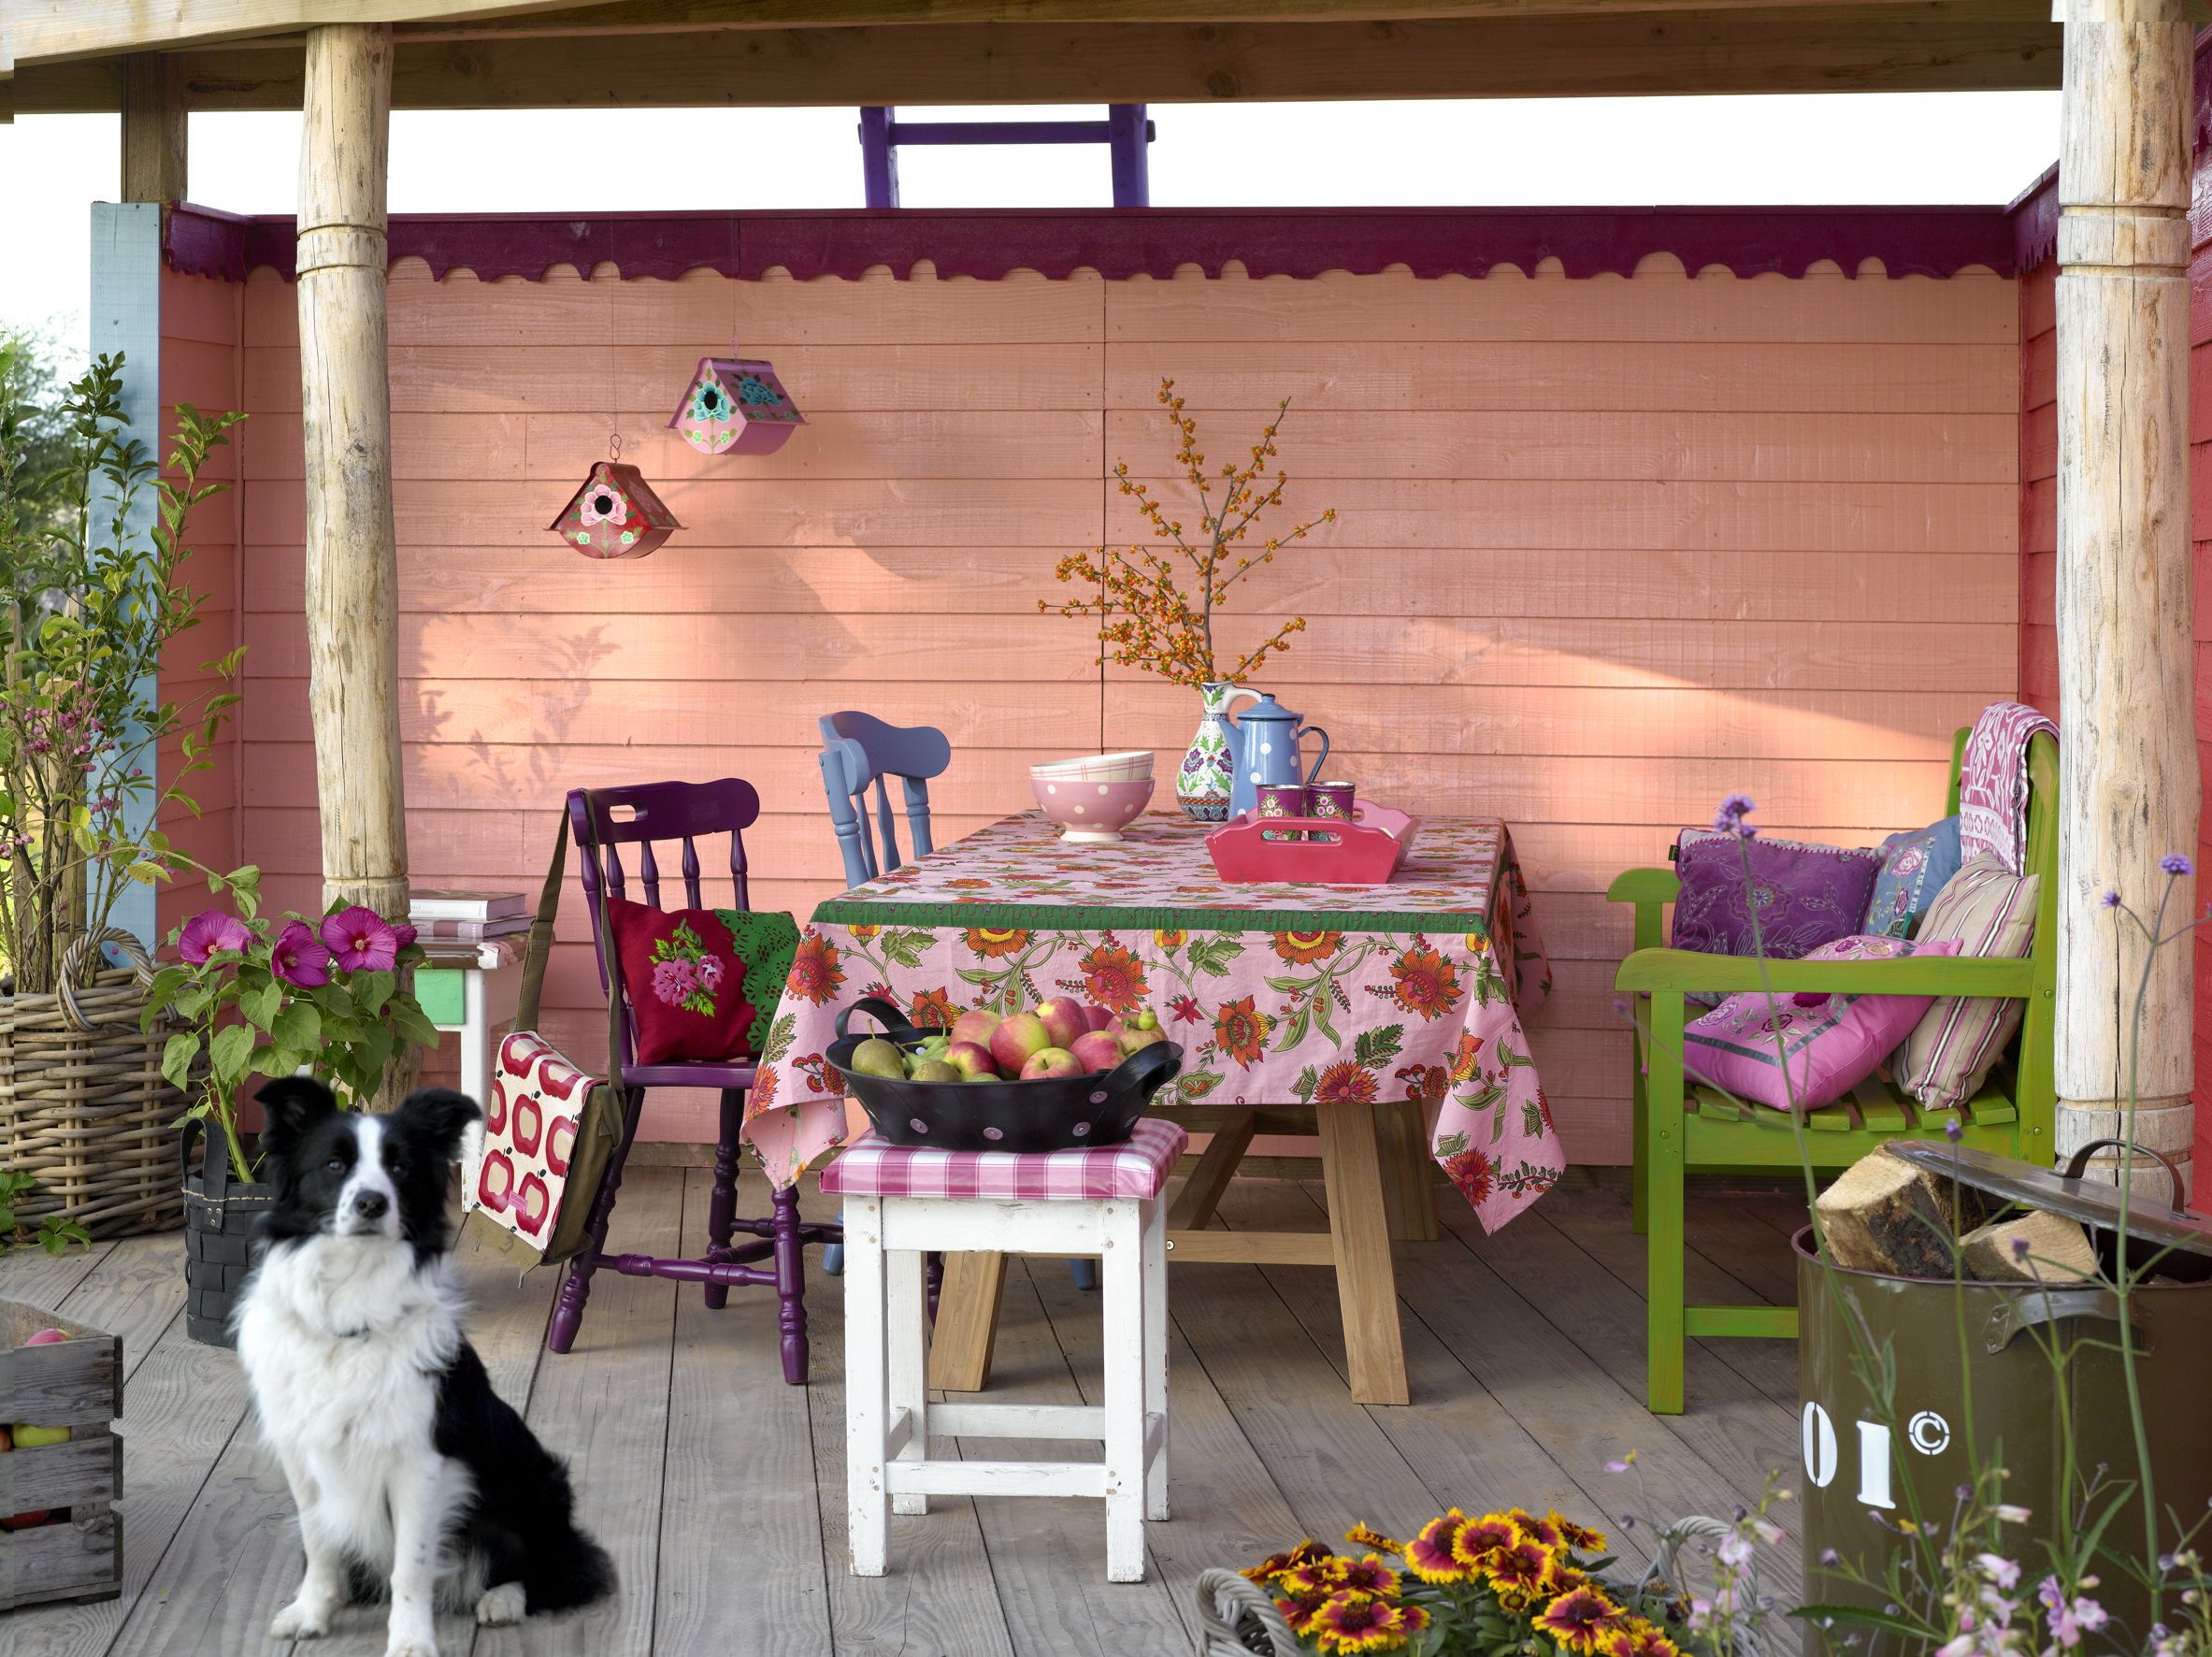
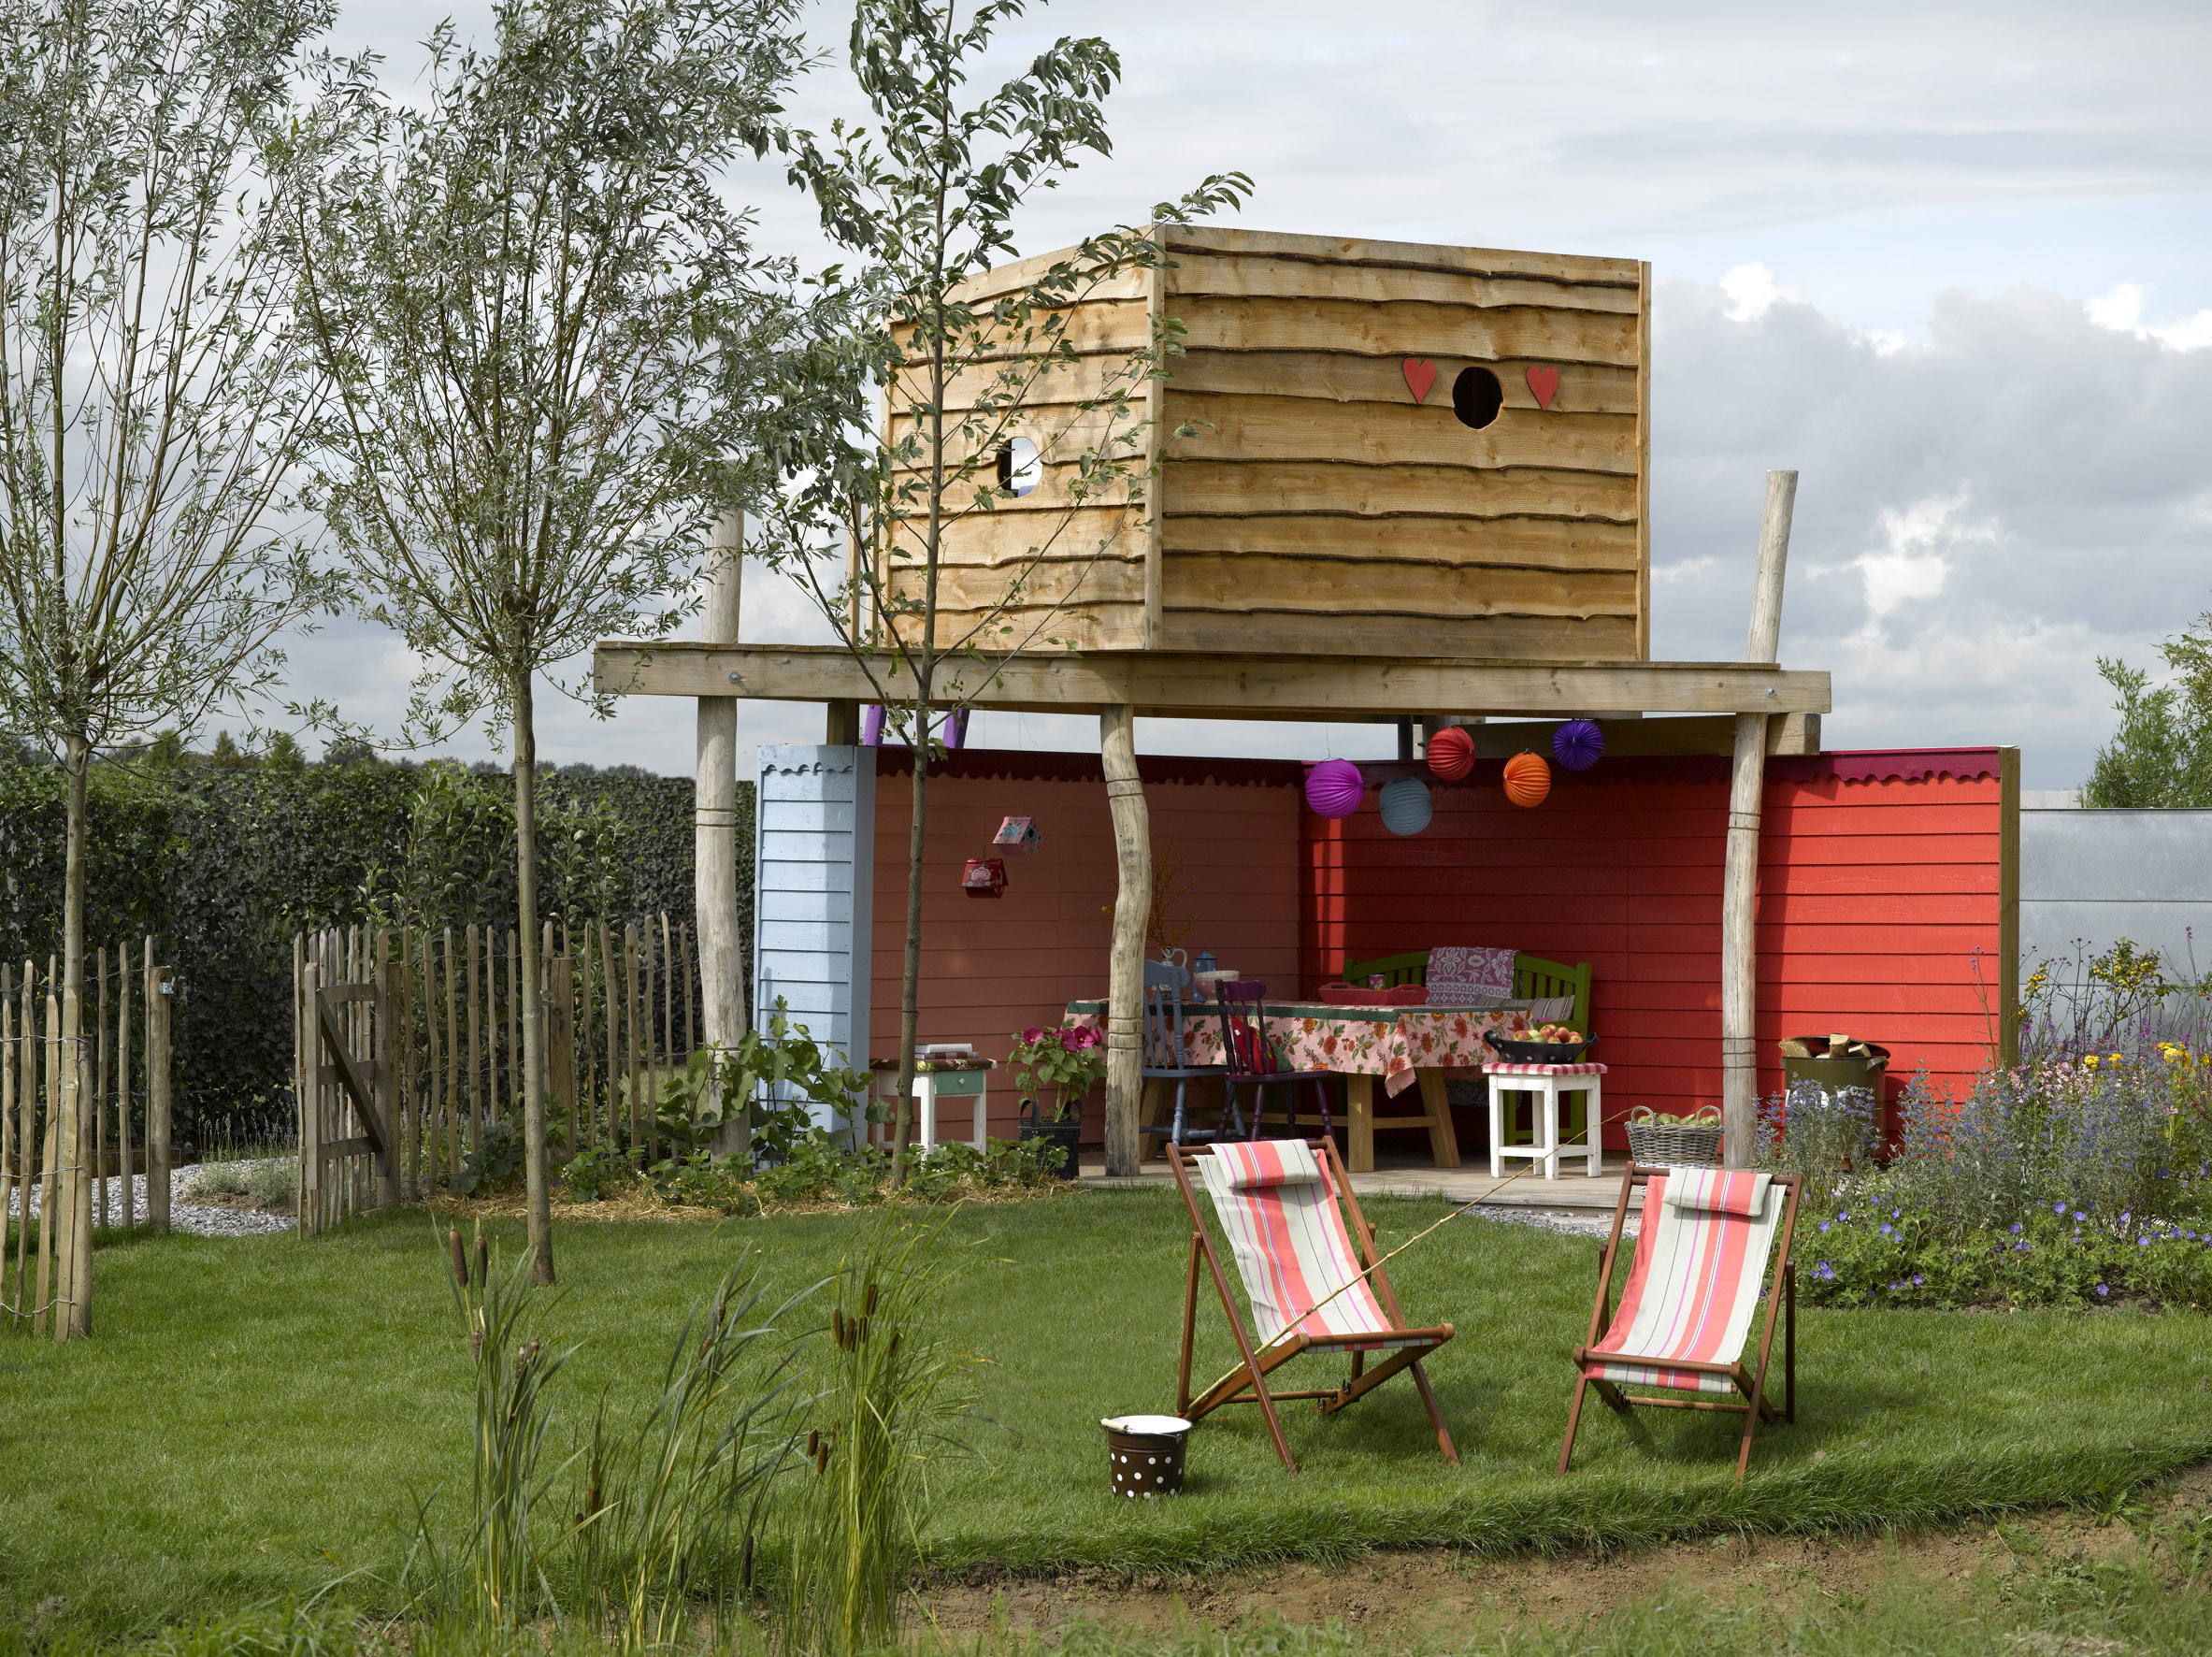
Sorry about the unintentional break.  I am finding it difficult to do all my fun activities and find time to share them!  Here are a few sneak peeks at what I have been up too!  Yes, I did build a Tipi.  Photos and instructions to follow.  

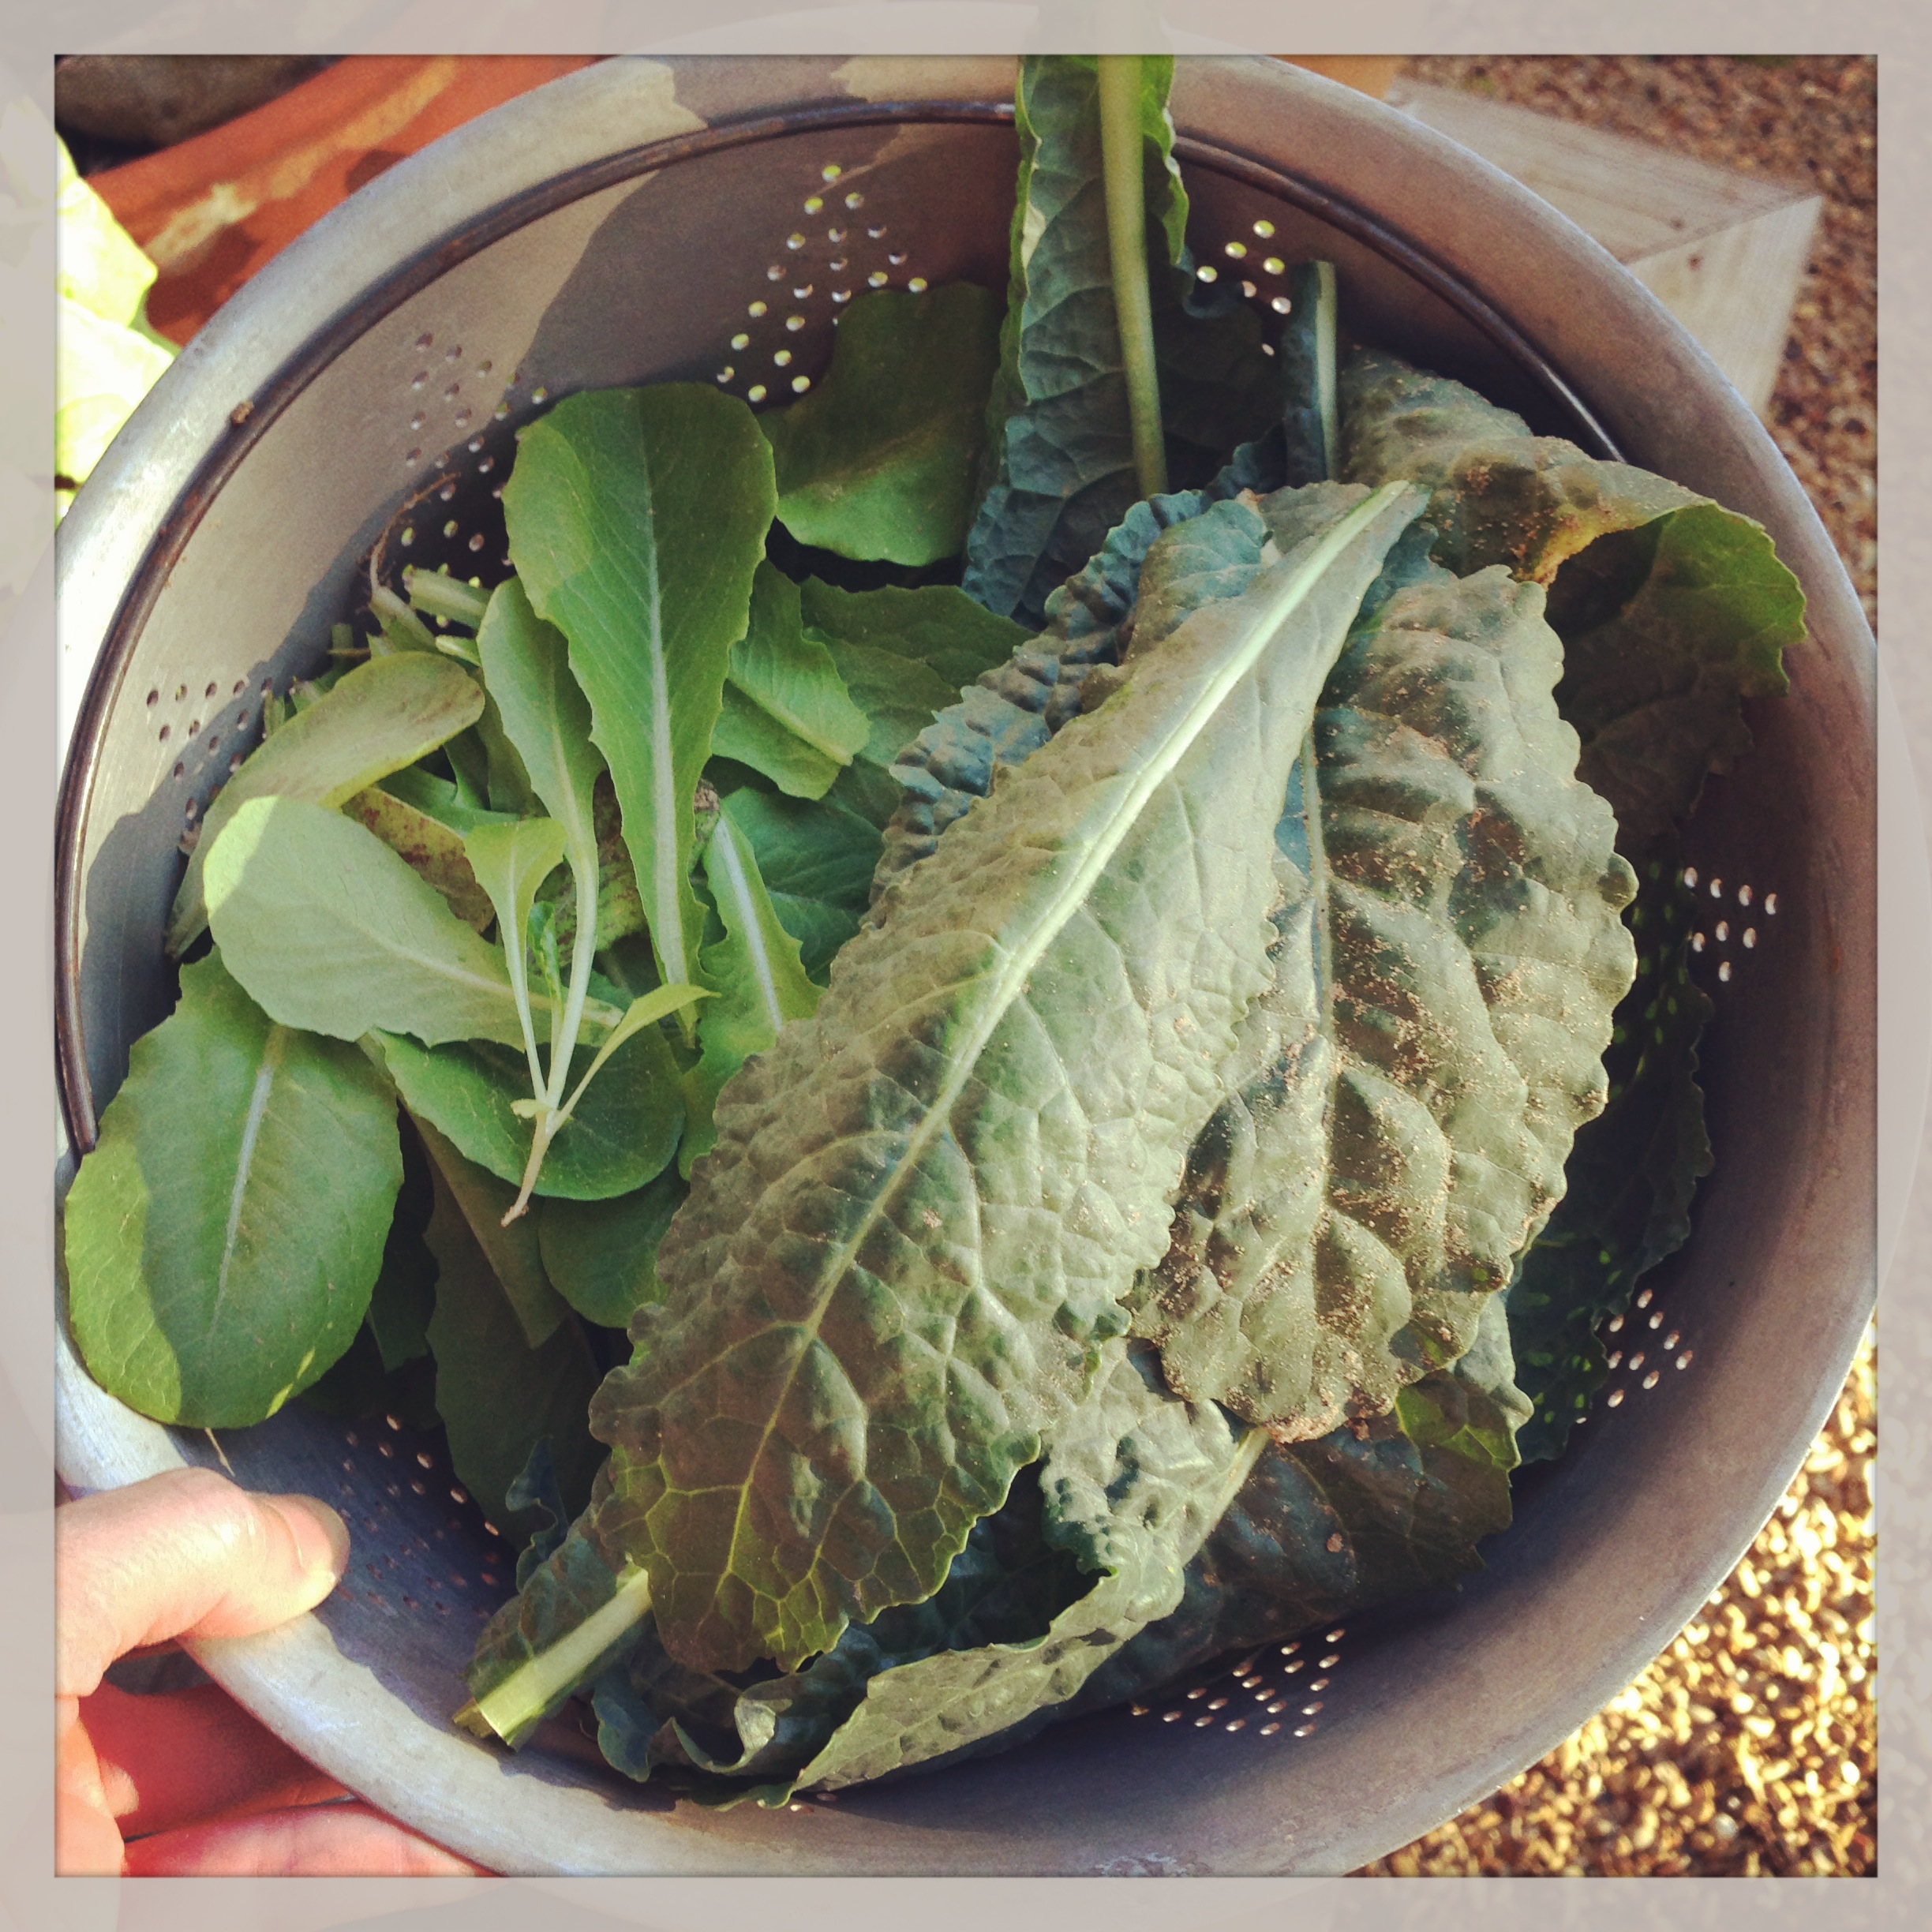
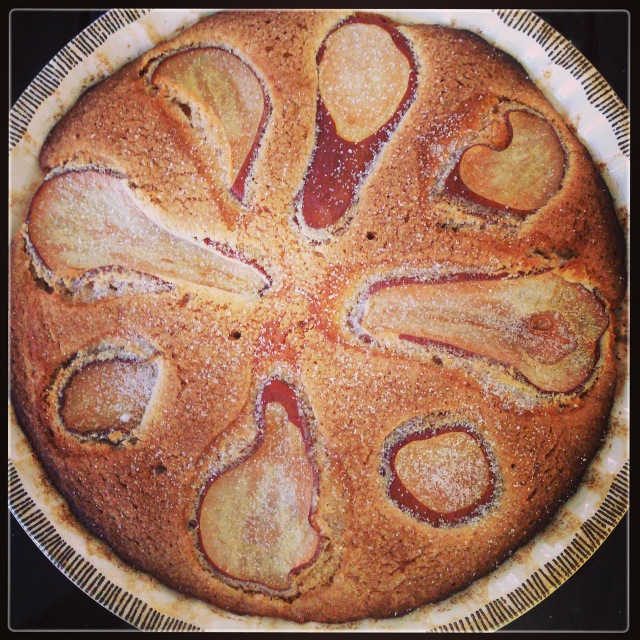
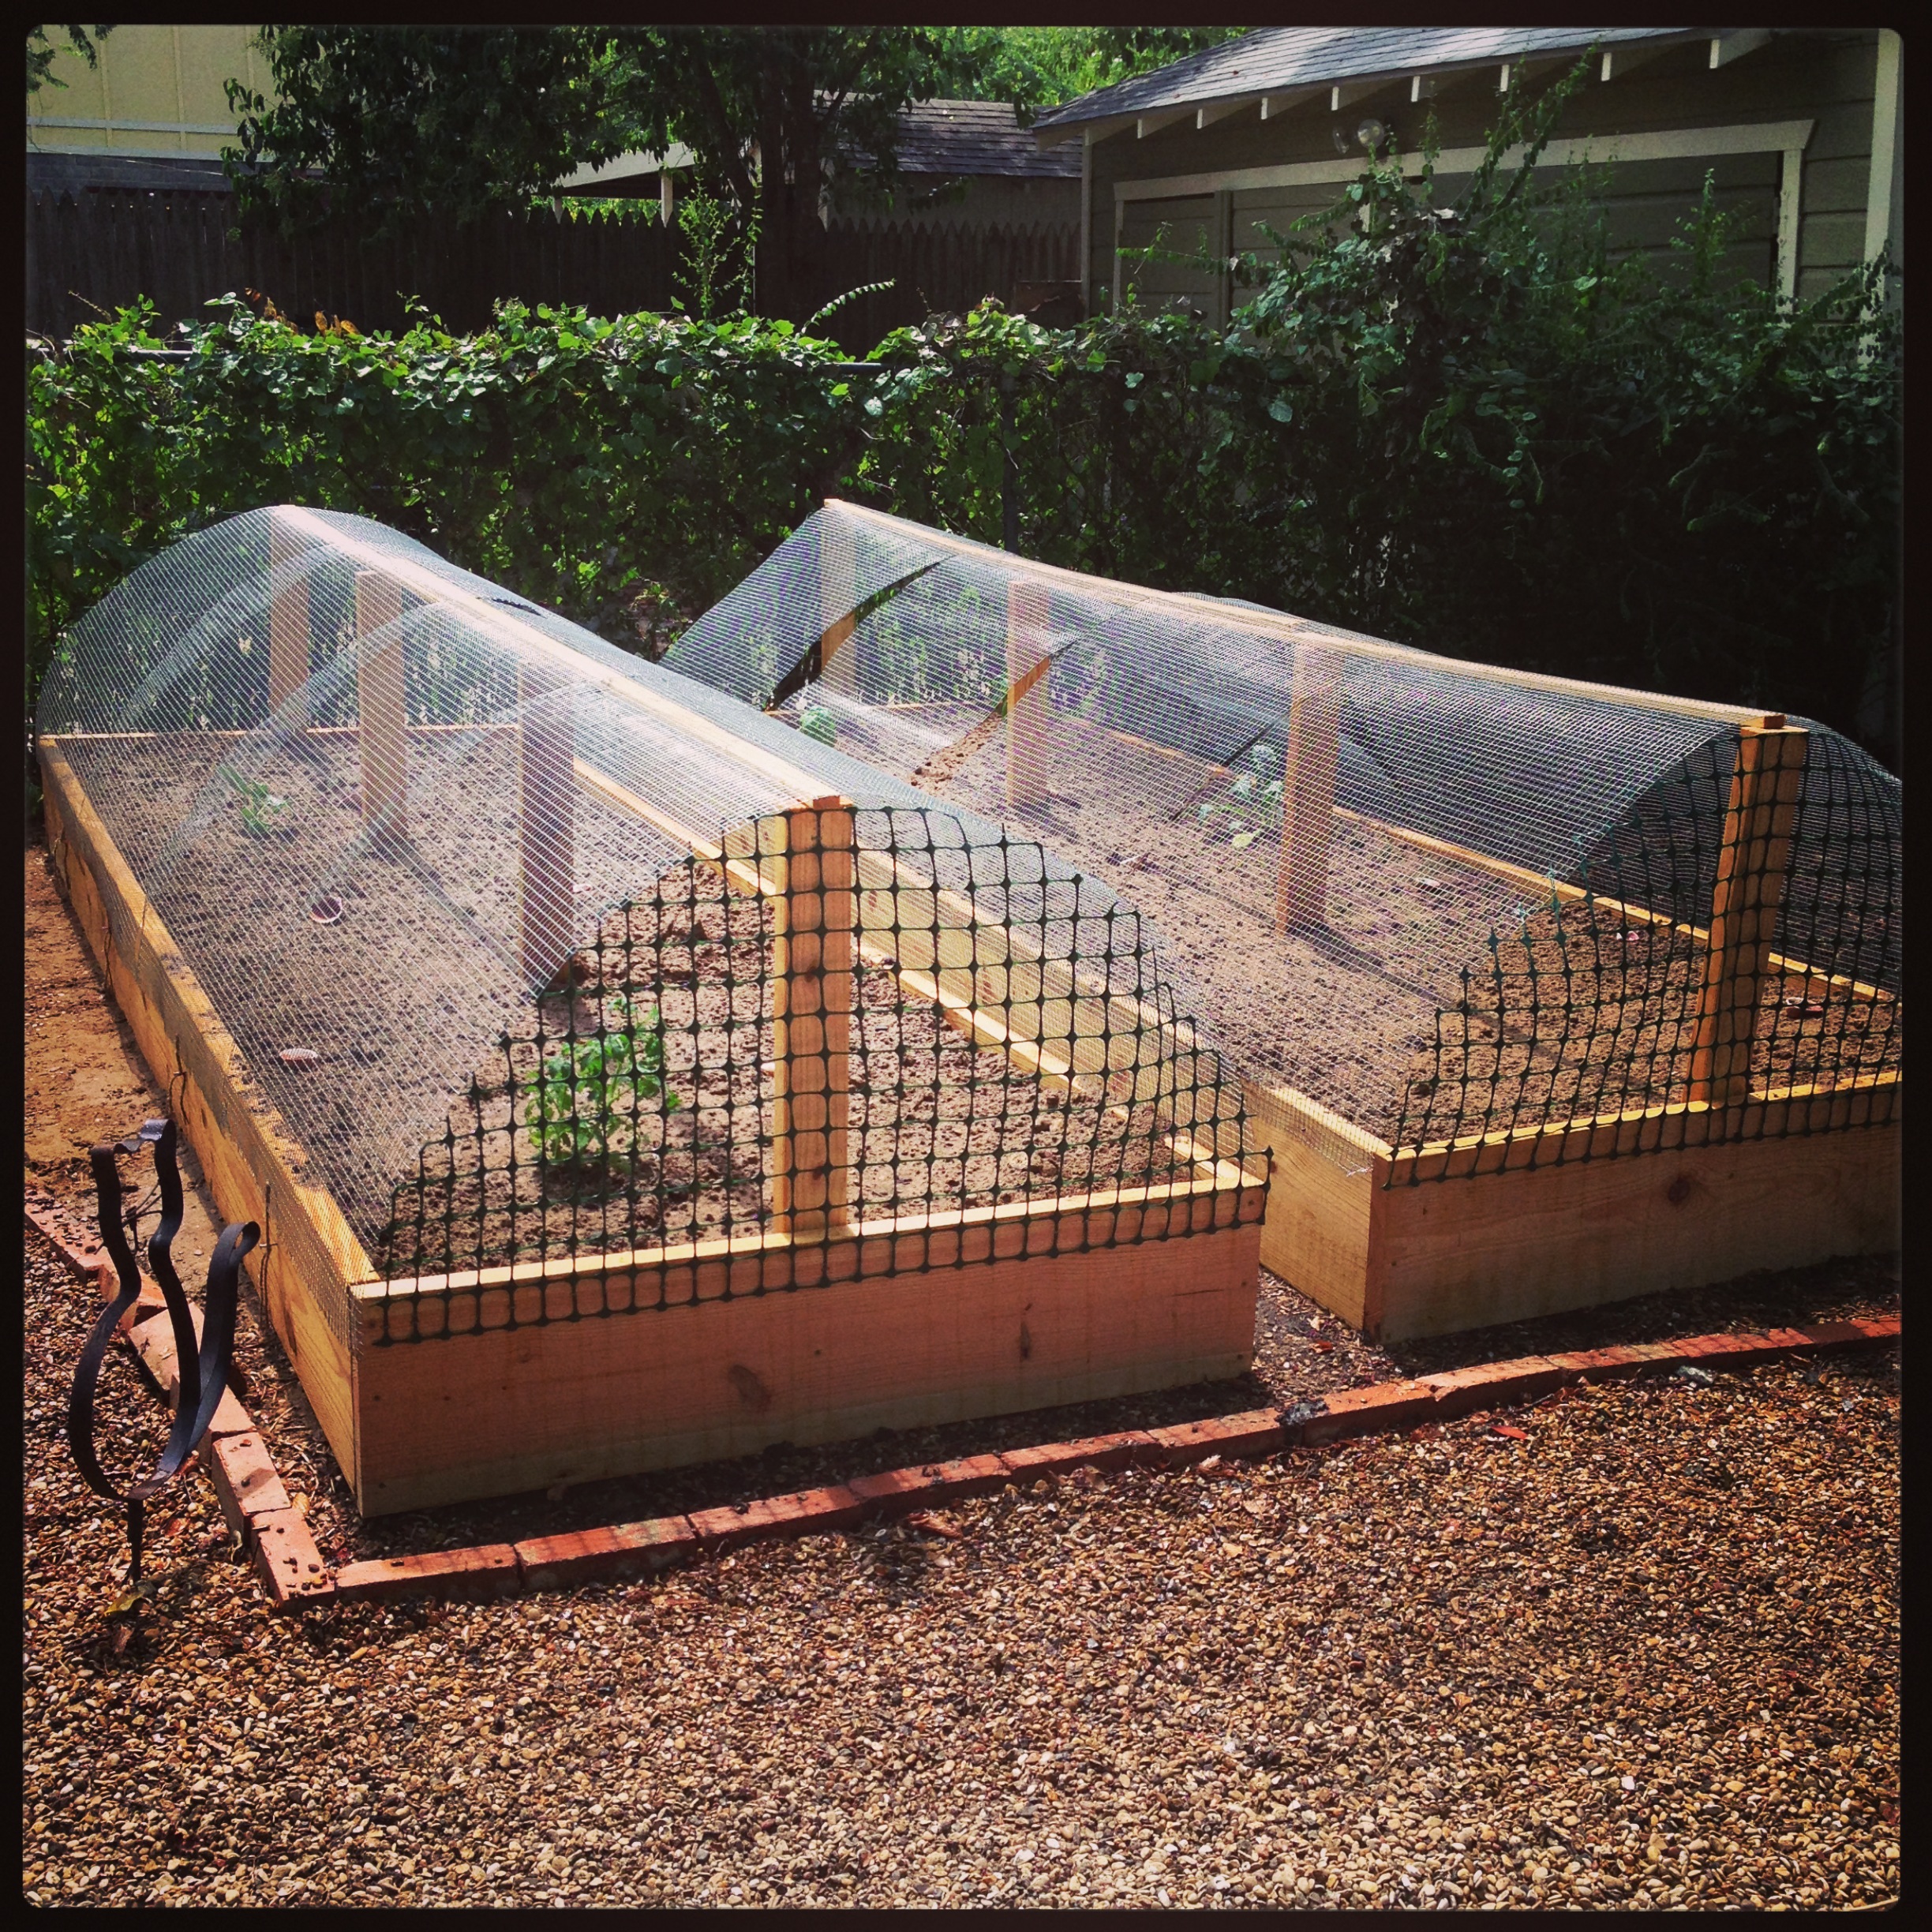
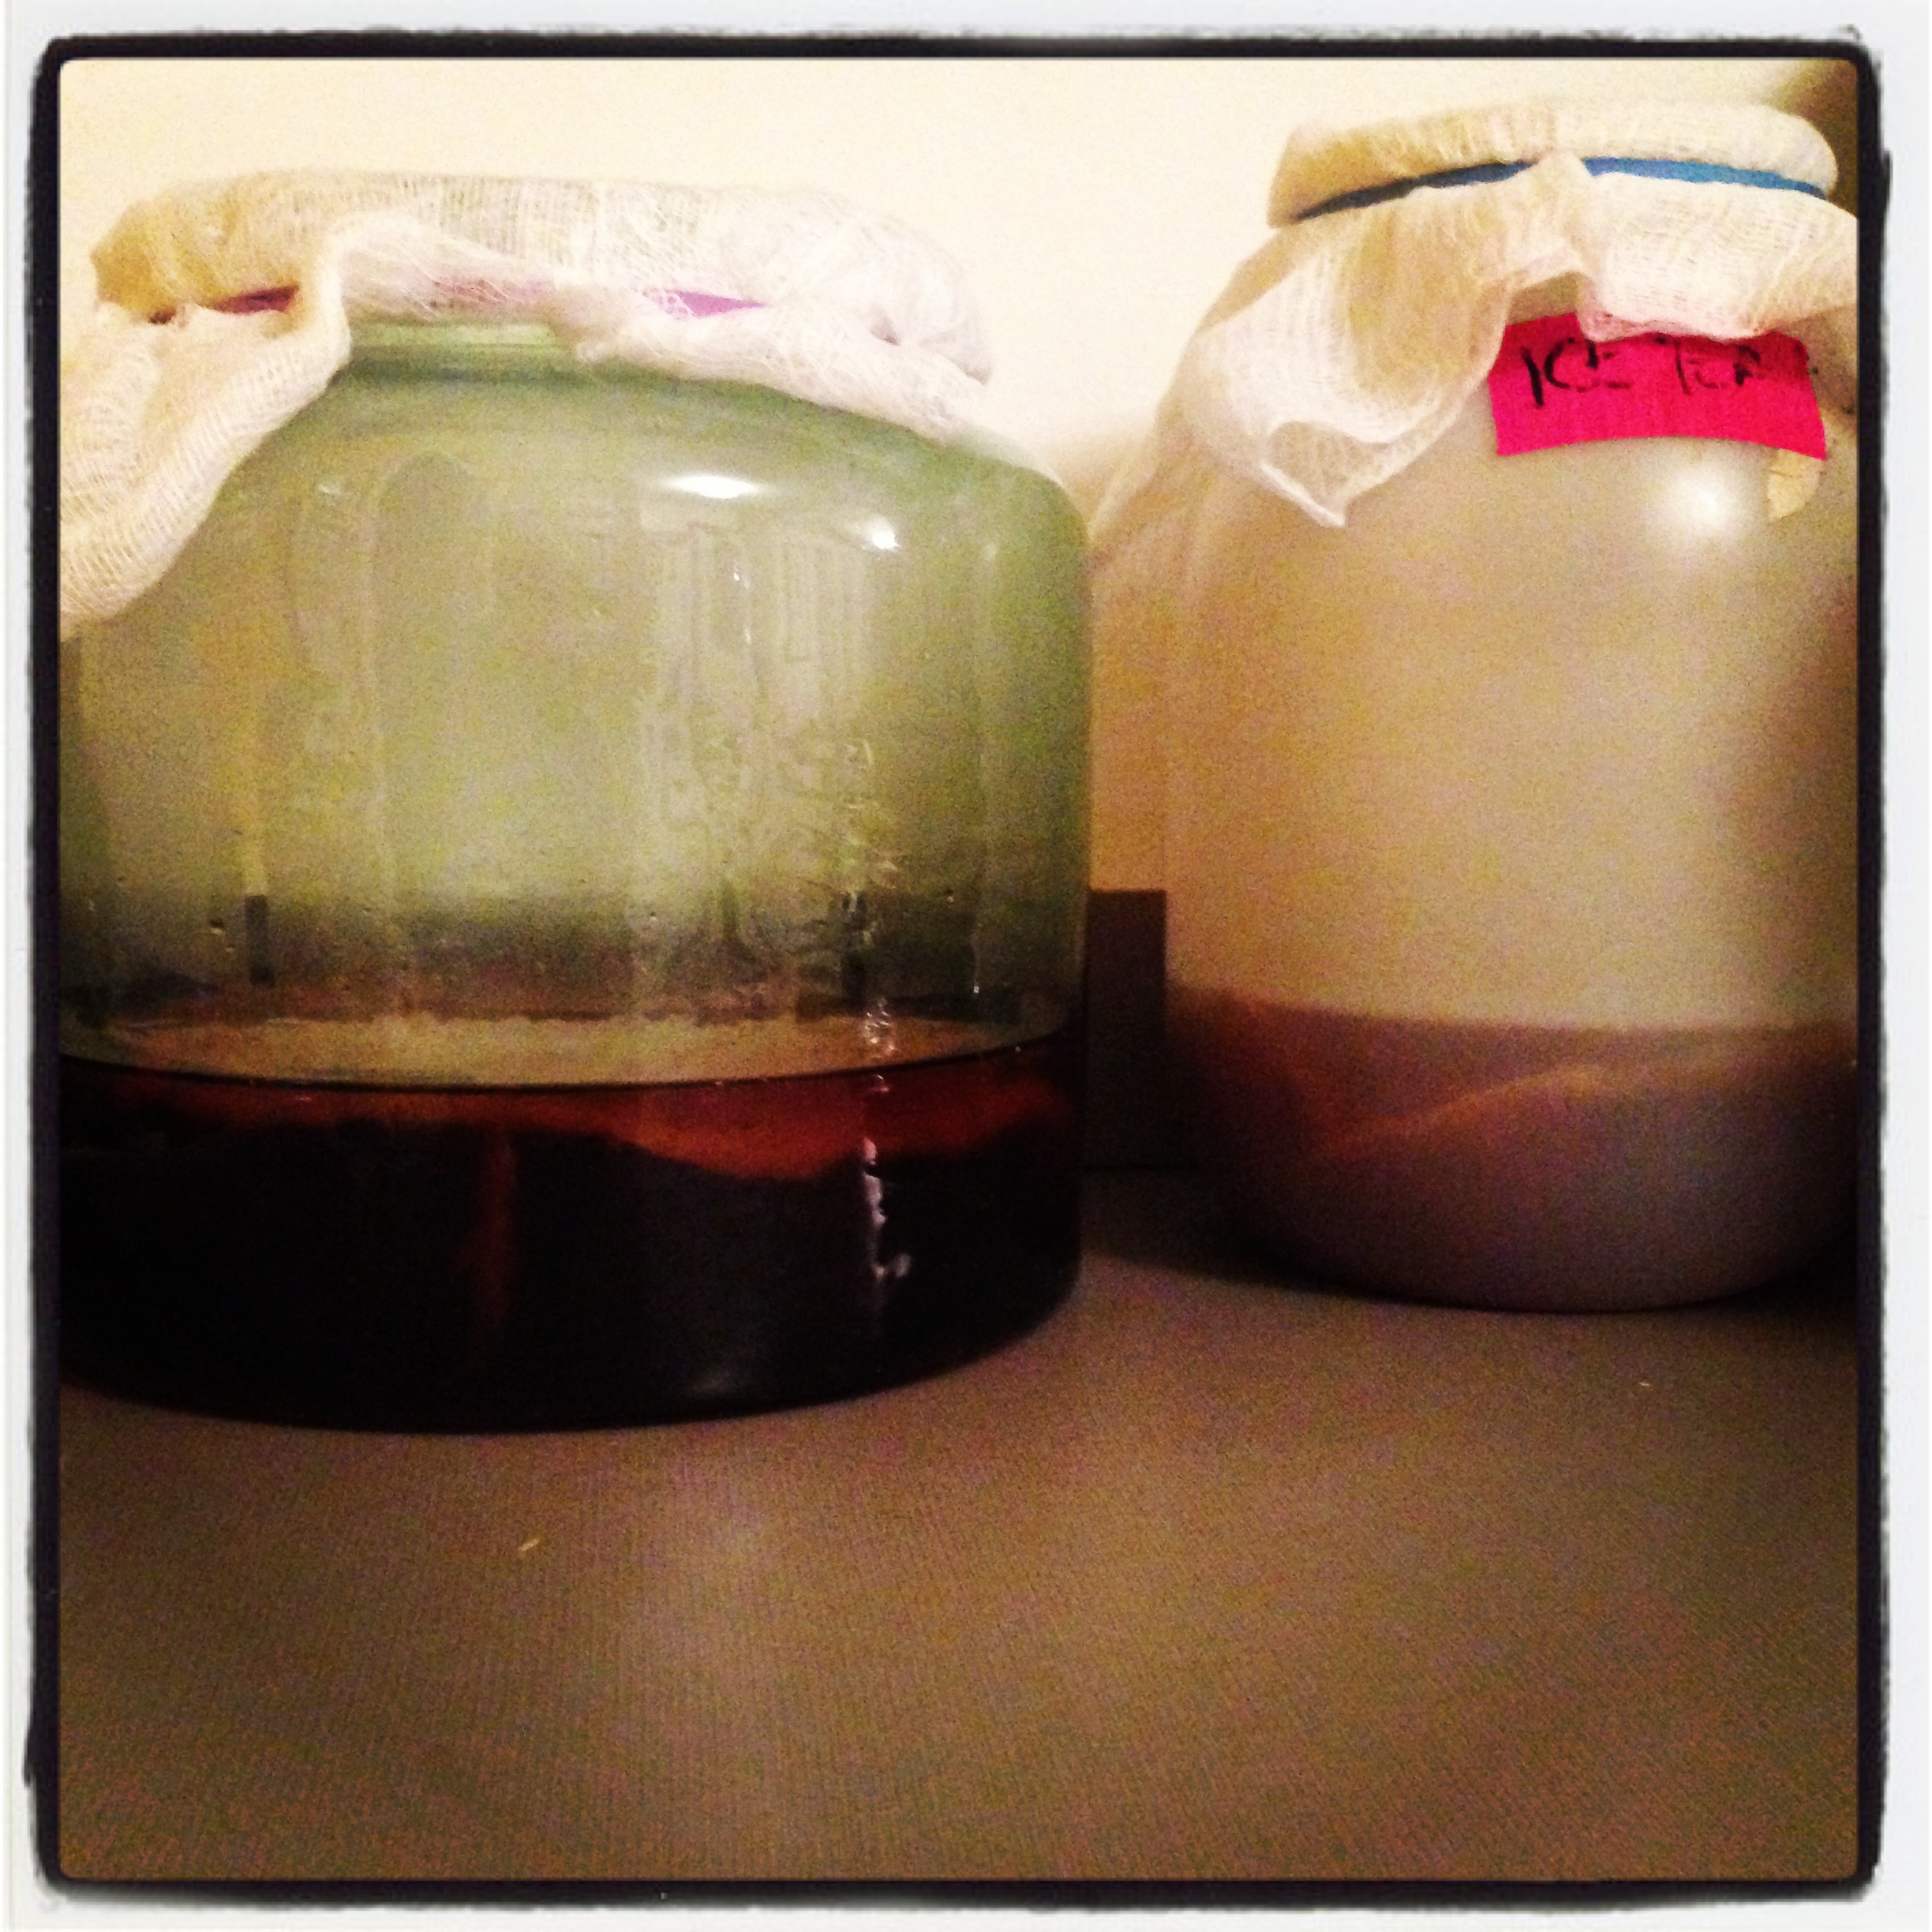
#1. Butterhead Lettuce and Dinosaur Kale    #2. Tipi Cover    #3. Pear pie/cake    #4Tipi Up    #5. Chicken Proof Gardening  #6. Kombucha

Kentucky

Sigh, my trip to Ky is over.  Here are some of my favorite pictures from the trip!  I can break it down in three parts; Places to go, things to eat once you get there, and memorabilia!  

where to go.jpg

1. Morris Book Shop  2. Red State BBQ  3. Spalding's doughnuts  4. Tachibana  

5. Al's Bar  6. Churchill Downs


Eat drink.jpg

1. Cherry Pie (tart)  2. BBQ nachos  3. Sushi  4. West Sixth IPA  5. Spalding's doughnuts  6. Homemade ice cream


Whilst in Kentucky I picked up a few new shirts and re-stock my CHOW CHOW!  If you didn't know, Kentucky is SUPER PROUD and was a state settled by a "Culture of Honor" you can look it up.  I think its great, if you don't I would just punch you in the face, or poison your well.  What have you?

memorabilia.jpg

1. Ale8-1  2. Kentucky for Kentucky  3. Hall's Beer Cheese ( beer cheese festival is in Winchester, Ky)  4. Kentucky for Kentucky  5. CHOW CHOW 6. Kentucky for Kentucky 

...................Hot & Spicy Fermented Chow Chow...................

- Fresh ingredients -
12 Jalapeno-diced
4 Manzano-diced
2 peach Habanero-diced
3 green bell-diced
3 red bell-diced
2 Green Anaheim Chile’s-diced
3 green tomatoes (or 6 tomatillo’s) -diced
1 large Vidalia onion-diced (more/less to taste)
1 small head of cabbage (1 Lb or so)-shredded

- Dry ingredients -
2 tsp mustard seed
2 tsp celery seed
2 tsp tumeric
1 tsp cayenne flakes
1TBS pickling salt
1 Cup sugar

- Liquid ingredients -
2 TBS whey (harvest from yogurt)
Distilled water (as needed)
Vinegar (see note)

Glass container with air tight lid (gallon pickle jar works well)
If your glass container has a metal lid, I suggest a couple layers of plastic wrap between the lid and the jar, otherwise the lid might begin to rust on the inside during processing and/or storage.

- Instructions -
Wash all fresh ingredients thoroughly, drain and mix together.
Combine the dry ingredients, 
Pack tightly into the glass container 1/3 at a time, adding the dry ingredients at each layer, Fill to within 3 inches at the top.
Add the whey, then slowly pour in the water, until it completely covers the contents.
Make sure to leave at least 2 inches of air space at the top.
Secure the lid, and sit aside to ferment for 2 or 3 days at room temperature.
Soon after sealing the container, you will begin to see small bubbles forming and becoming active. 
Occasionally you might need to release some of the natural gasses that form during the process, by quickly opening and re-sealing the lid.

After a few days of fermenting, move the jar to the fridge, where your chow-chow will keep for several months, if it happens to last that long. 

Note:
If a tart vinegar flavor is desired, pour off some of the liquid, add cider vinegar to taste and then refrigerate.

The whey (optional)serves as a starter, to get the fermentation underway more quickly.

If you choose not to use a starter, add one additional TBS of salt and allow to ferment 3 full days before refrigeration.


My Friend Fridays

My Friend Tamytha (pronounced TAM-uh-Tha)  is truly amazing.  She has two beautiful and smart daughters.  She is a small business owner.  She is an artist/photographer.  She is really pretty and funny.  She is very kind and incredibly patient.  She has a Masters Degree, and a one eared cat (see below).  She loves Scotland and Starbucks blueberry oatmeal.  I could go on and on... Tamytha and I are really different and really the same.  Whenever we talk there is always laughter.  She always brings out my funny side.  She is one of the most selfless people I have ever met, and I love her friendship.  I will always be friends with Tamytha no matter how far either of us roams.  xoxoxo - M           

MFF Tam.jpg

my friend fridays

My friend Nicole Atzbach is the Curator of the Meadows Museum.  She speaks 4 different languages!  Nicole is in charge of a lot of cool stuff, but most importantly she has twins!  Super cute ones.  Nicole has a VERY impressive scholarly resume, but my favorite thing about Nicole is that she is not a snob.  She is a funk enthusiast (she has been on stage with George Clinton and Parliament Funkadelic)  and a PBR drinking champ.  Sure she hangs with the Director of the Prado but she also can Salsa, Rumba, and Fox trot her way across a dance floor.  

N.A..jpg

did you know... i heart quilts.

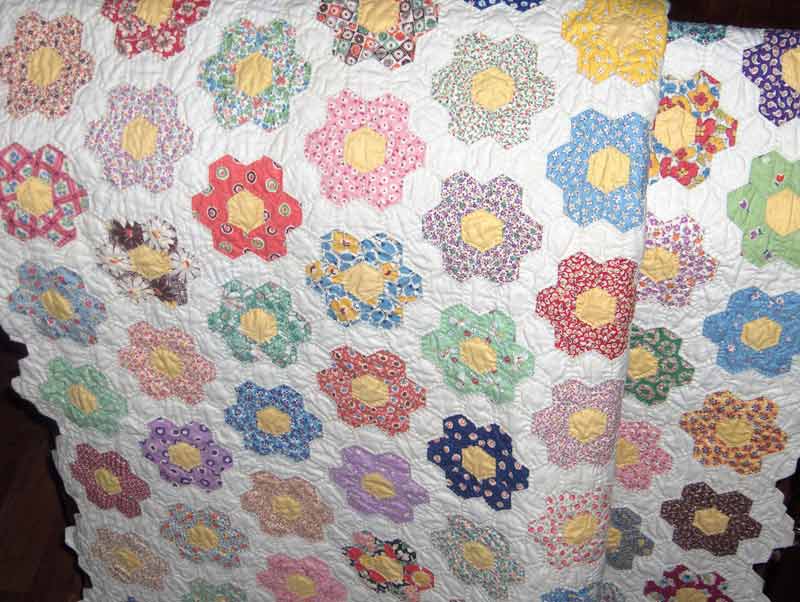
I am fortunate enough to have a side of my family that are/have been quilters.  So I have a pretty good collection of them.  Including two "toppers" that are not finished.  The other night we had a party and somehow in a Meyer lemon vodka fueled moment Erin, Scott, and i got them all out to admire them. (i know! so dorky)  Because that's how I roll now, I get a few drinks down and all I want is to talk about quilts...  Anyway, after getting them out, I thought..i really need to finish these.  Here is a tutorial I found on line to help me!    

If you do not have vintage quilt tops laying around your house you can buy them here! vintage quilt tops on Etsy   

How-Tuesday: Finish a Vintage Quilt Top

Photo by Alexia Marcelle Abegg Story by Julie Schneider  Published on Mar 12, 2013 in Make

You Will Need:

greenbeepatterns-gather-supplies1.jpg

• Quilt Backing Fabric – Measure your quilt top to determine how much backing fabric you will need. If your quilt is less than 84″ wide, you will need twice the length of the quilt top from 42″ wide fabric. If your quilt is 85″ or wider, you will need three times the length of the quilt top from 42″ wide fabric. (Quilting fabric generally comes in 44/45″ width, but only about 42″ is usable width so I base this calculation on that amount.) Pre-wash your backing fabric.
• Quilt Batting – Measure your quilt top and purchase enough batting to give you at least 3″ overhang at each side of the quilt. My favorite batting is Warm and Natural cotton.
• Masking Tape – to hold the layers of the quilt to the floor while you baste.
• Iron
• Straight Pins
• Ruler
• Scissors and/or Rotary Cutter and Mat
• Binding Fabric – You will need to cut 2″ wide by the 42″ width of fabric strips to make binding. To determine your yardage requirement, measure all sides of the quilt and add them together (X), divide that number by 42 = (Y), multiply Y by 2. Divide Y by 36. This is how many inches of yardage you will need. Round up to the nearest increment of a yard (yardage is usually sold in eighth yard increments, with the minimum being 1/4 yard).

• Basting Supplies:
200+ safety pins, depending on the size of your quilt. I recommend a box of 500 — that has worked on every quilt I’ve ever made, up to a large queen size.

 Quilting Supplies:
All-purpose sewing thread in a color to match your quilt. I usually purchase 500 yards for a queen size, 400 for a twin, or 300 for a small baby quilt. If you want to be safe, purchase 500yds.
A free motion, darning, or embroidery foot for your sewing machine and your machine’s manual to instruct you on how to set your particular machine.

Directions:

2.jpg

1. Gather up your supplies.

2. Iron quilt top, backing fabric, and batting.

3.jpg

3. Prepare the Backing Fabric. Cut backing fabric into the lengths required by your quilt top. My vintage quilt top required two lengths (shown here). Pin and sew the two lengths of fabric together along the long sides using a 5/8″ seam allowance. The seam needs to be large enough to sew the entire printed selvage into the seam without any of the white selvage edge showing on the right side of the seam after it has been sewn. If 5/8″ is not enough, increase your seam allowance to catch the selvage in the seam.

4.jpg

Trim the seam down to approximately 1/4″. This will help the seam be flat and less noticeable, and will prevent the selvage from shrinking in the wash. Press the seam open.

5.jpg

4. Basting the Quilt Layers
Tip: When basting a large quilt, a partner is helpful.

Lay the prepared backing fabric wrong side up on a smooth surface, such as a hardwood floor, and tape the backing down around the edges every 6 to 8 inches. Lay the quilt batting on top of the backing fabric and smooth the batting. Safety pin the three layers of the quilt together using your safety pins. Pin in a 5″ grid over the entire quilt top.

6.jpg

5. Quilting the Quilt. I like to wind 5-6 bobbins before I begin so that I don’t have to stop and wind bobbins while I am quilting. Set your machine, according to the manufacturer’s instructions, for free motion and attach the free motion foot. Thread the machine with all-purpose thread. Place the quilt under the needle and unroll the edge until you have the center of the quilt under the needle. Keeping the roll to the right of the needle will help the quilt fit under the arm of your sewing machine.

Move the quilt around as you sew, keeping your stitch length even by how fast or slow you move the quilt. Create loops, squiggles, box shapes, zigzags … the possibilities are endless. Fill the entire quilt with your stitching, moving from one section to the next, continuously stitching. Check your batting instructions by the manufacturer to see how close or far apart your stitching can be and still hold the batting together. (For free-motion quilting inspiration, check out some of the resources at the end of this post.)

6. Prepare your Quilt for Binding. Set your machine for straight stitching.

7.jpg

Trim the excess backing and batting with scissors or a rotary cutter, ruler and mat. If your quilt is slightly irregular at the edges, you can either cut with scissors and allow the edges to be irregular (as I have done on this quilt) or you can cut with the rotary cutter, using the ruler to square up the corners of the quilt top. I personally like the personality and charm that comes with flaws like this.

8.jpg

Cut your binding fabric into 2″ strips, cutting across the width of the fabric (from selvage to selvage).
Place one strip onto another fabric strip end to end, with the printed side of the fabrics facing each other, at a 90° angle. Mark a line from corner to corner 45° from the cut edge of the fabric strip. Pin the strips together and stitch on the marked line. Repeat, joining strips end to end, to make continuous binding. Trim the seams down to about 1/4″ and press the seams open. Fold the binding in half, wrong sides of the fabric touching each other, all the way down the entire length of the strip and iron.

9.jpg

7. Bind Your Quilt. Leaving about 10″ of binding free, begin sewing the binding to the front of the quilt with the raw edges of the binding aligned with the raw, outside edges of the quilt, using a 1/4″ seam allowance. Start sewing the binding on about 20″ from a corner of the quilt.

When you reach a corner, stop sewing 1/4″ from the corner and backstitch. Remove the quilt from the machine. Fold the binding up and away from the quilt at a 45° angle as shown in photo #4 (sew binding to quilt).

10.jpg

Fold the binding back down towards the quilt, aligning the fold with uppermost edge of the quilt as shown in photo #1 (miter corners) and align the raw edges of the unstitched binding to the raw edges of the quilt. Pin in place.

Begin sewing again 1/4″ from the corner of the quilt, backstitch, and sew the binding to the entire quilt edge, mitering at each corner.

11.jpg

Stop sewing when you reach 10″ from the start of your binding stitching. Overlap the ends of the binding by 2.5″ and trim. It is ideal if the the overlap is centered in the section of the quilt’s edge where the binding has not yet been sewn to the quilt.

Unfold the ends of the binding and place them with the printed sides of the binding facing each other, letting 1/4″ of the binding extend over each of the cut ends. Be sure the binding is not twisted before pinning the ends together.

12.jpg

Mark a stitching line just like you did when joining the strips together before stitching them to the quilt. Sew the ends together on the marked line. Trim the seam allowances down to approximately 1/4″ and press the seam open.

13.jpg

Fold the binding back together with the wrong sides facing each other and sew the remaining seam of the binding and quilt.

14.jpg

Wrap the binding around to the back of the quilt and hand sew the binding to the quilt back. At each corner, first fold one side, allowing the corner of the binding to create a little 45°angle, then fold the other side over, also allowing it to create a small 45° angle. This will give you mitered corners. Hand sew the entire binding down to the quilt back.

Congratulations! You now have a finished quilt. You can wash it if you prefer, and let it air dry or dry in the dryer on low heat. Snuggle up and enjoy!


finisged-quilt.jpg

Thank Goodness for etsy! 

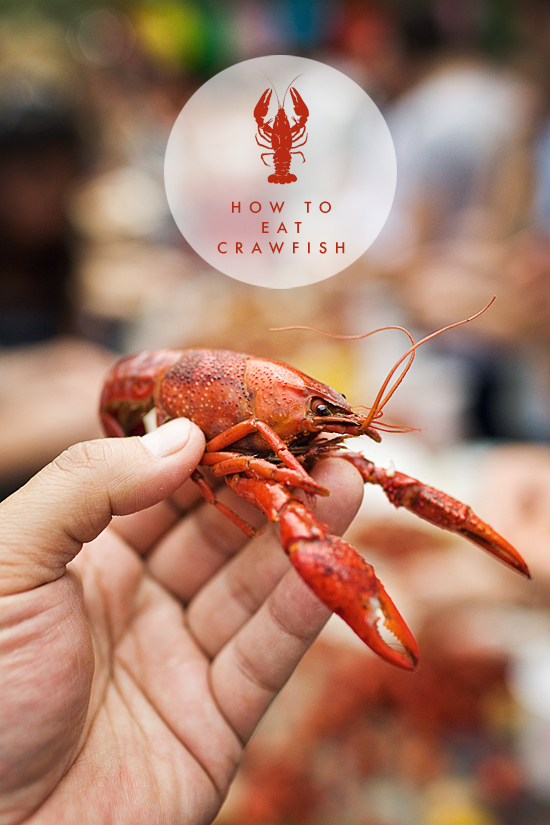
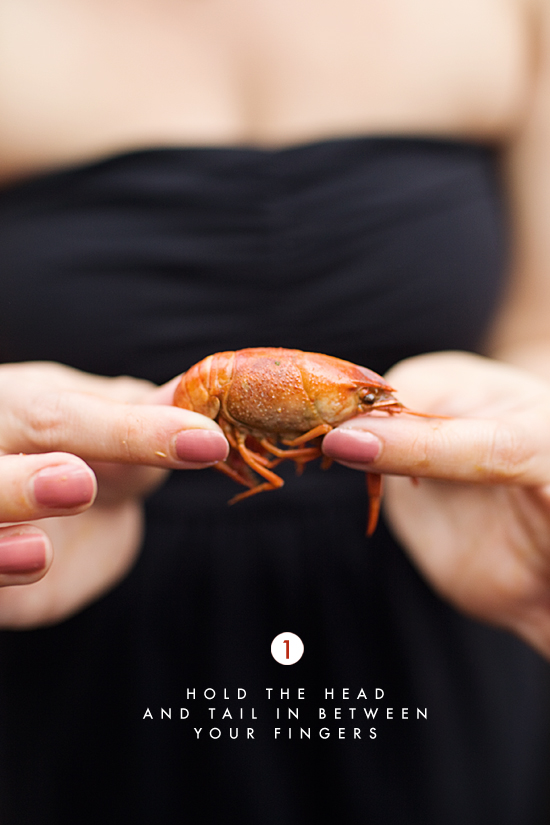
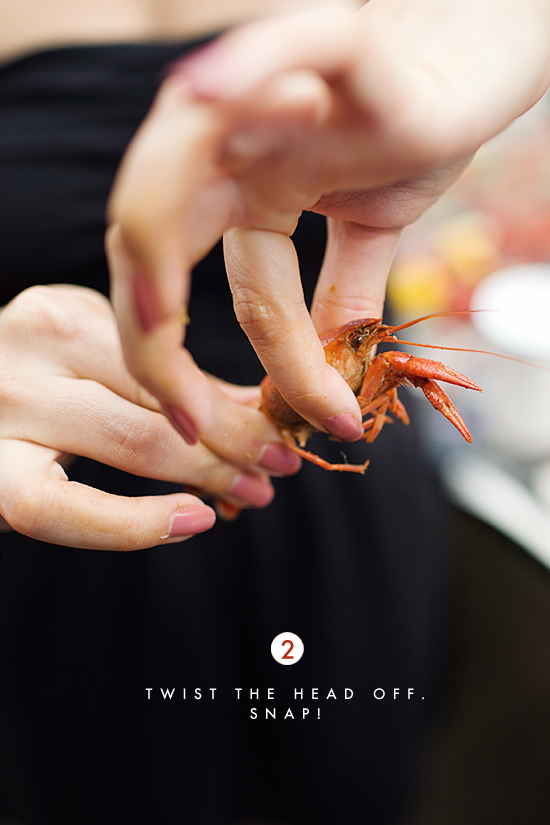
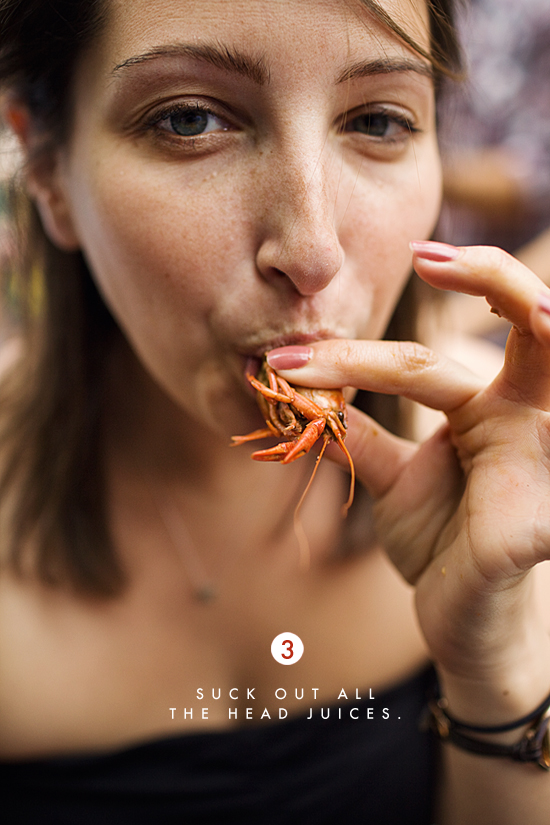
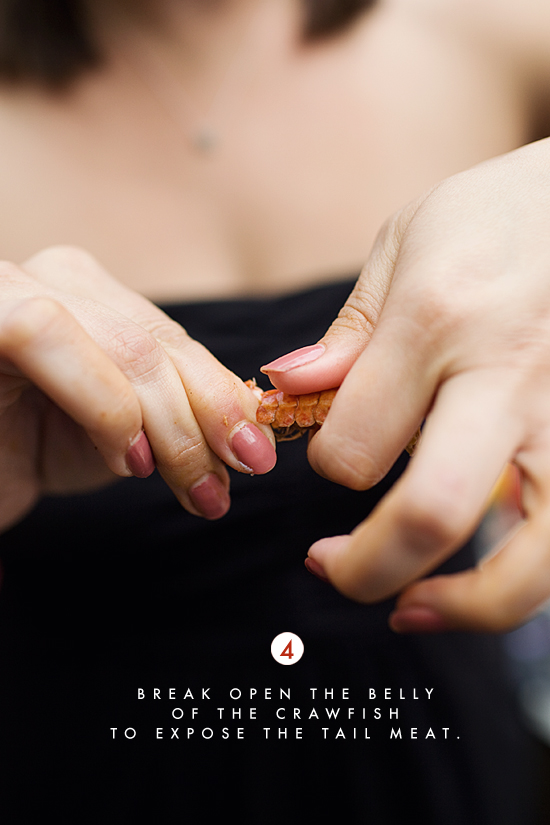
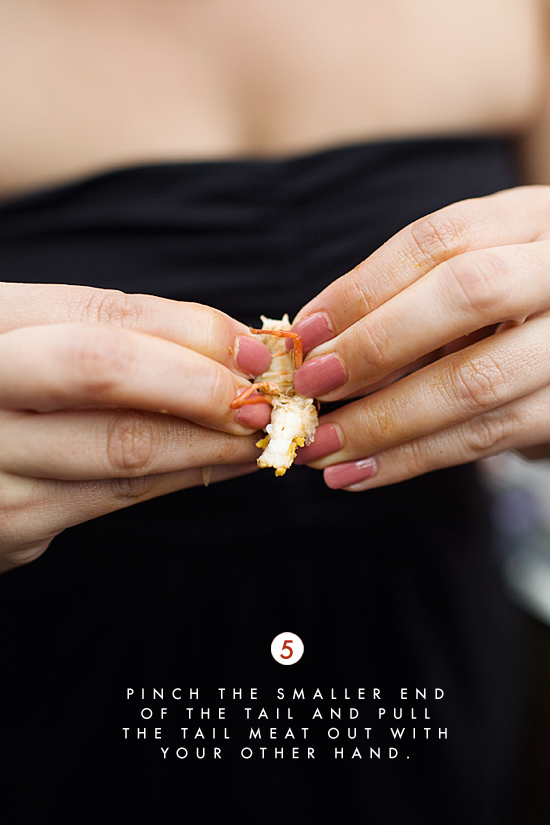
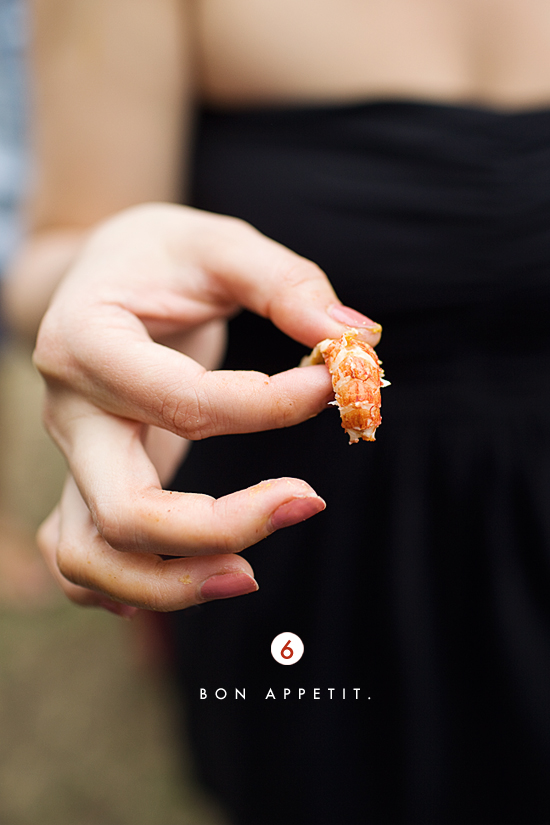
How to Eat Crawfish: Eat, Drink + Be Merry.

For those attending any crawfish (mud bugs) boils soon, I thought a quick guide would be handy so no time is wasted.  Cold bugs, not on our watch!  I "borrowed" this tutorial from the Eat Drink & Be Merry website.    

True Southerner Cosmo Quiz!

I meet people all the time claiming to be Southern.  Being a Southerner myself I just nod politely and smile.  So I thought, I should make a visual "Cosmo" quiz just to help people determine just how Southern they are!    ​

Circle the items you have IN YOUR house.  See the results below.​

1 - 4  ​Bless your heart.  Thanks for playing!

4 - 7 You got a real chance at having some heritage. 

7 - 10 ​You didn't even play cause you know your Southern, and you got stuff to do.

Just kidding!  Any and all of these items in your home make you a Great Southerner! ​

the Quintessential Mint Julep

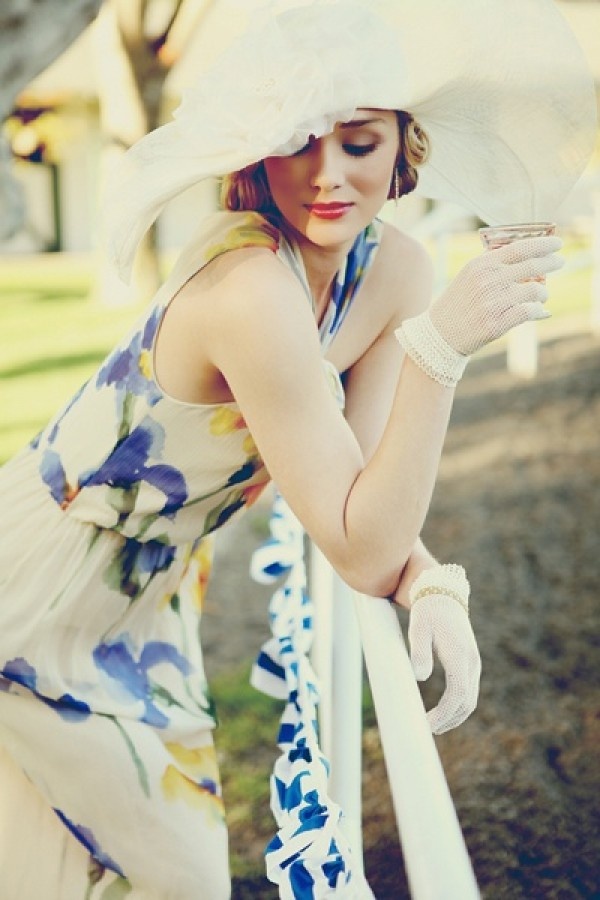
The Kentucky Derby and the Mint Julep is a rare convergence of sports and an extremely elegant libation.  It is truly the most exciting 2 minutes in sports.  We Kentuckians take the 2 minutes very seriously.  In fact we prepare for the day/week like a religion.  Hundreds of thousands of dollars are spend on primping and prepping for this day.  So don’t even think about making this drink without a hat and a proper frock.

The drink is so refreshing, and so potent make sure you collect all non-Kentucky folk’s car keys as they will not be able to handle all the sweet/bourbon-y goodness.  Proper is the point, so do it the traditional way. 

dc5c85a996854409a5136cfa1e0ba7a4.jpg

First you need the right ingredients and the right gear. Try Maker's Mark or pricier small batch bourbon like Basil Hayden's. Brown sugar and fresh mint give the drink depth and freshness.

Pewter julep cups are classic but an Old Fashioned or highball glass will do the trick. A wooden muddler is a must for crushing mint. If you're really serious, buy a Lewis bag for crushing the ice.

julep.jpg

Crush 4 cups of ice.  Do not skip this step rookie!  In a pint glass or cocktail shaker, muddle 8 mint leaves and a teaspoon of brown sugar.  Or you can make a mint infused simple syrup in advance.  Whatever the case may be. Add 2 ounces of bourbon and stir. Pack a julep cup with ice until overflowing. Strain bourbon mixture into cup. Stir drink until the outside of the cup frosts.

Top with more ice, garnish with a fresh mint spring, and serve. 

Mint infused simple syrup:

In a small saucepan, combine sugar, 1 cup water, and mint stems. Place over medium heat, and cook, stirring occasionally, until sugar is dissolved. Remove from heat; let cool. Strain through a sieve. Syrup can be stored in an airtight container in the refrigerator for about 2 weeks.

Sources: Bon Appetit and Martha Stewart living.  Long live the Queen.

In honor of 139 Kentucky Derby

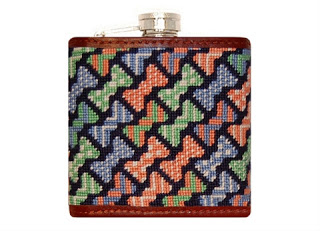
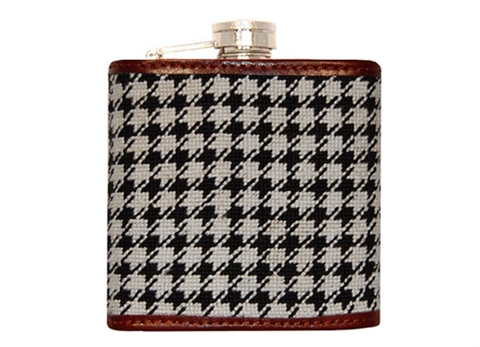
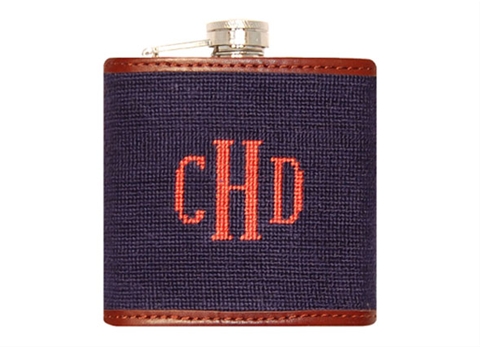
I am sad I will not be at the Derby this year!  However, I can sooth myself with one of these needlepoint flasks.  They are SO southern and SO Kentucky.  I can't decide which of these little beauties to order.  You can pick one up here.  

Word to the wise, you won't be able to get in the track with a flask!  ENJOY!

Procrastination

With the opening ceremonies for the Martín Rico exhibition over and the Museum Flowers show about to start in 5 days...I am feeling a little ADD. 

My thoughts keep wandering over to this website Adventures in Cooking.  Good luck trying to stay focused after seeing this masterpiece!

Spiced Apple Cake

3 Eggs

2 and 1/4 Cups Flour

1 and 1/2 Cups Unsweetened Applesauce

1 and 1/4 Cups Granulated Sugar

1 Cup Vegetable Oil

1/4 Cup Brown Sugar

2 and 1/2 Teaspoons Vanilla Extract

1 Teaspoon Baking Soda

1 Teaspoon Salt

3/4 Teaspoon Baking Powder

1 and 1/2 Teaspoons Cinnamon

1/2 Teaspoon Nutmeg

1/2 Teaspoon Cloves

1/2 Cup Golden Raisins

1/4 Cup Pecans

Salted Caramel Frosting

1 and 1/4 Cups Plus 1/3 Cup Granulated Sugar

1 Cup Whole Milk

1 Cup Plus 1/4 Cup Butter (unsalted), softened

1/4 Cup Plus 1 Tablespoon Flour

1 Teaspoon Vanilla Extract

1/2 Cup Heavy Cream, at room temperature

1/3 Cup Brown Sugar, packed

2 Tablespoons Water

1/2 Teaspoon Salt

Meadows Museum Open House = Success

Fabulous Evening featuring The Art and Soul of Spain

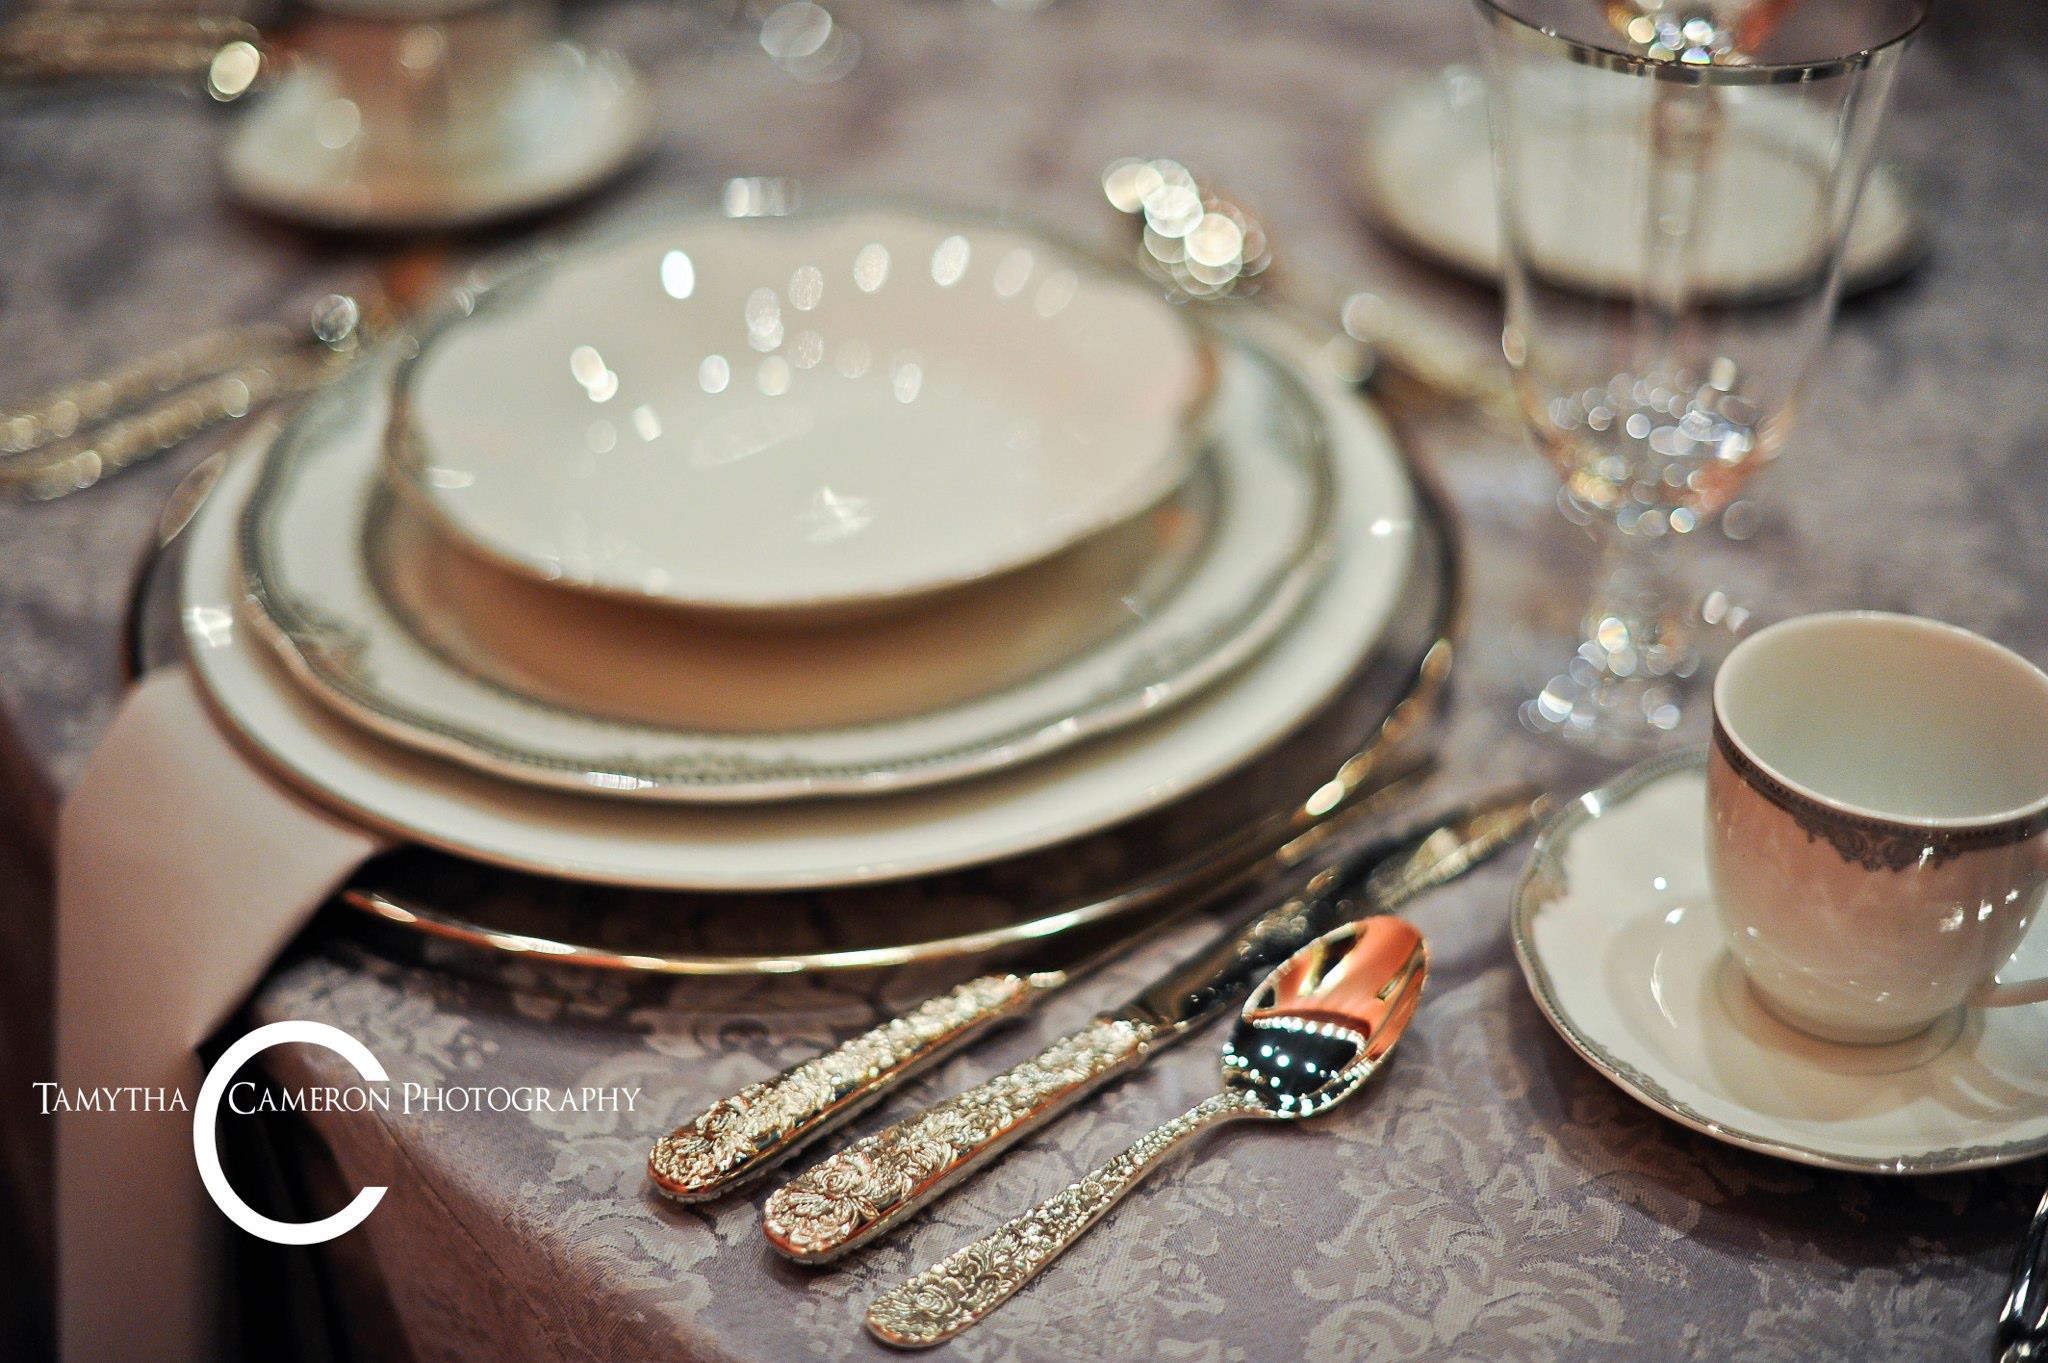
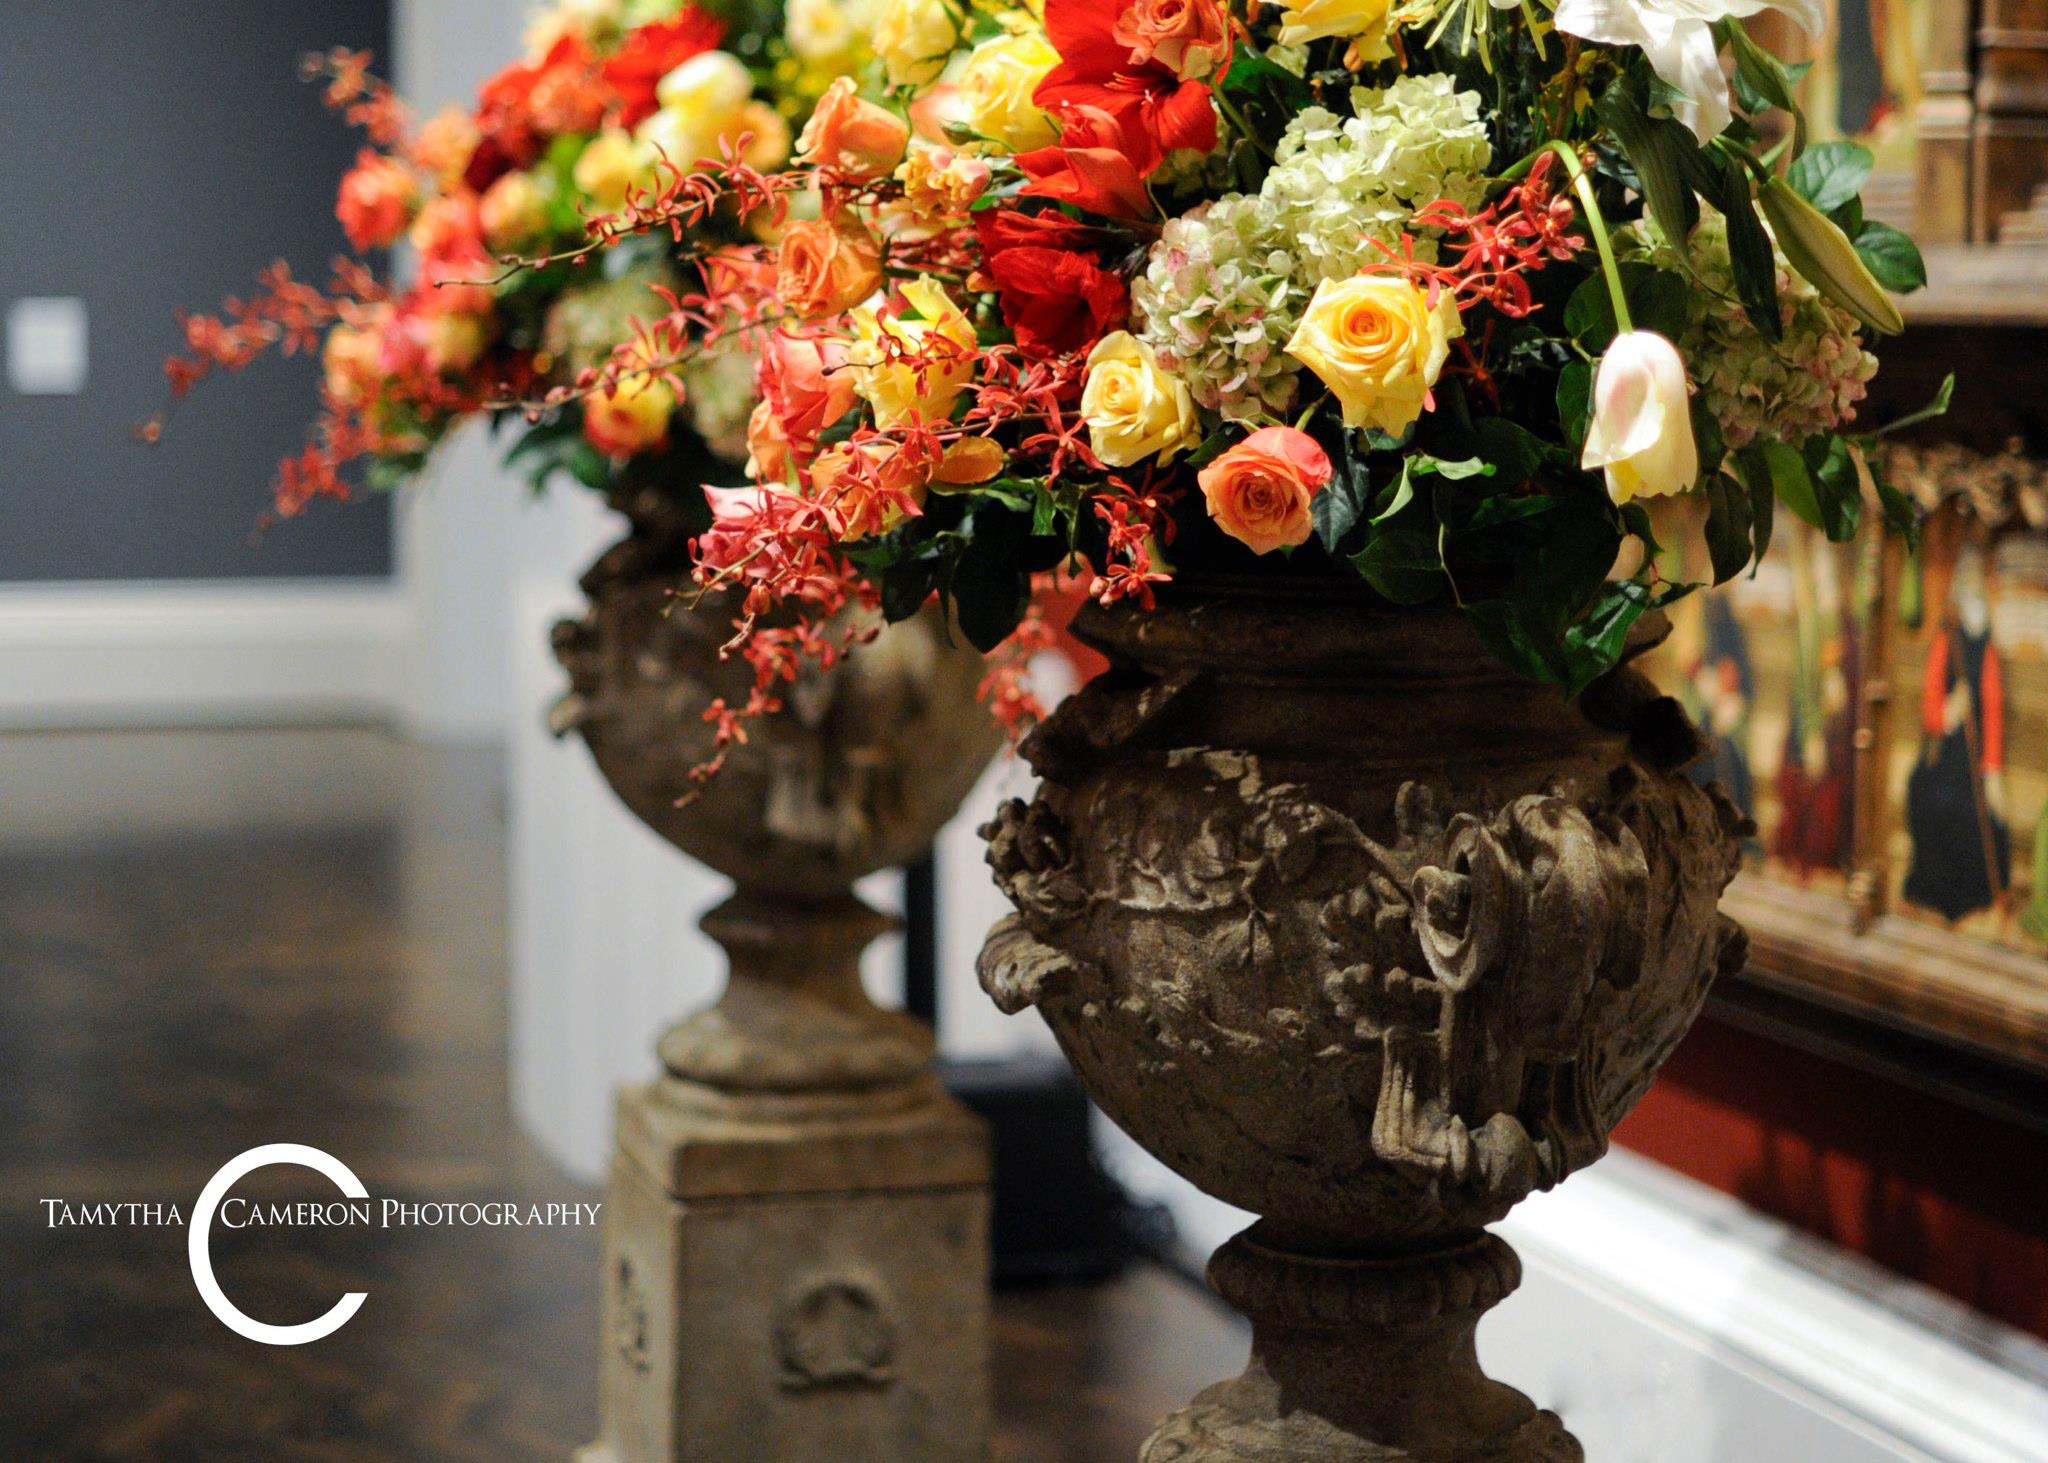
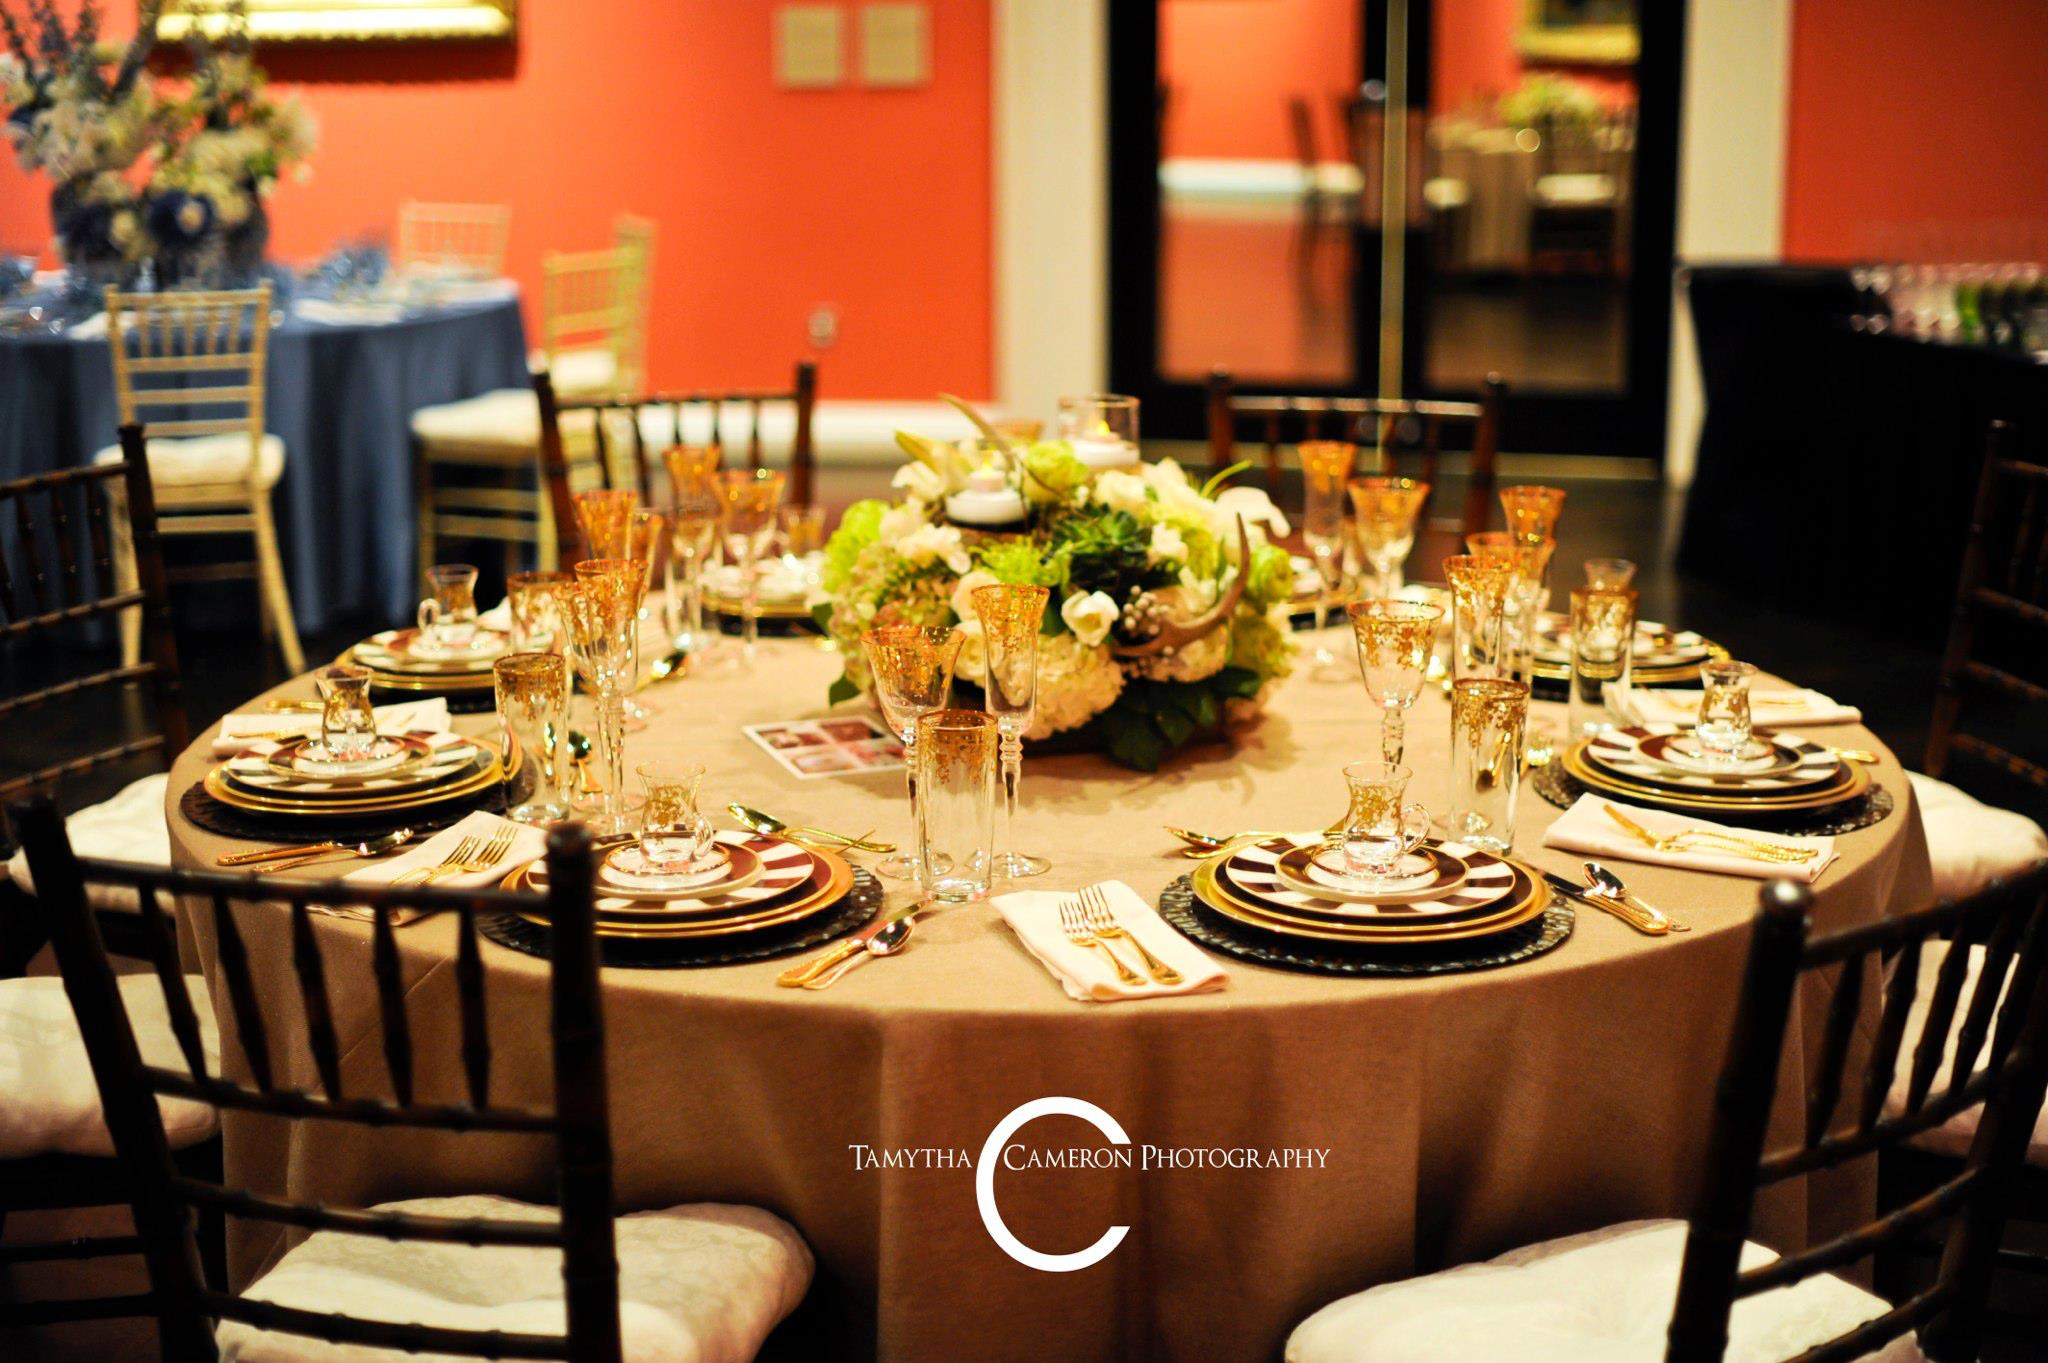
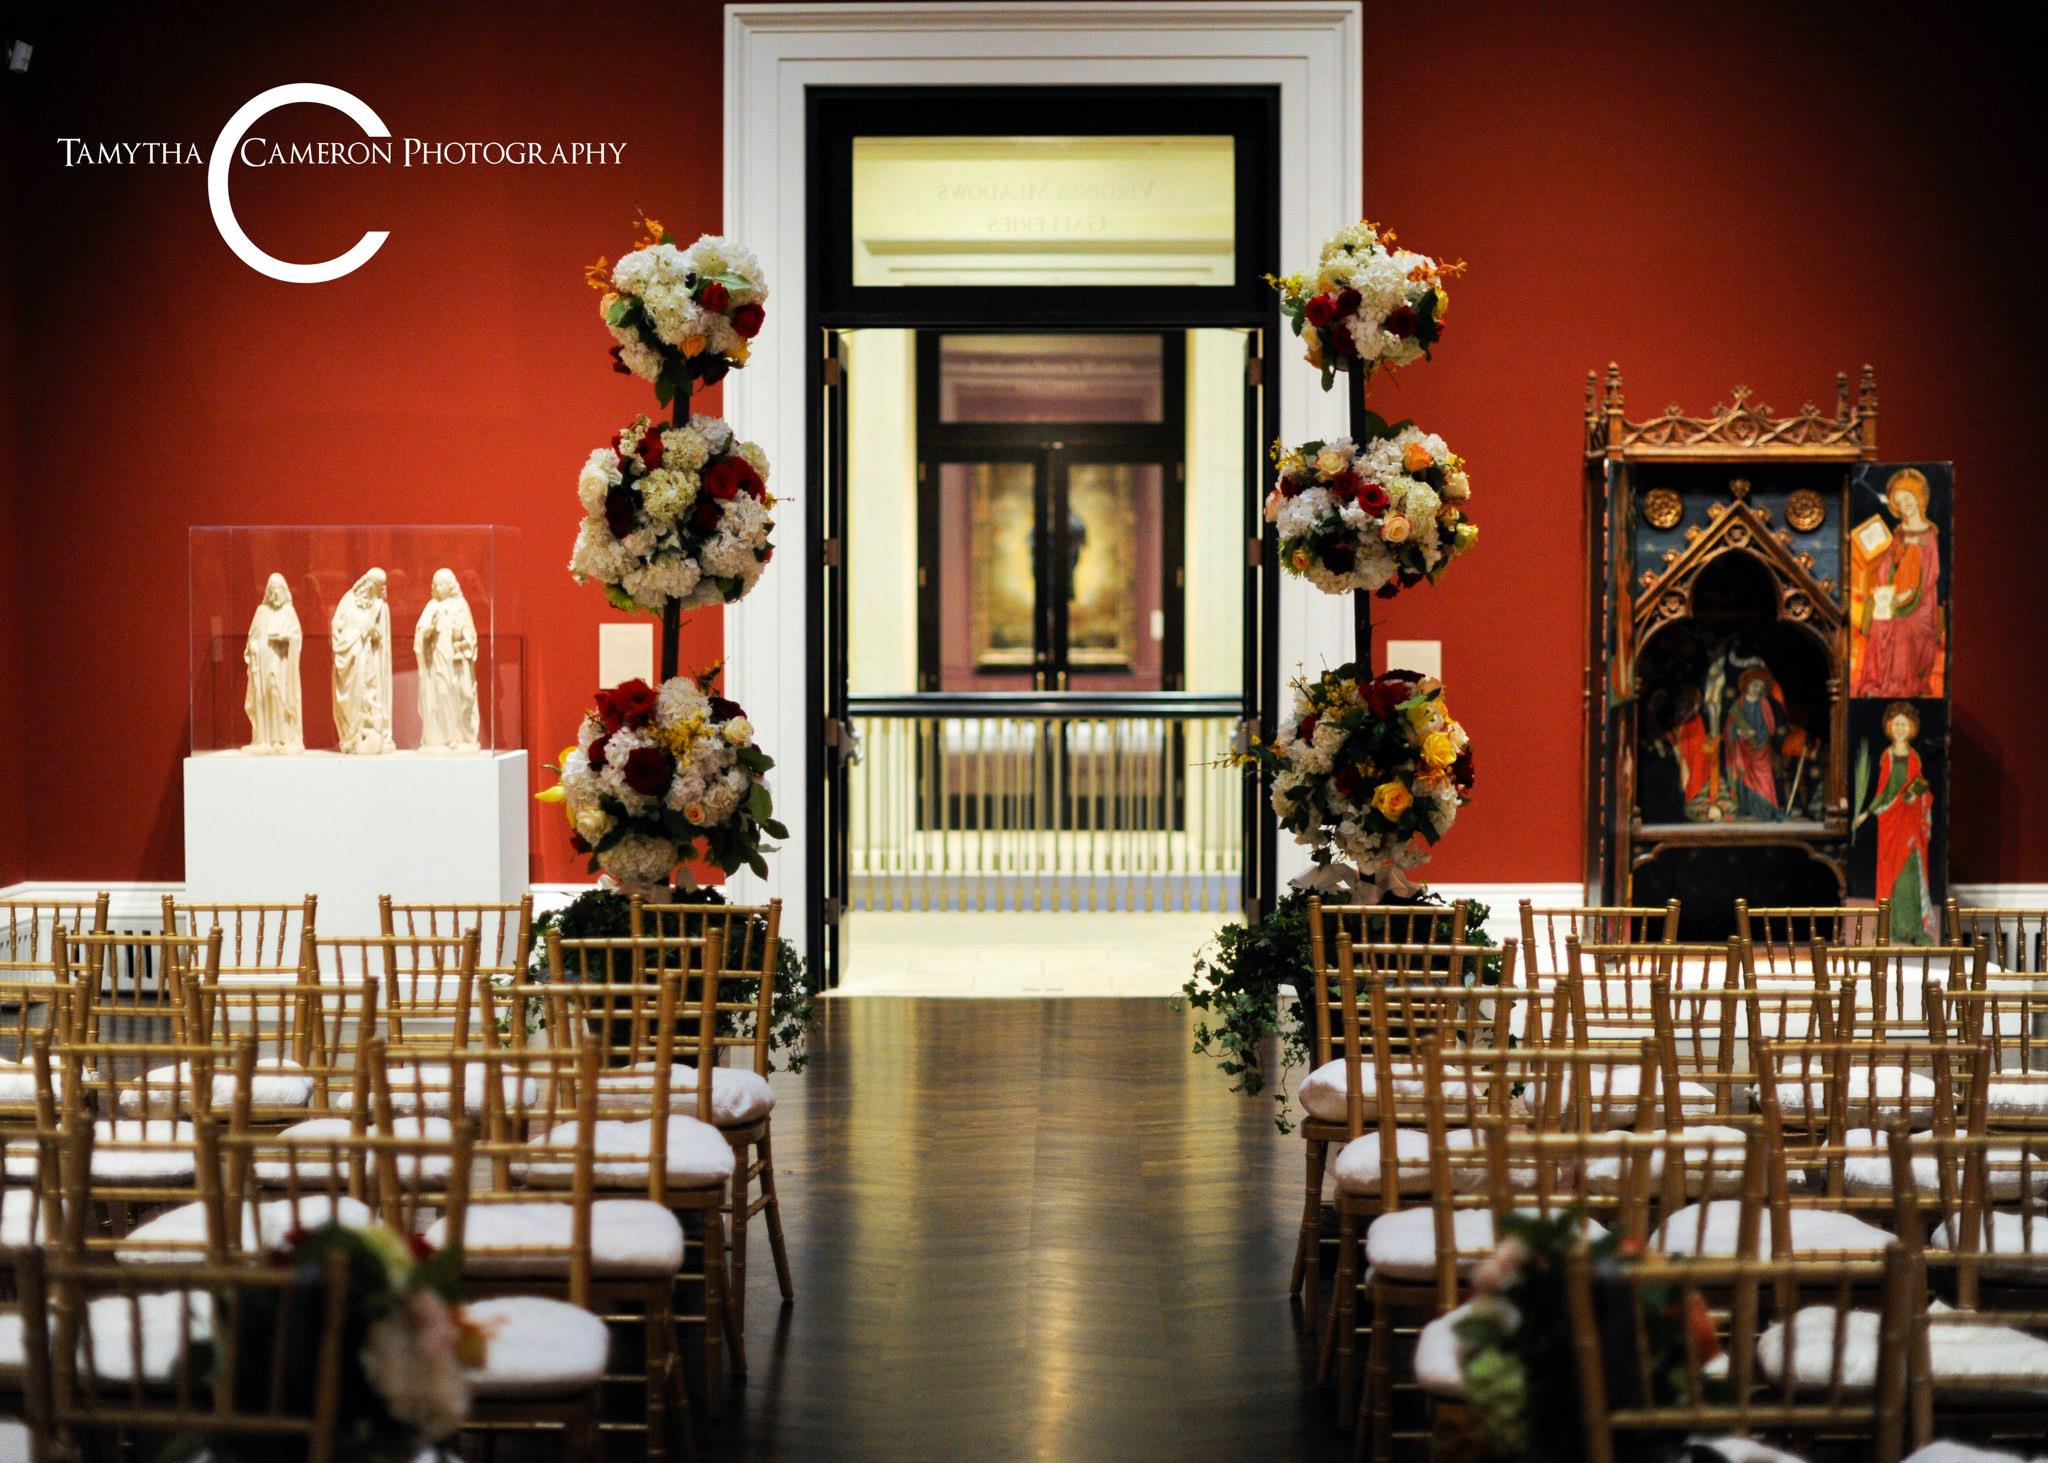
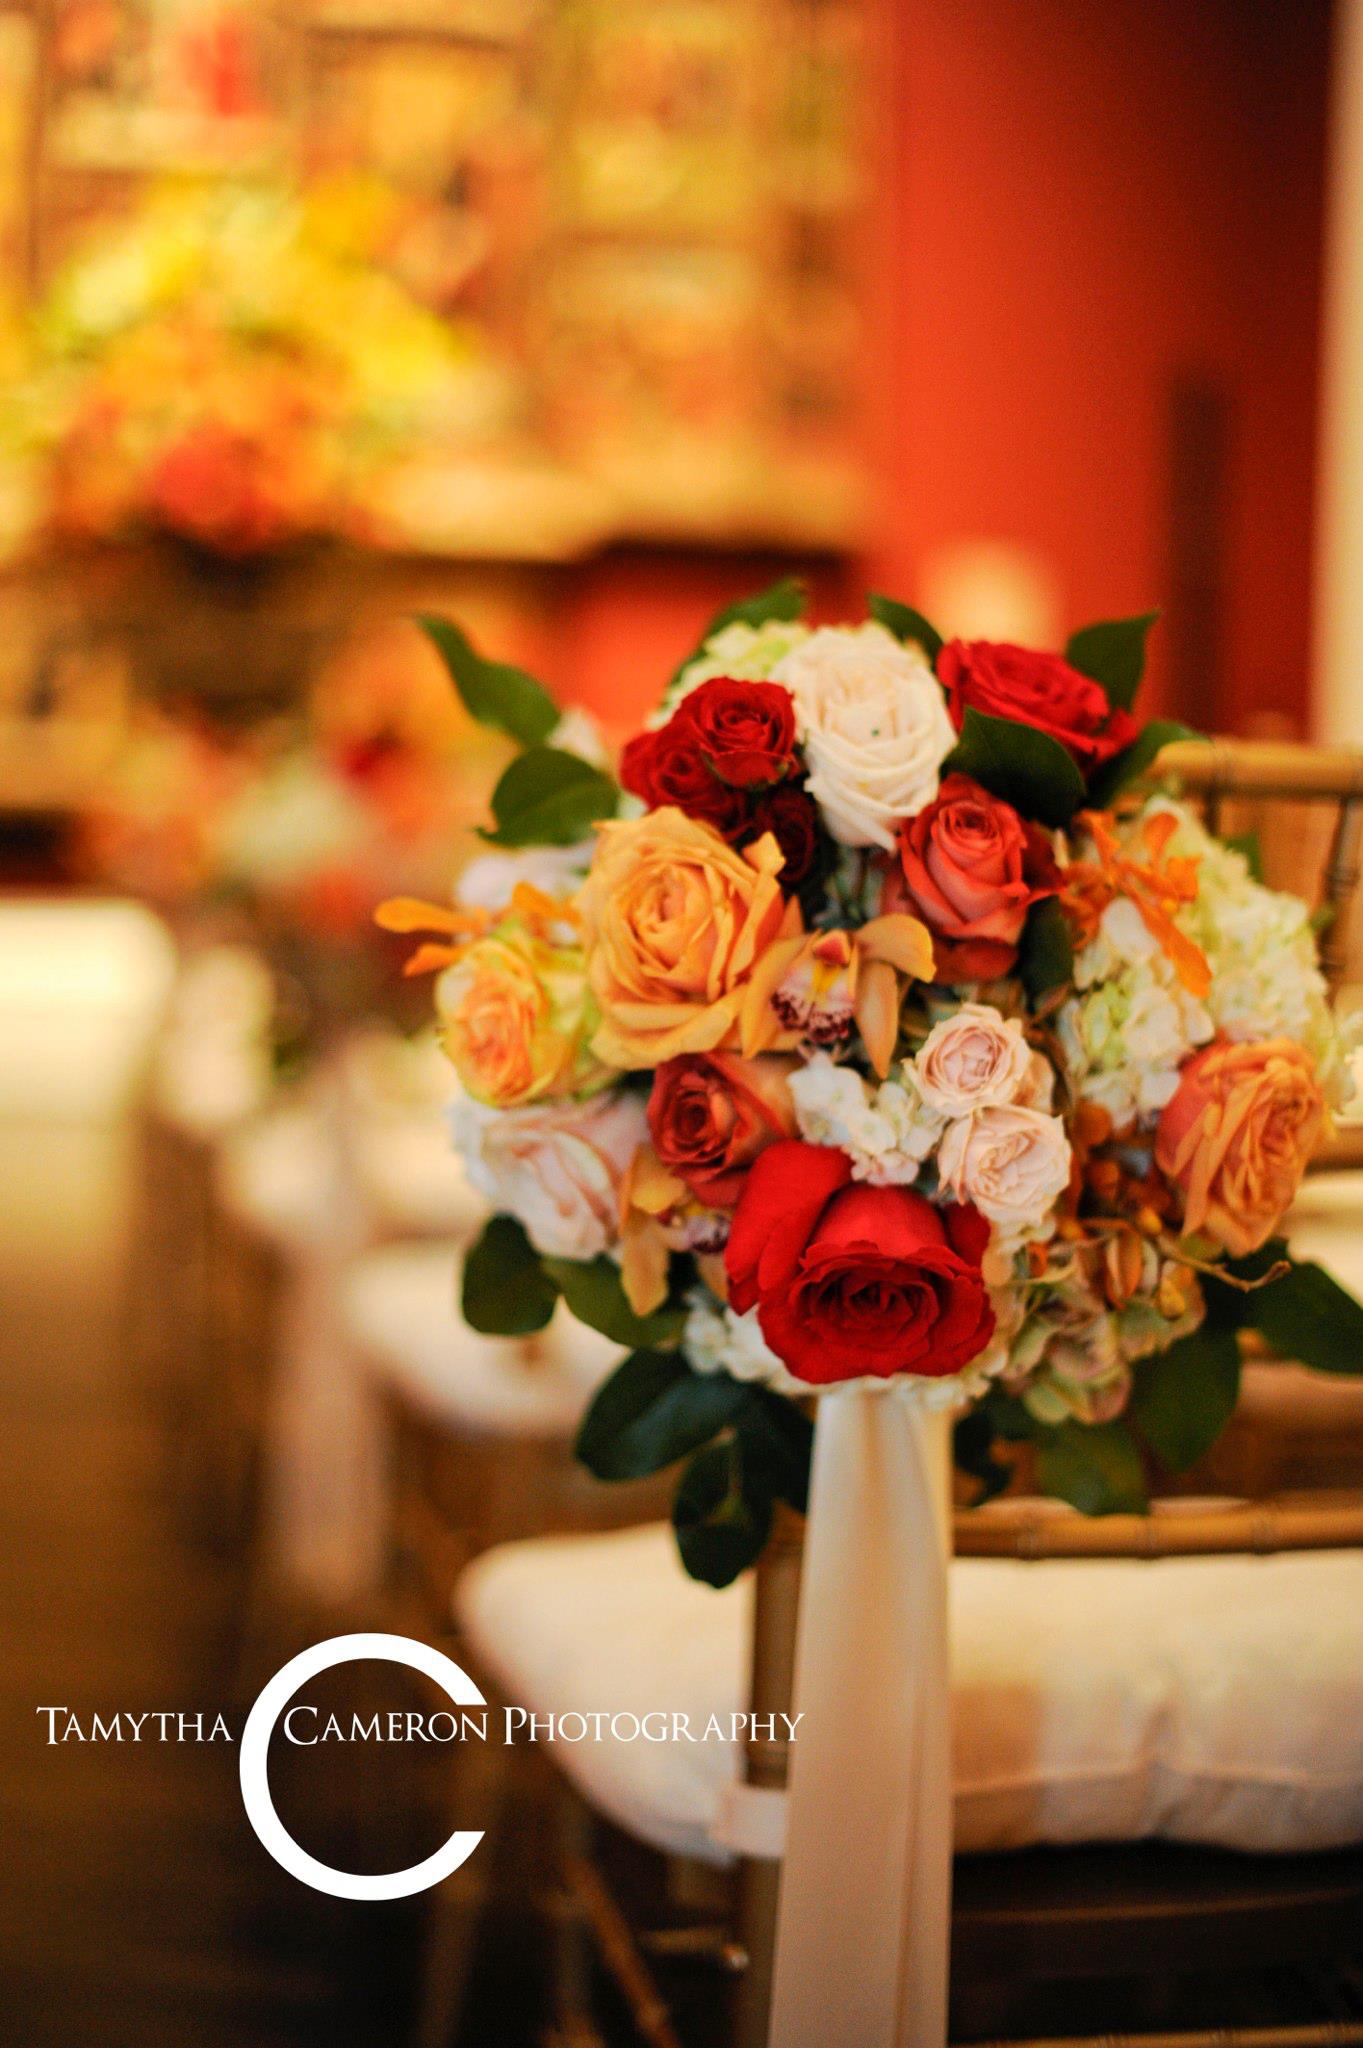
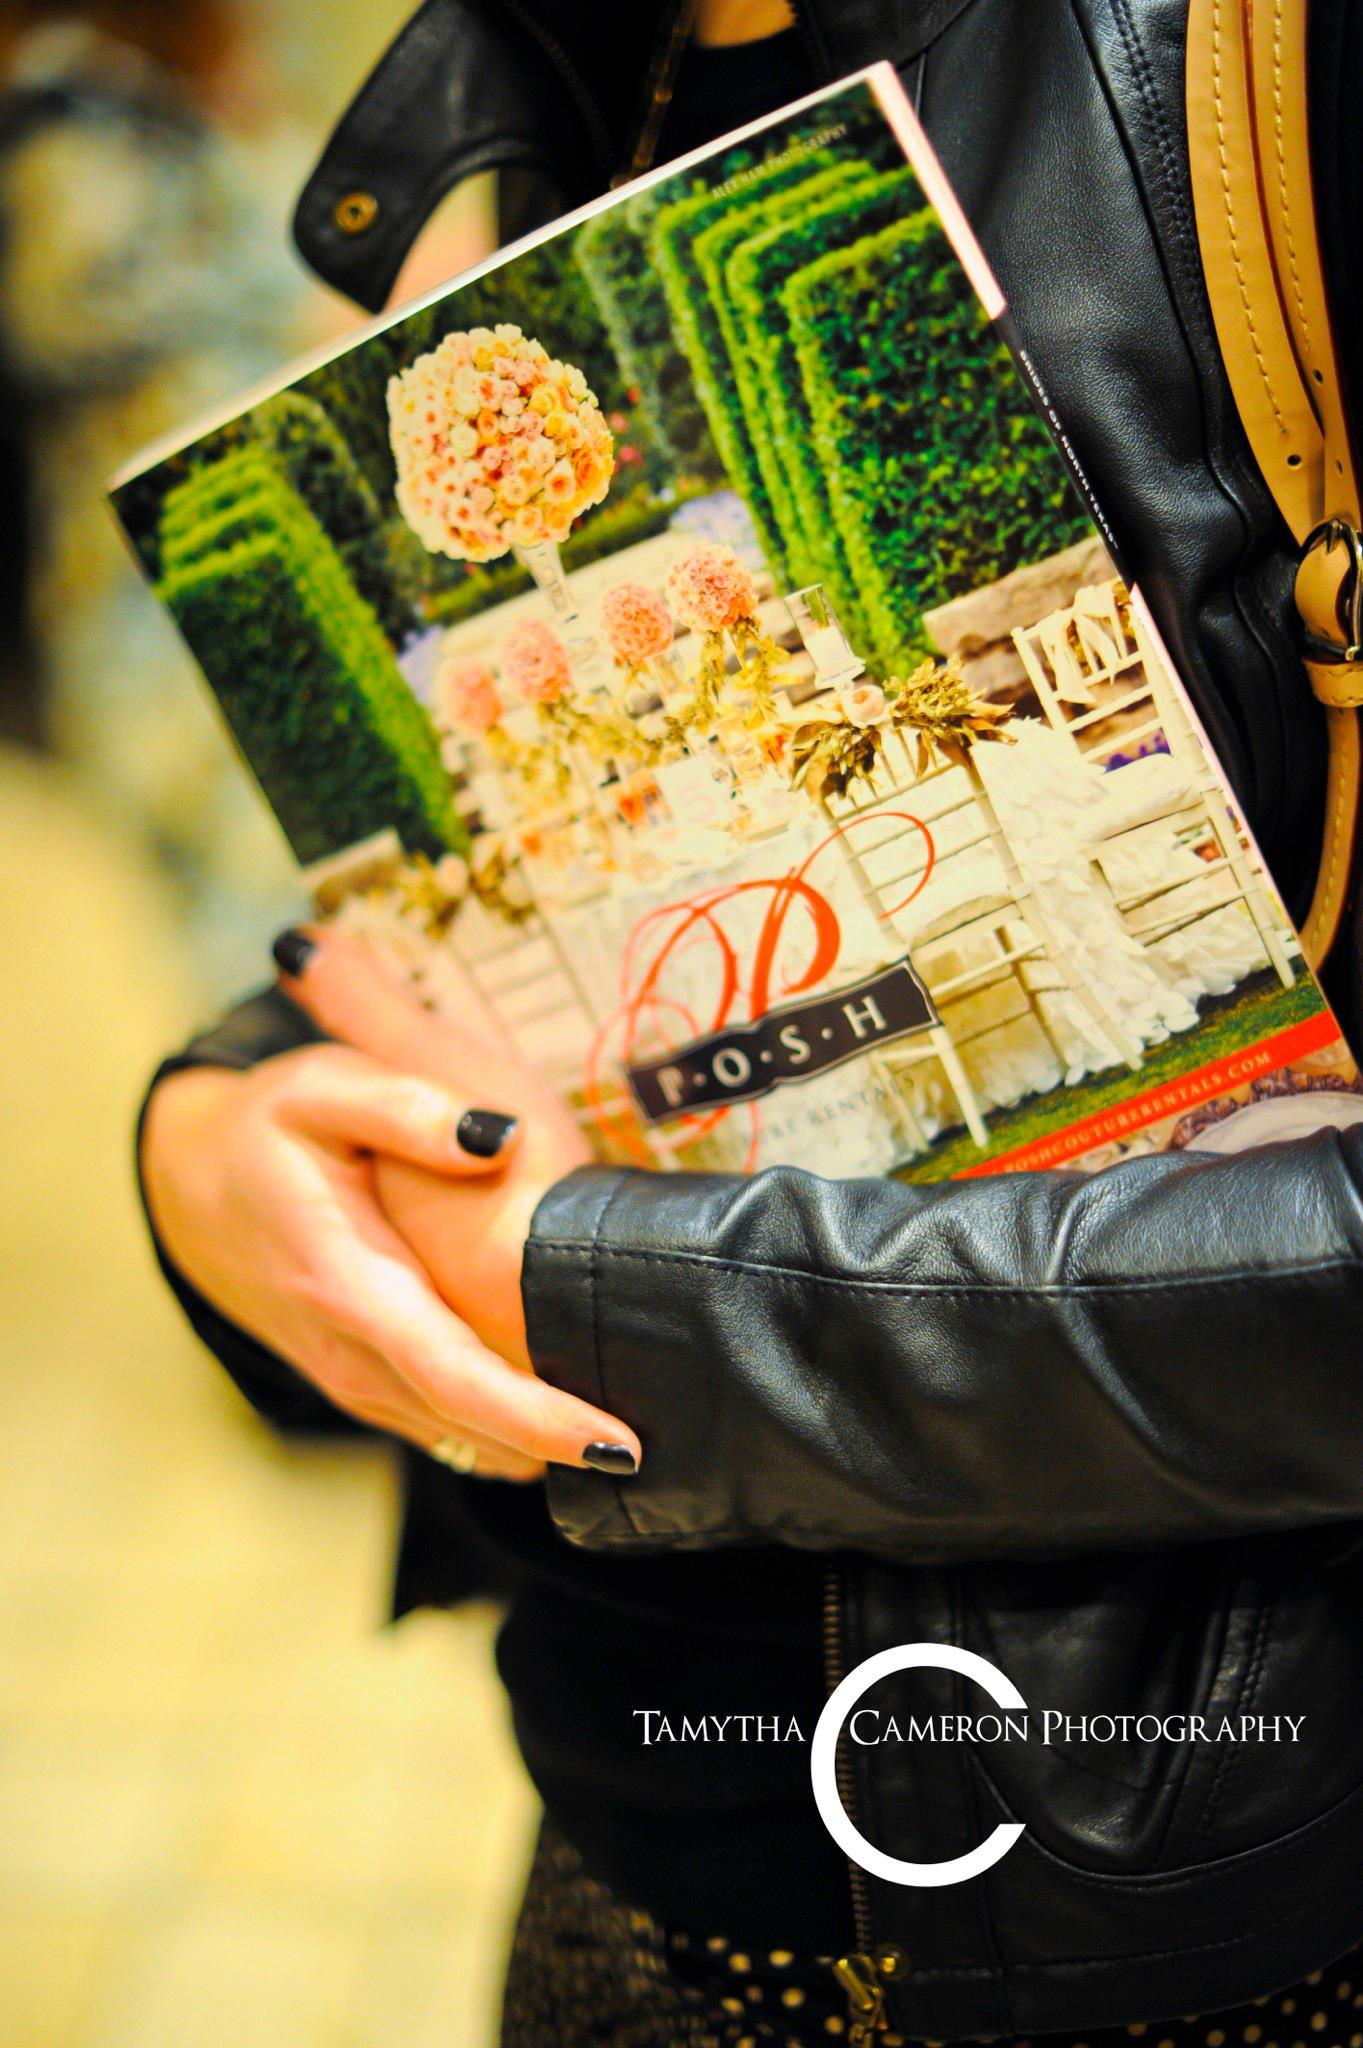
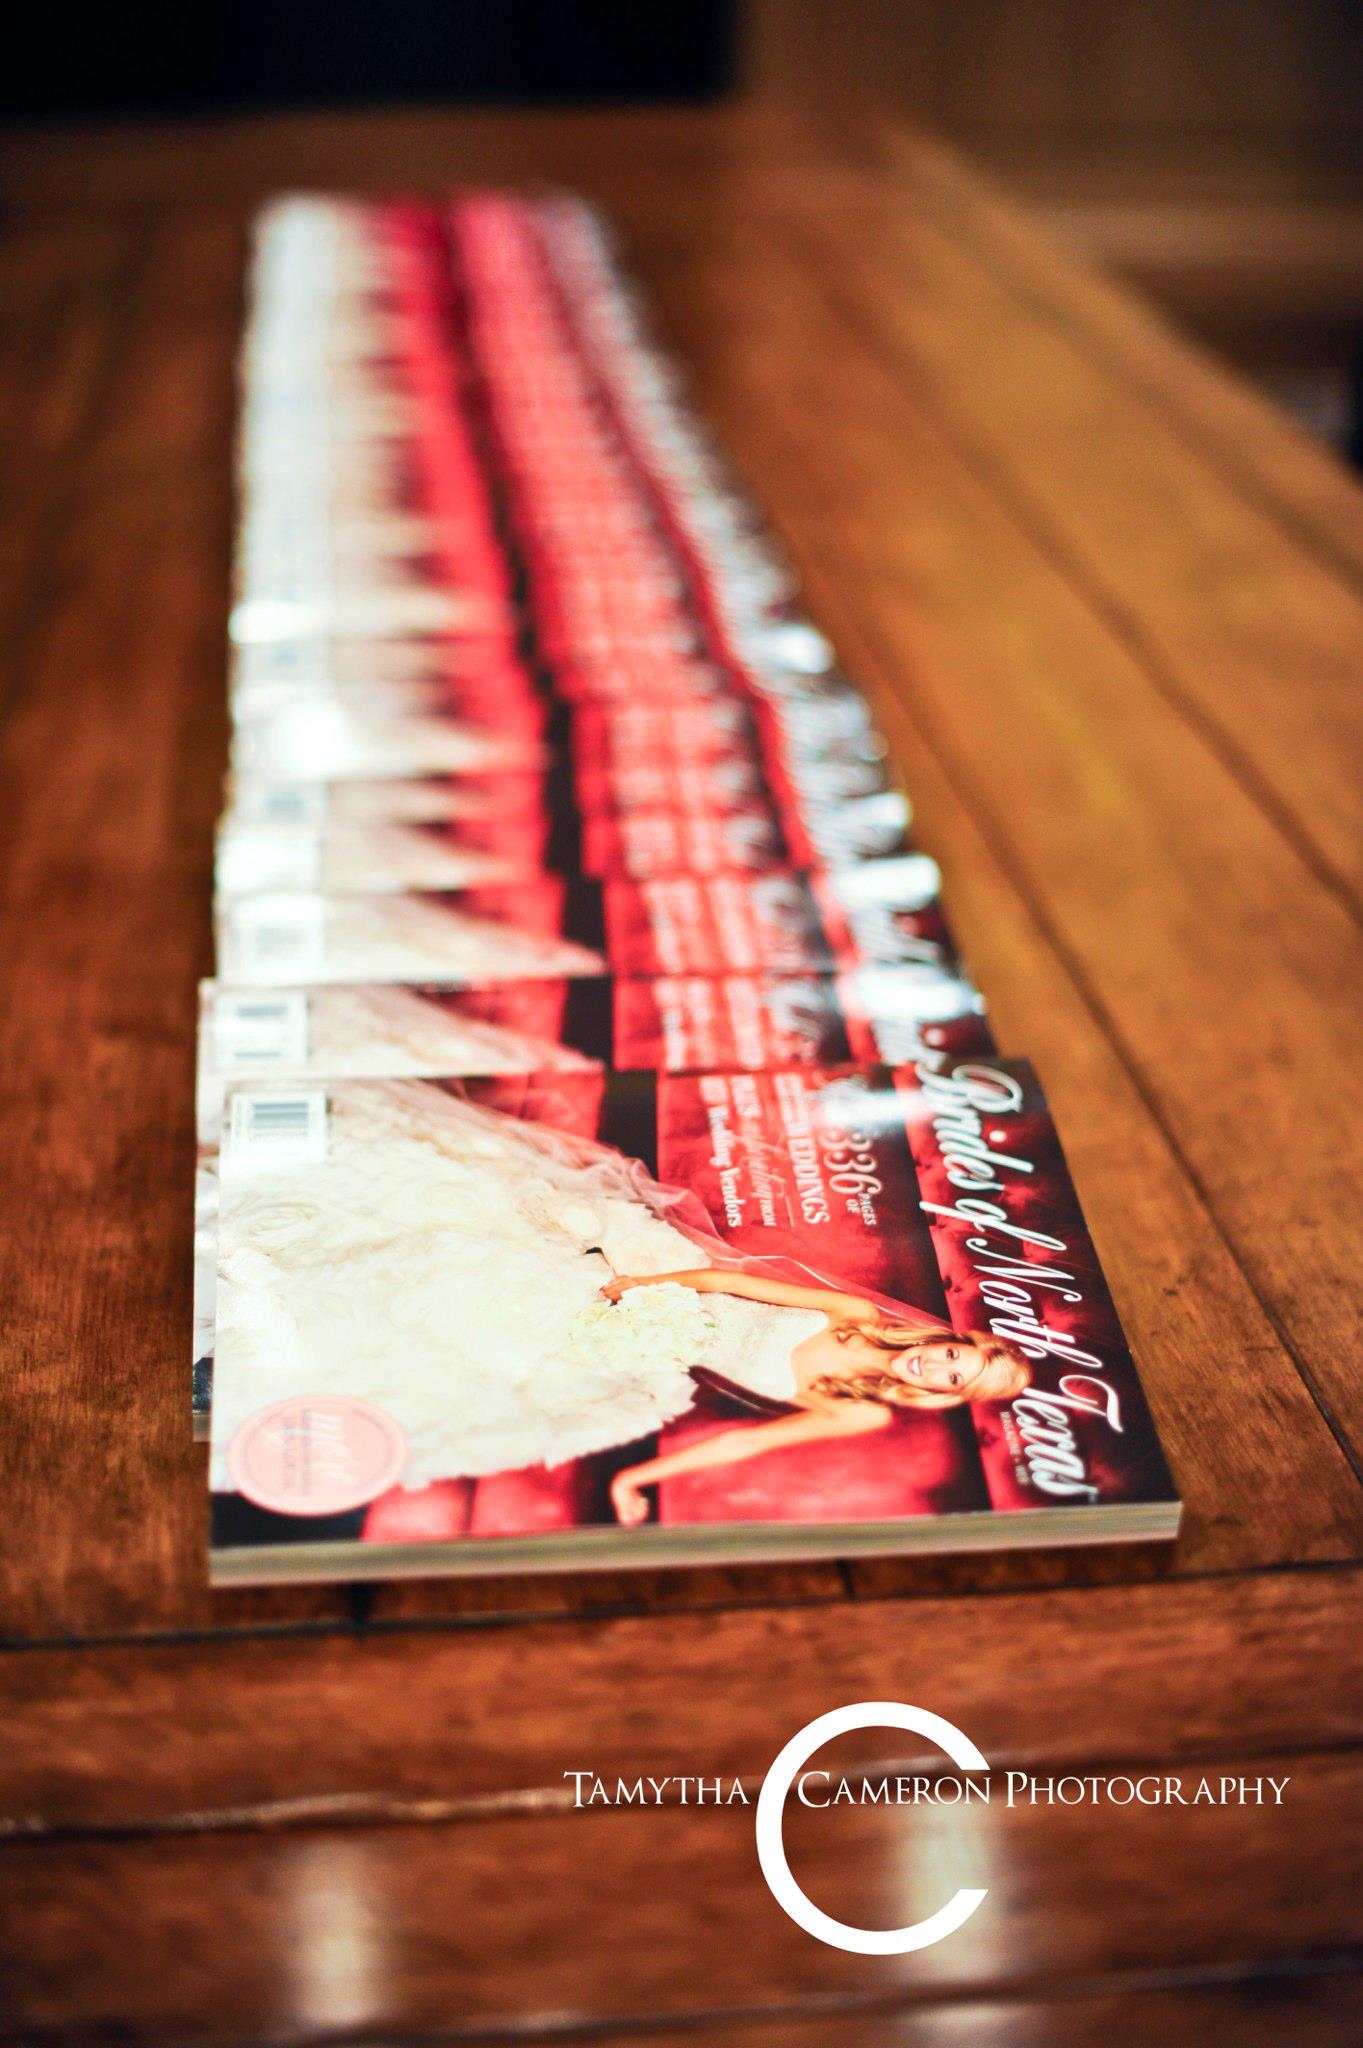
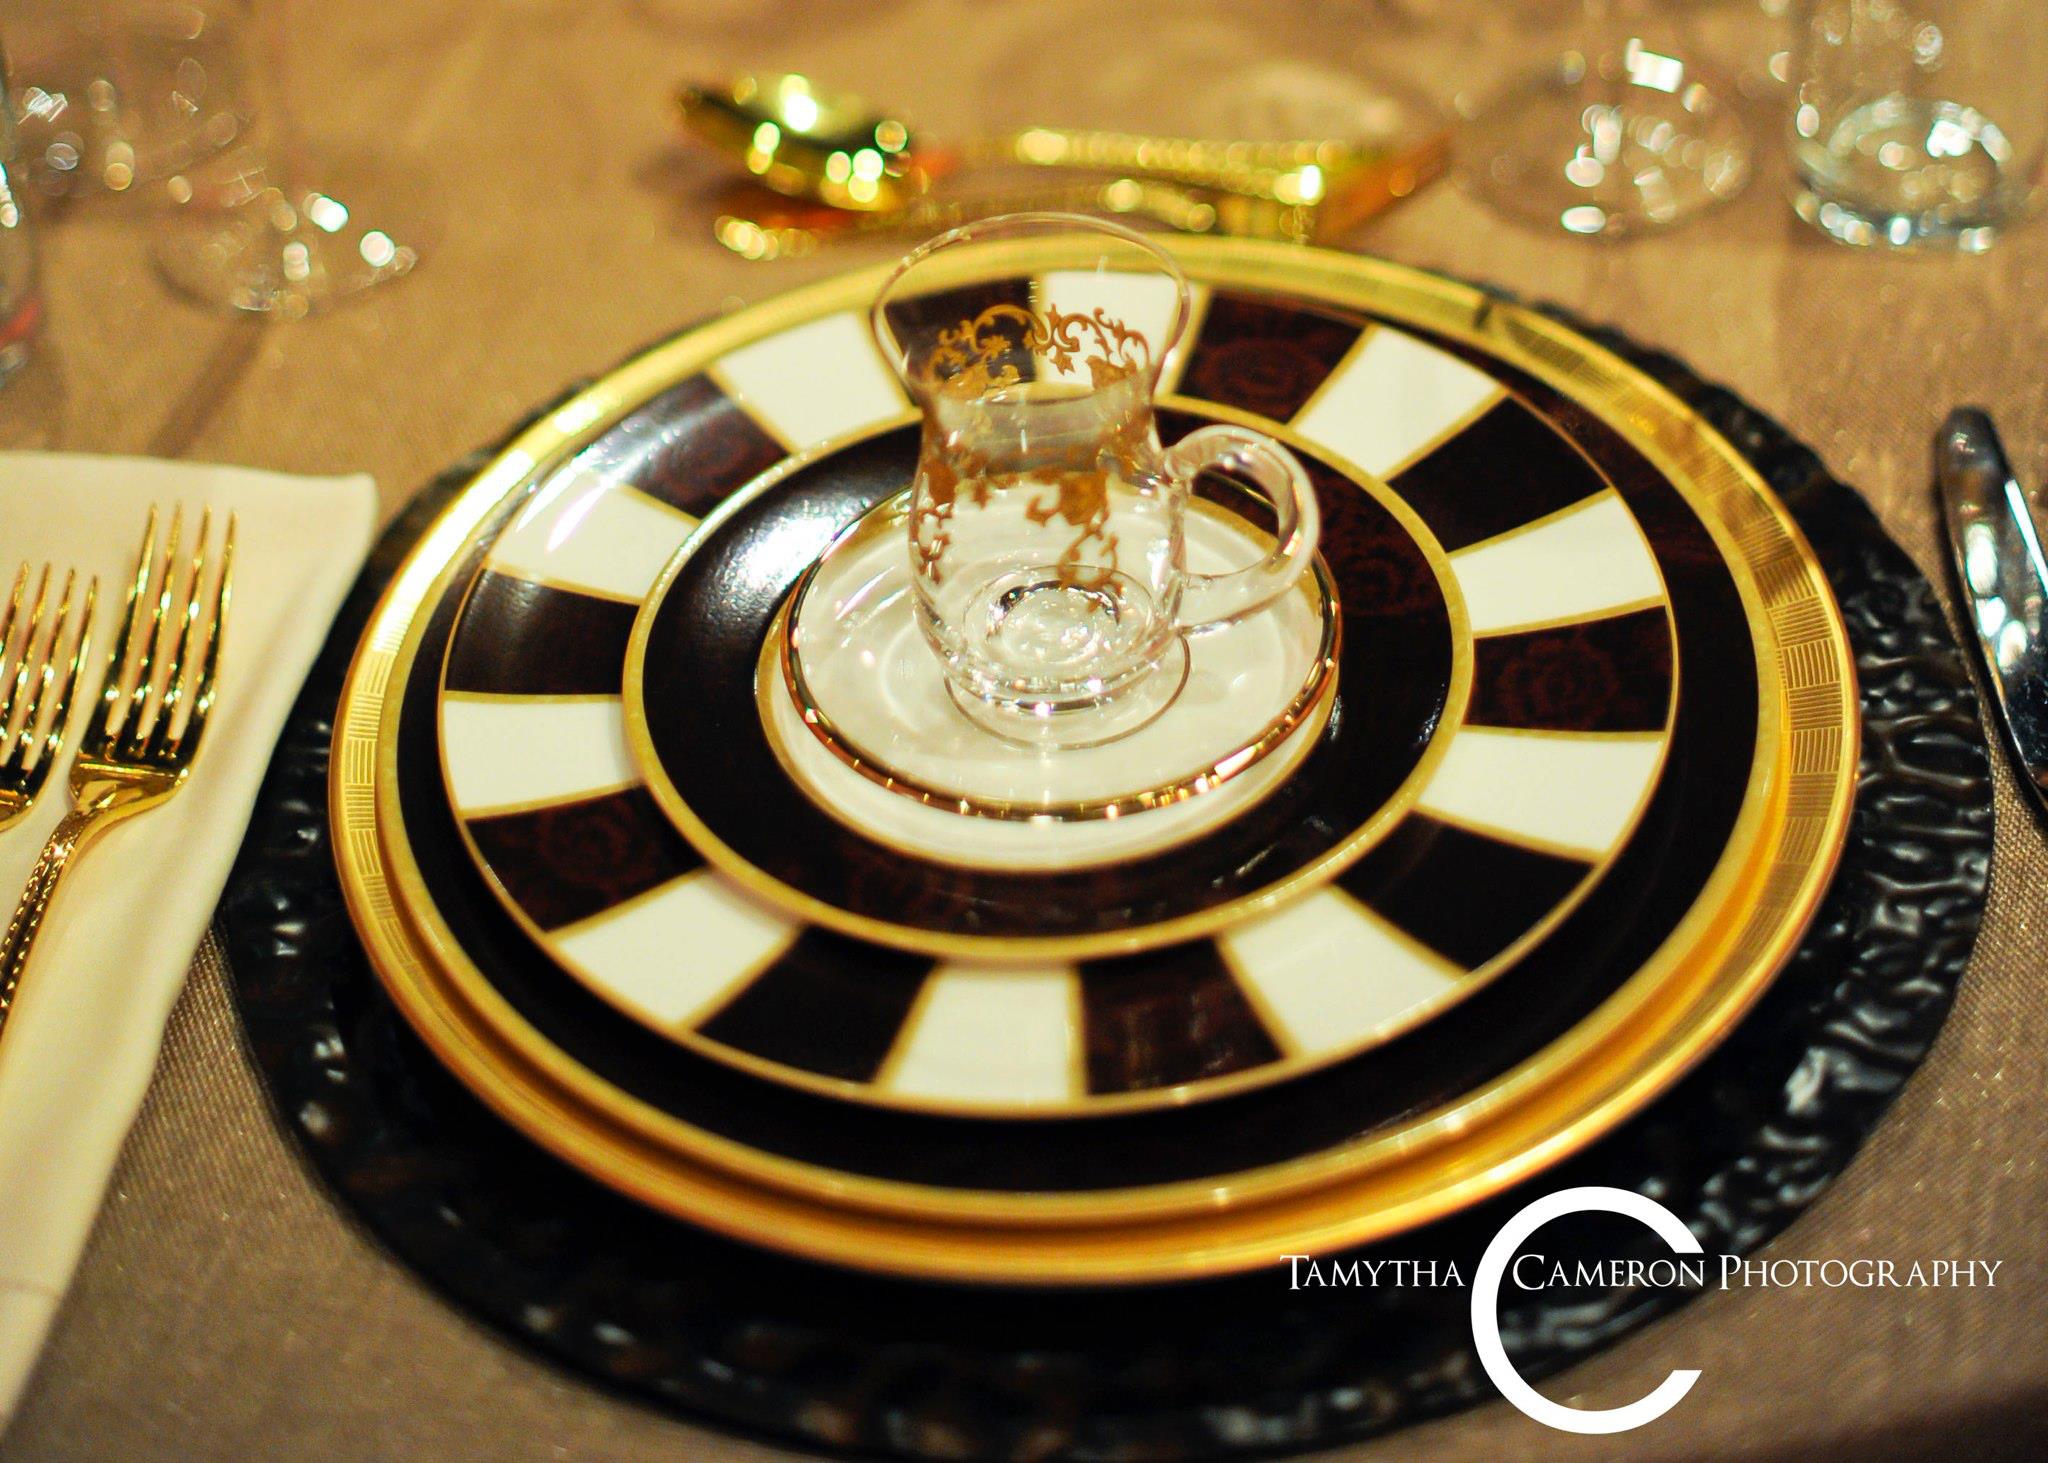
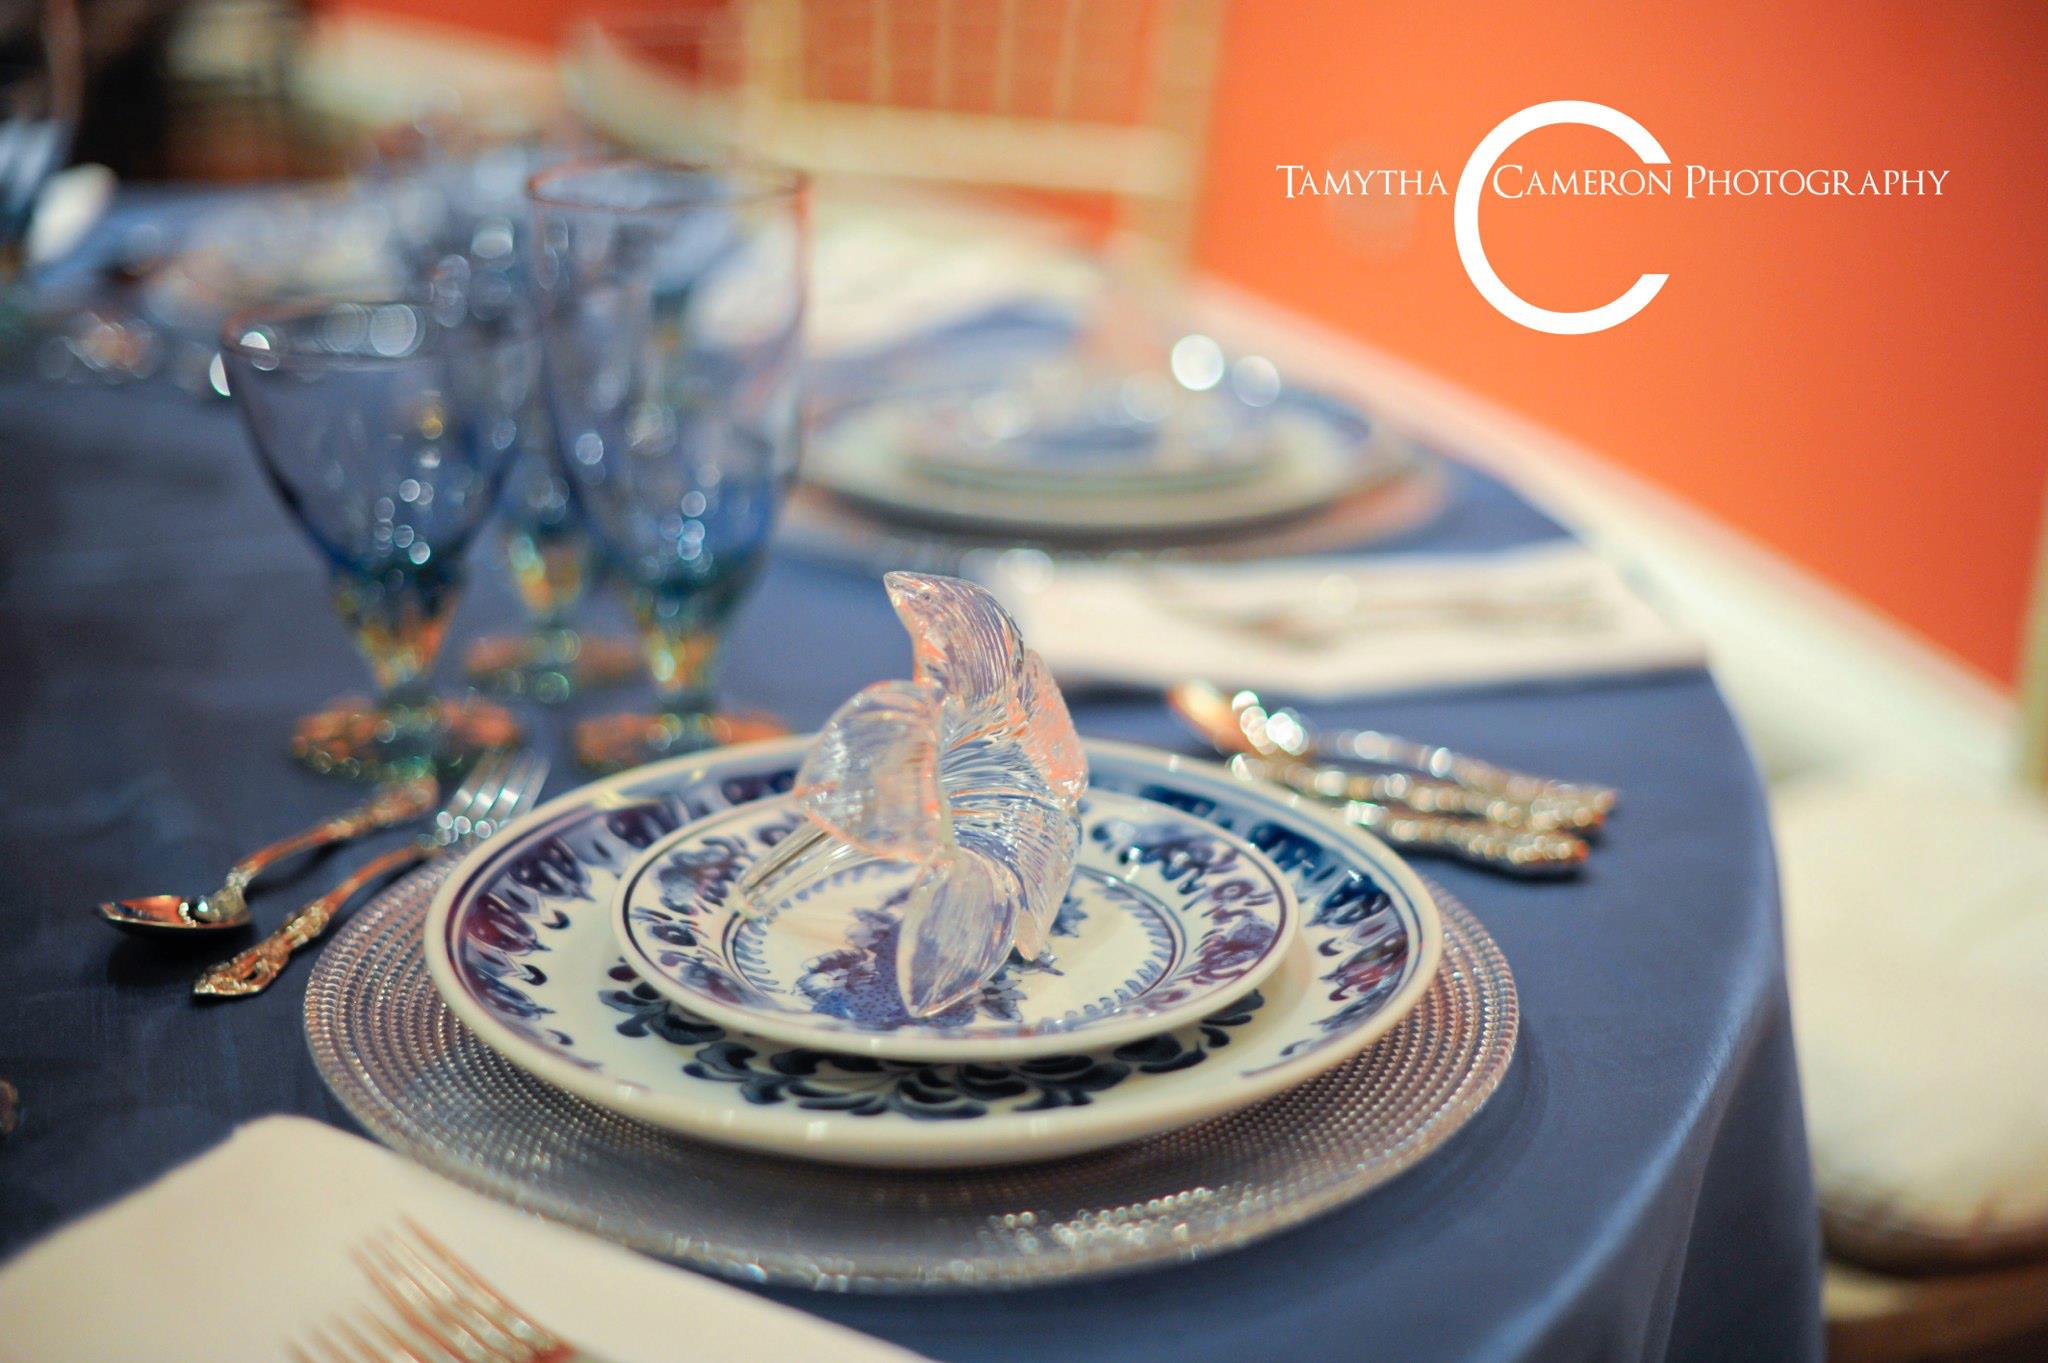
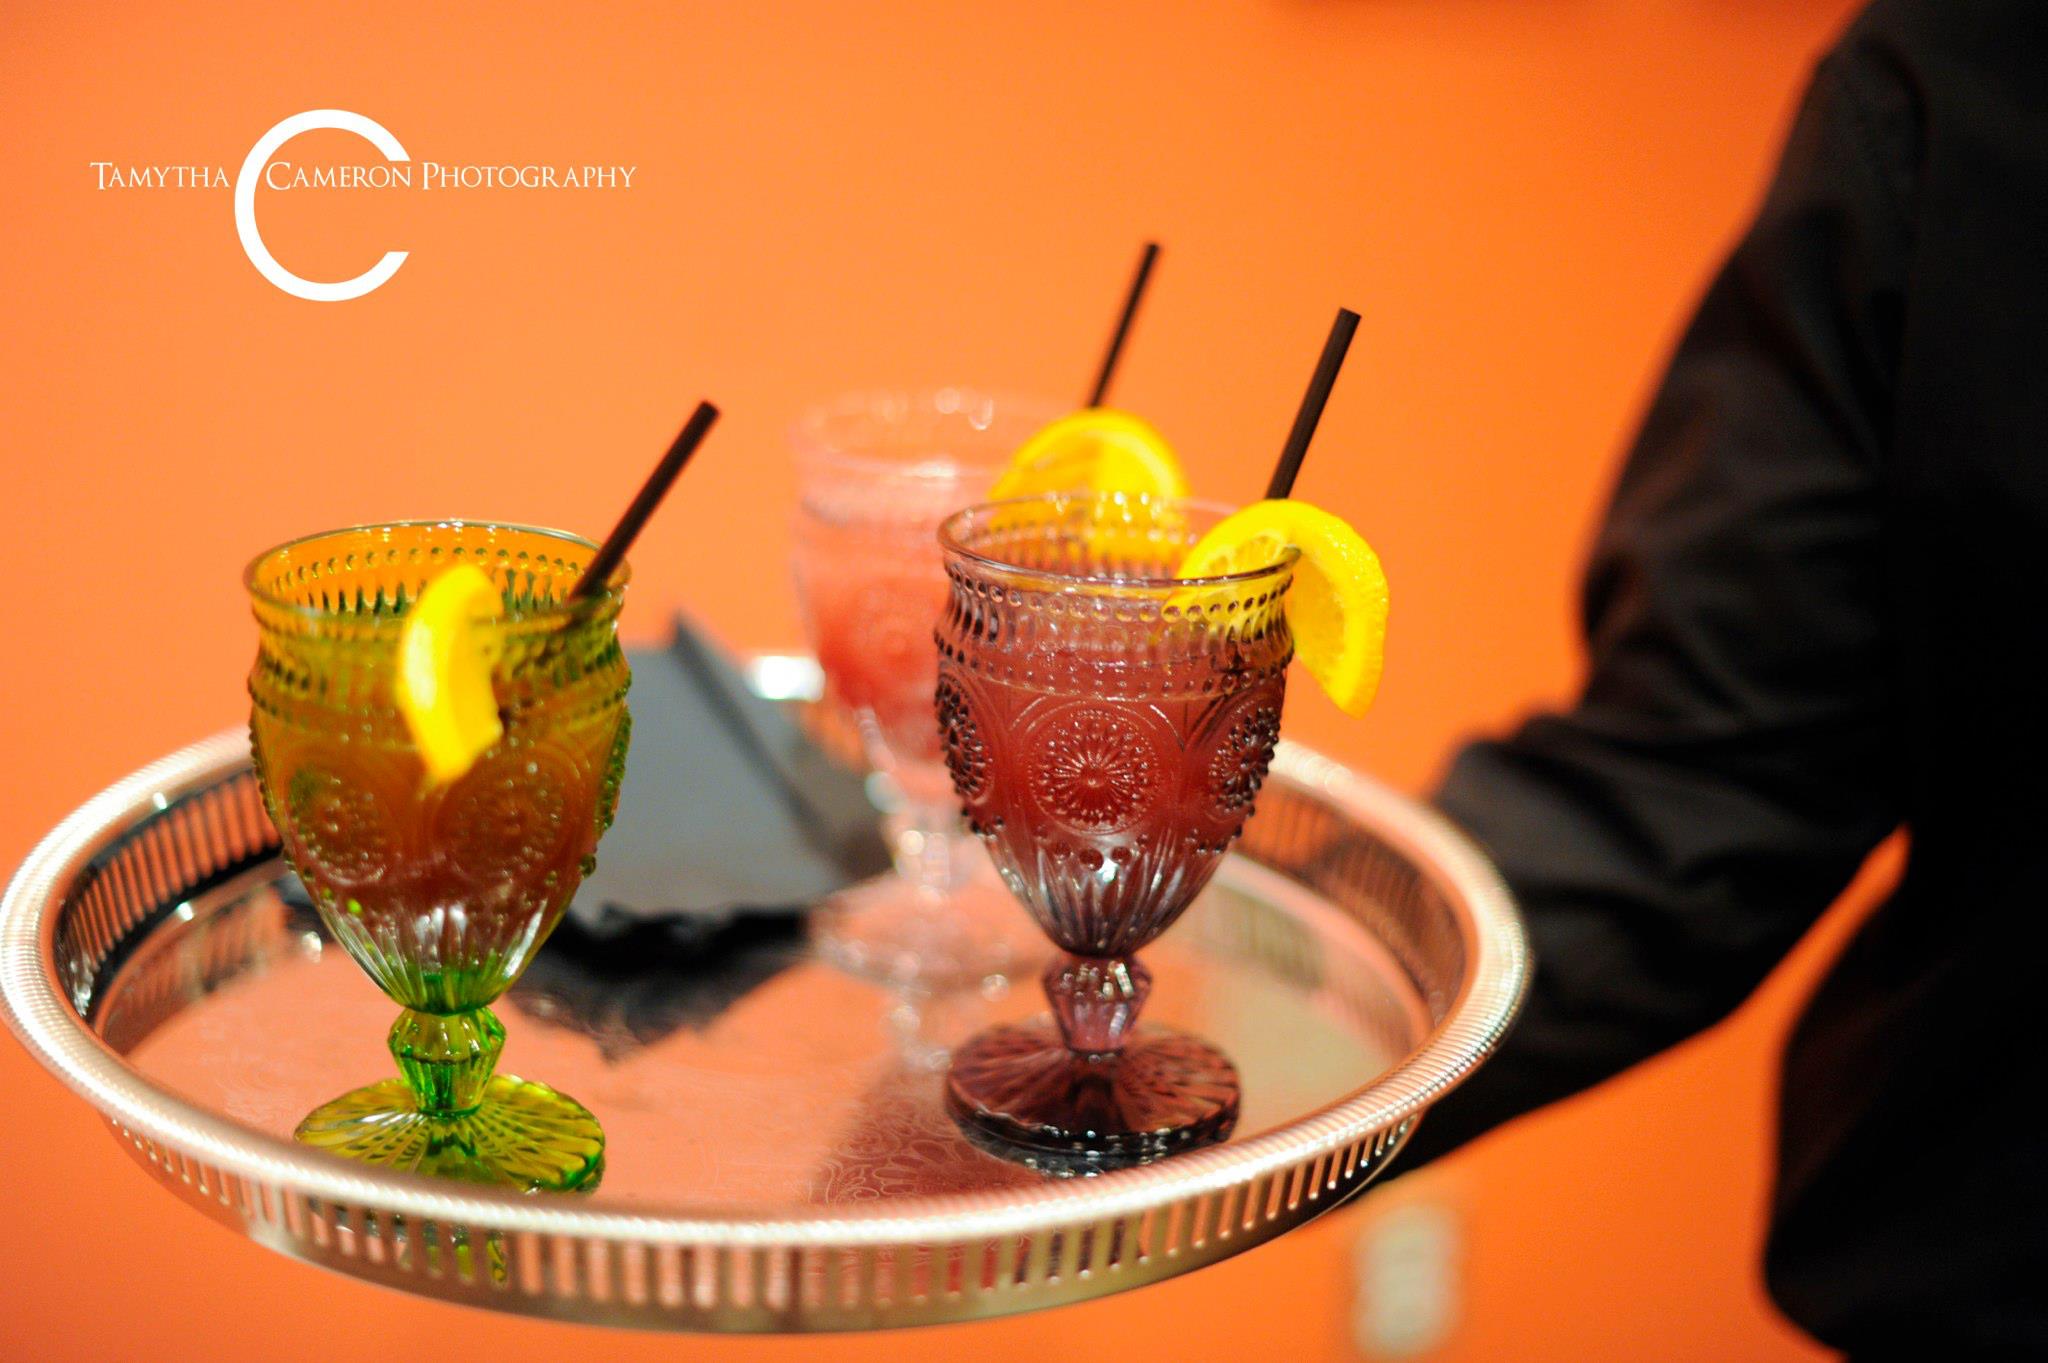
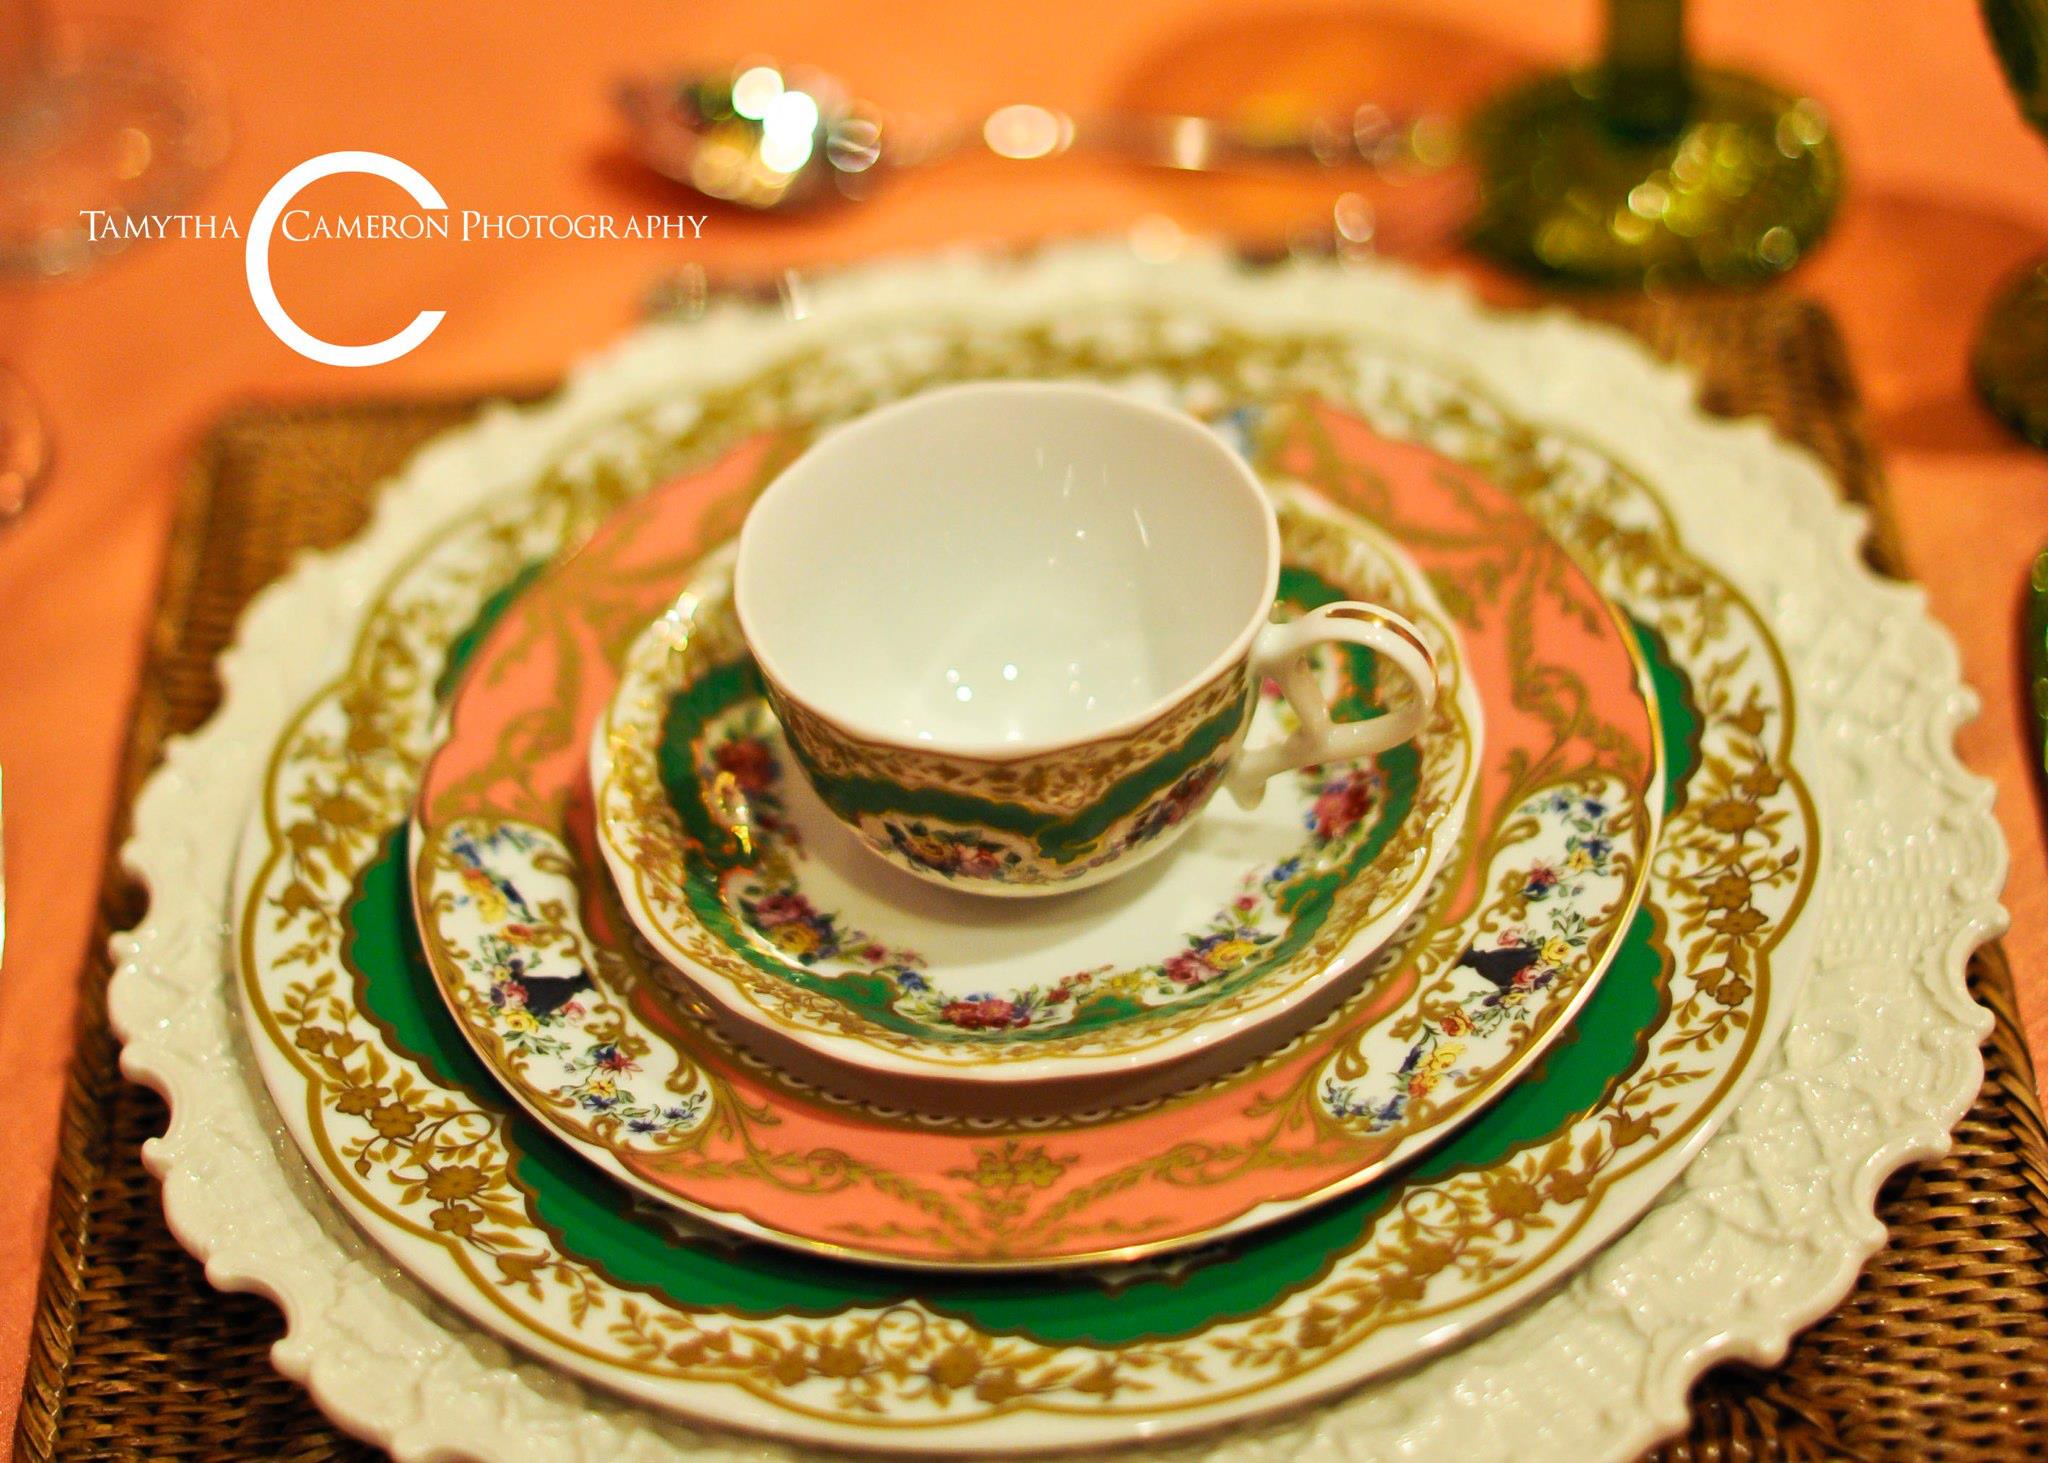
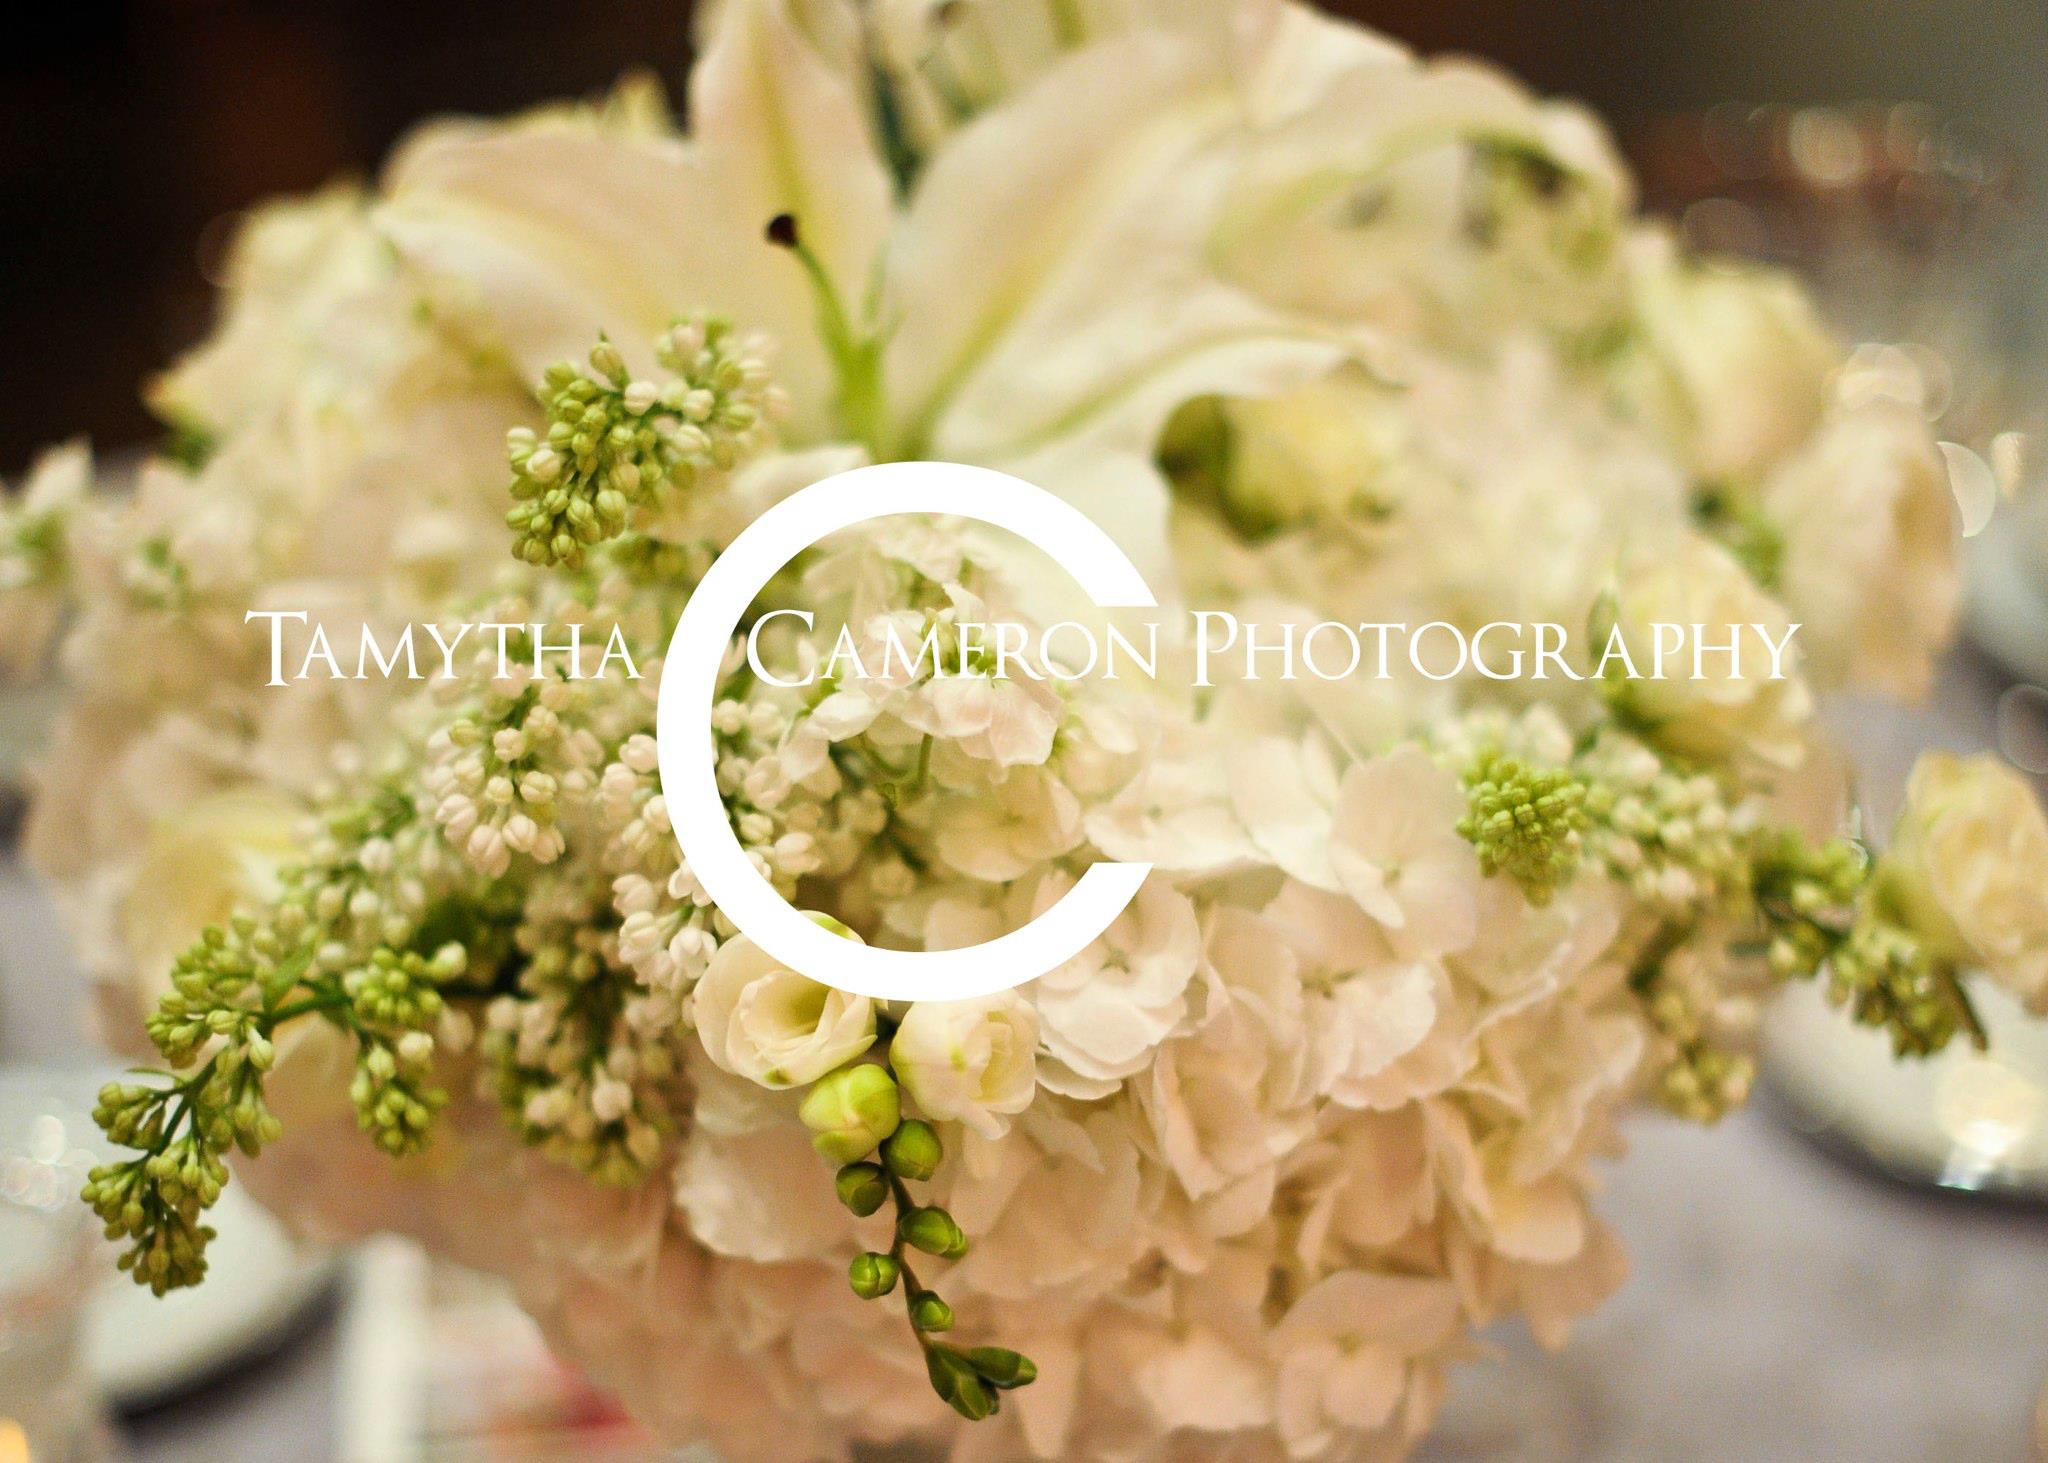
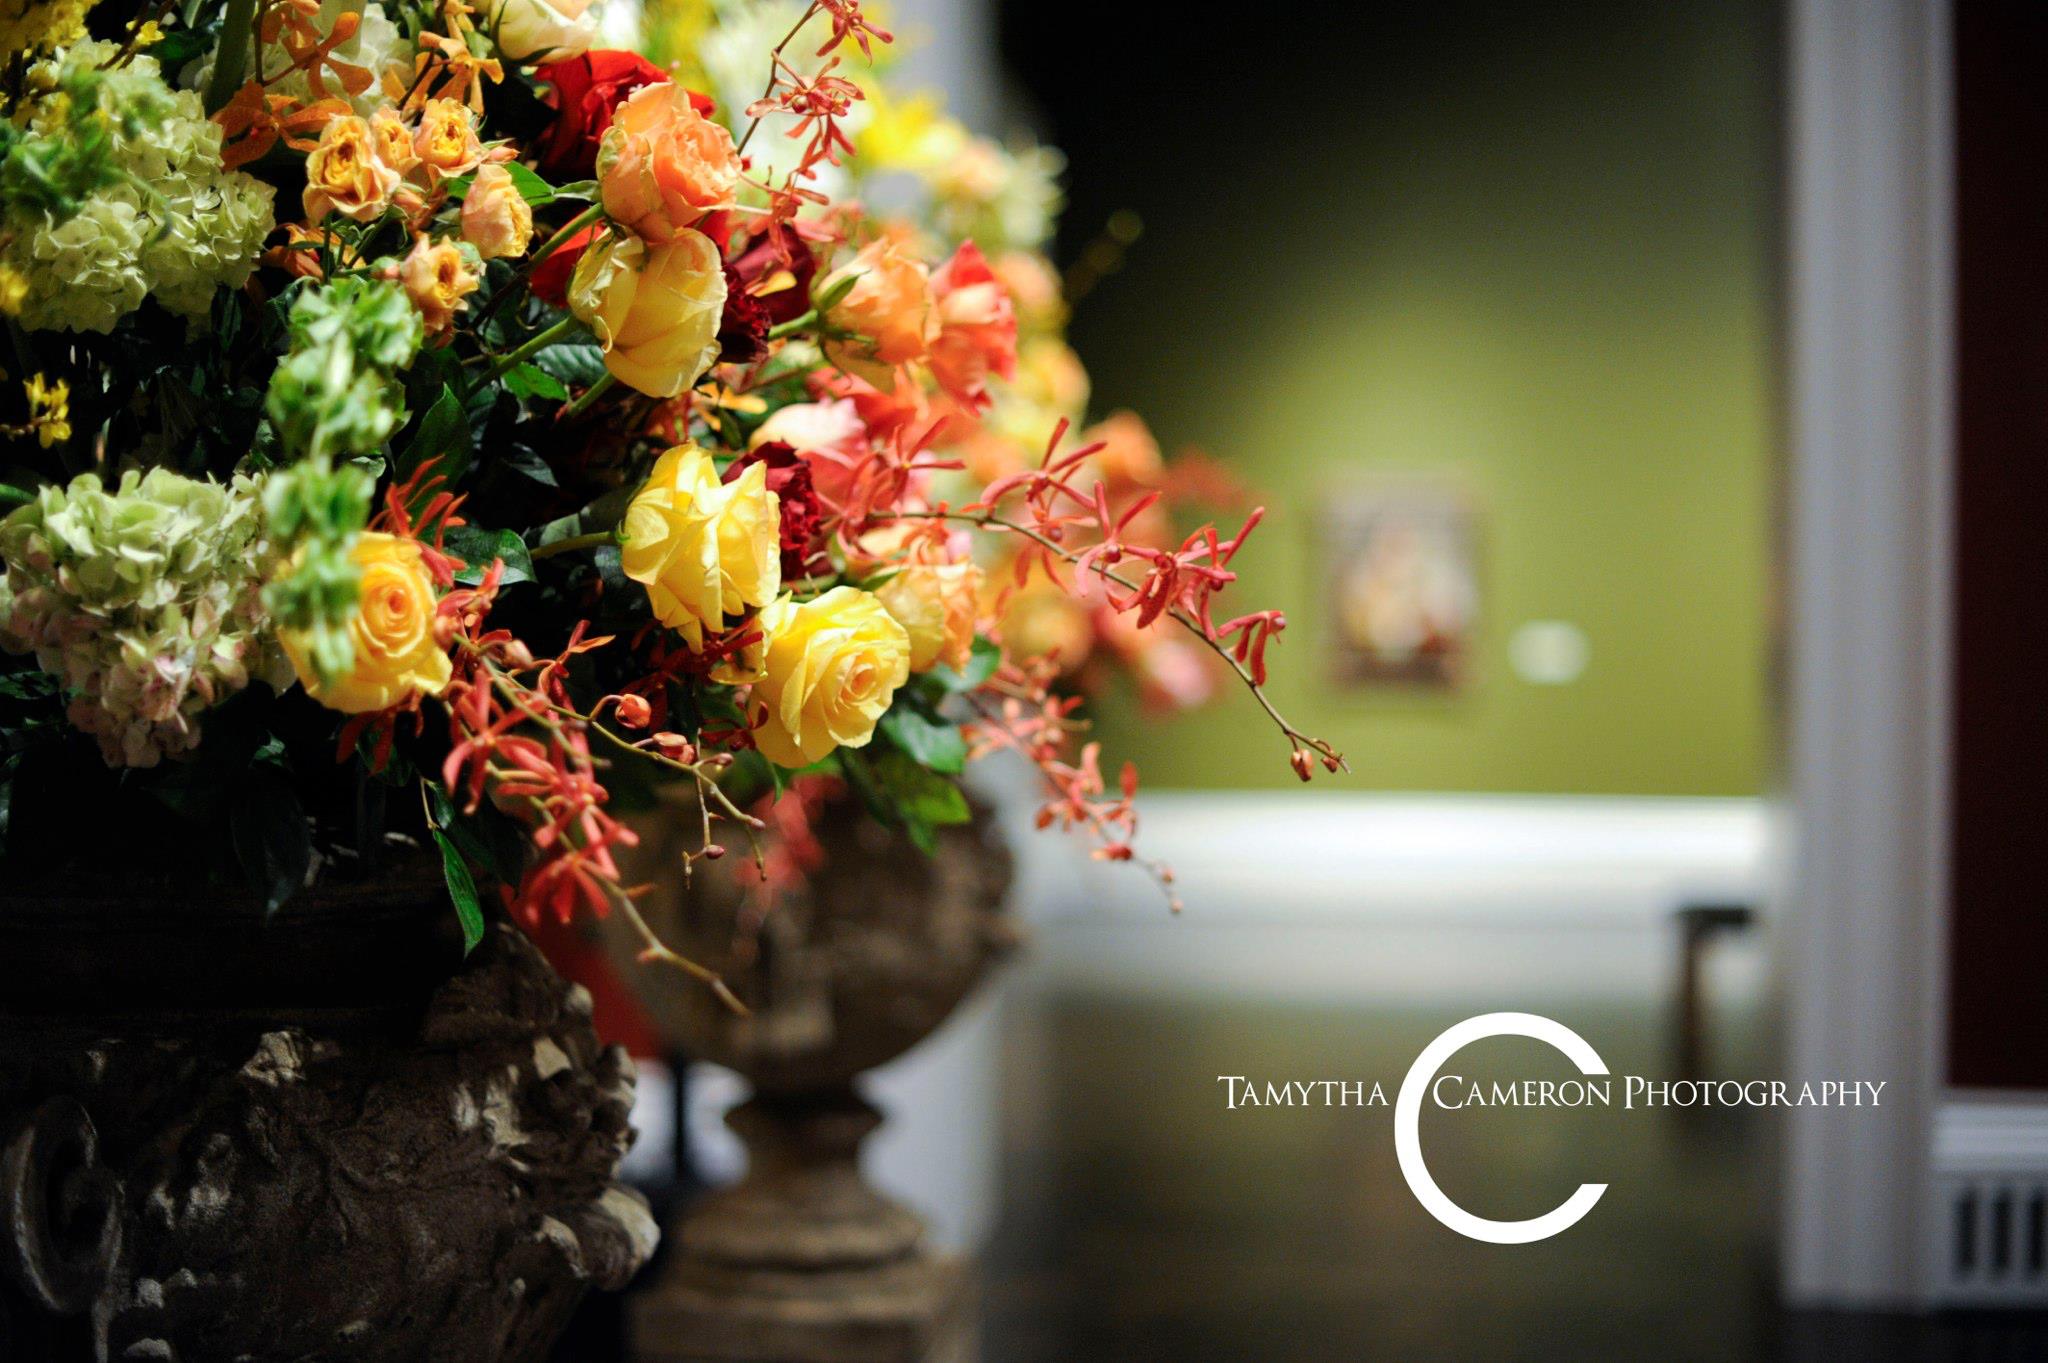
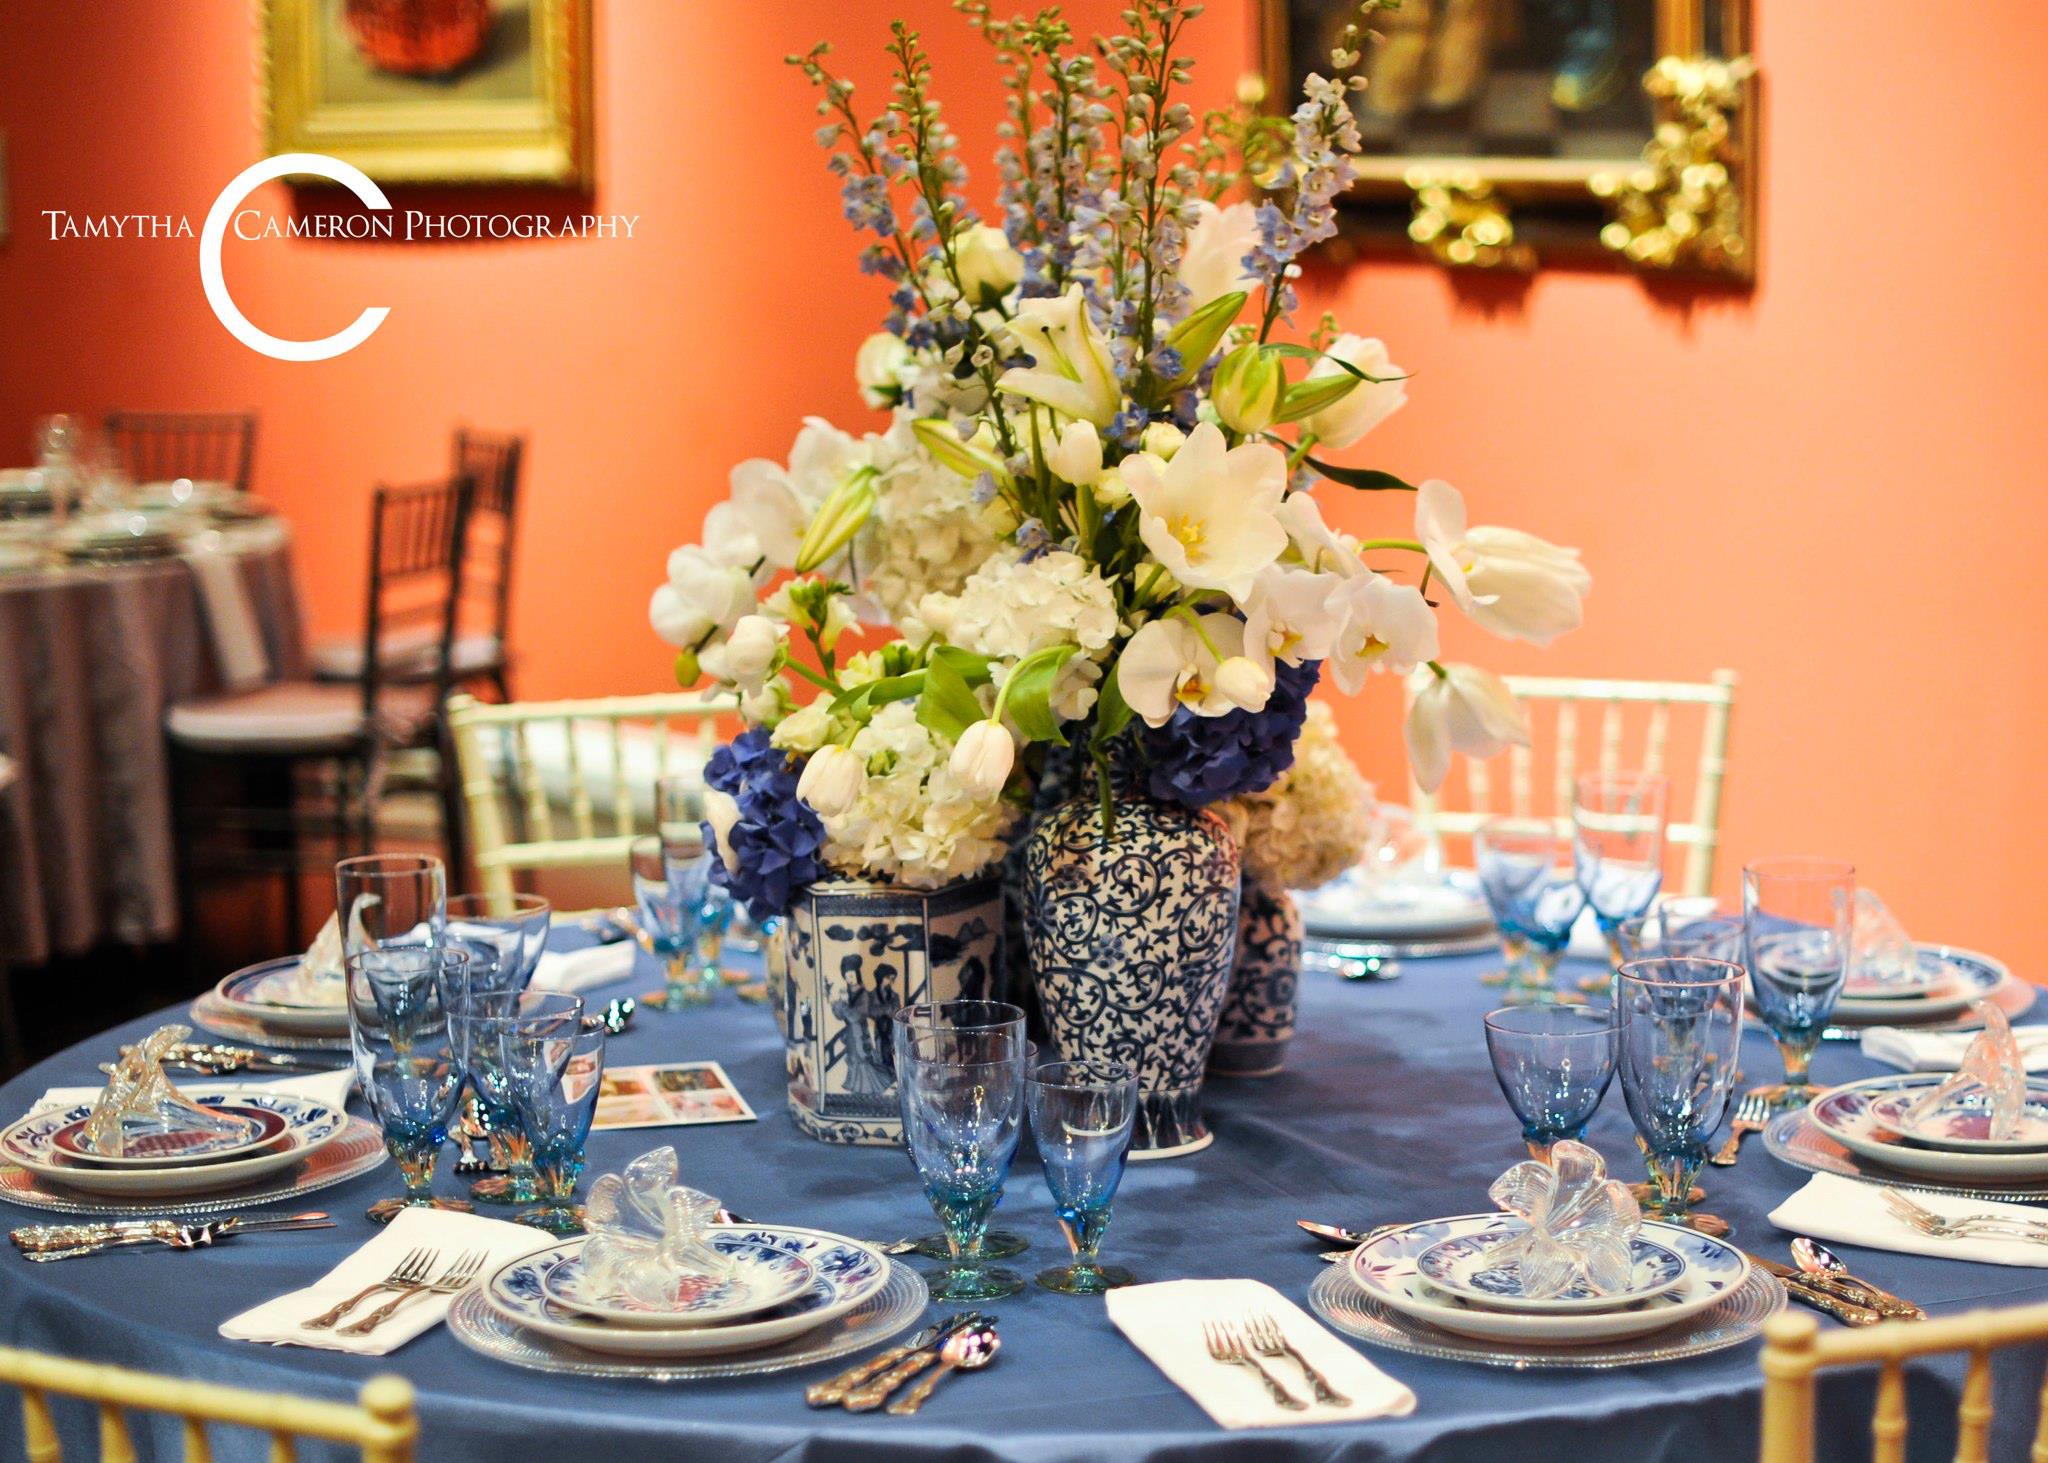
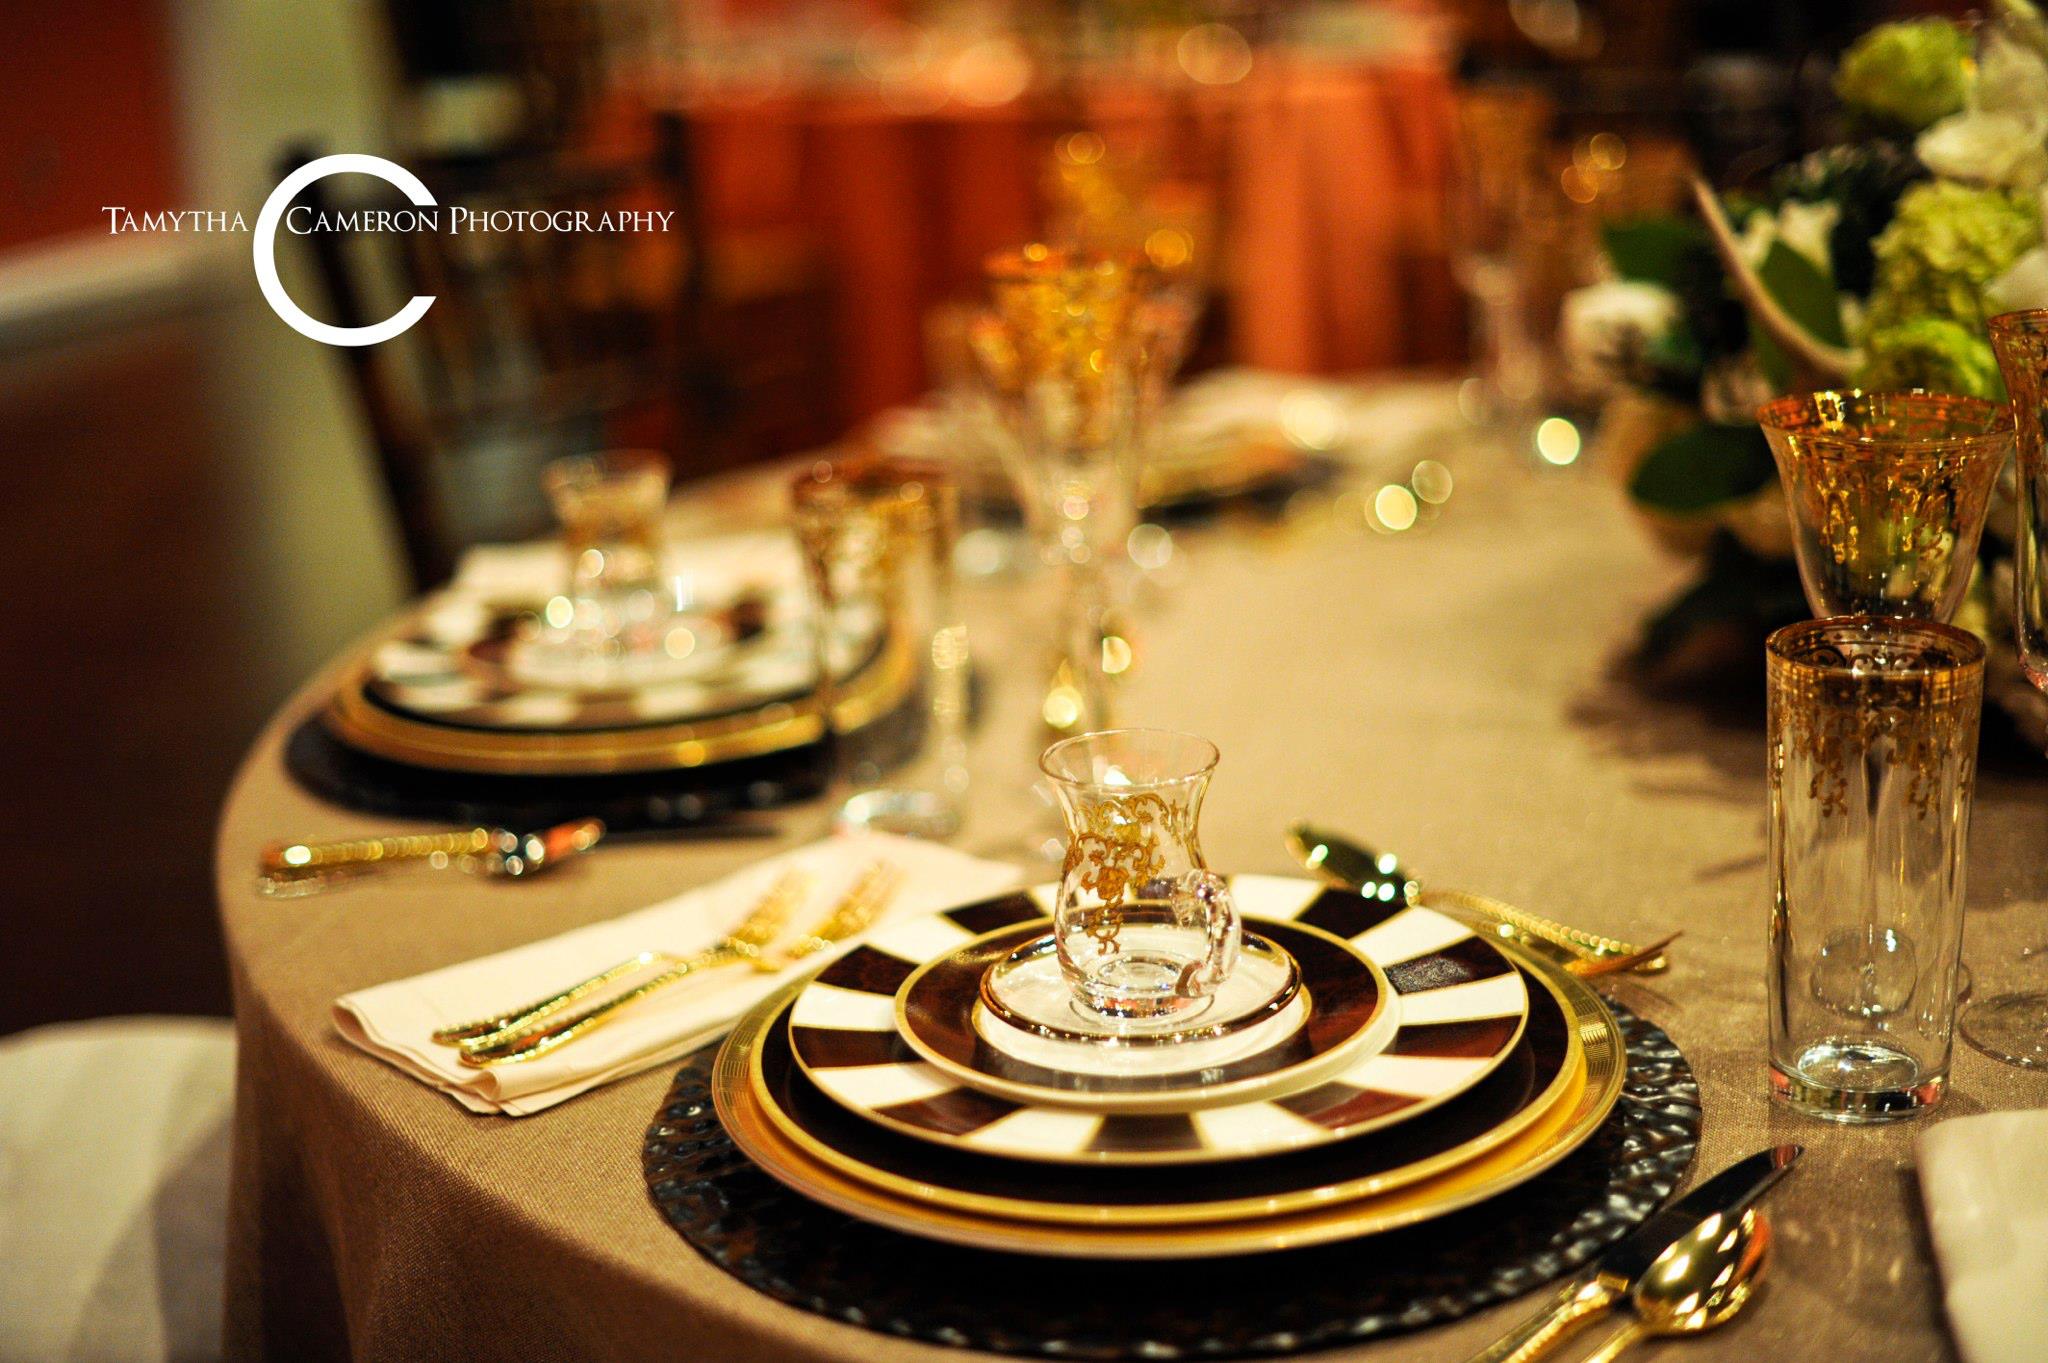
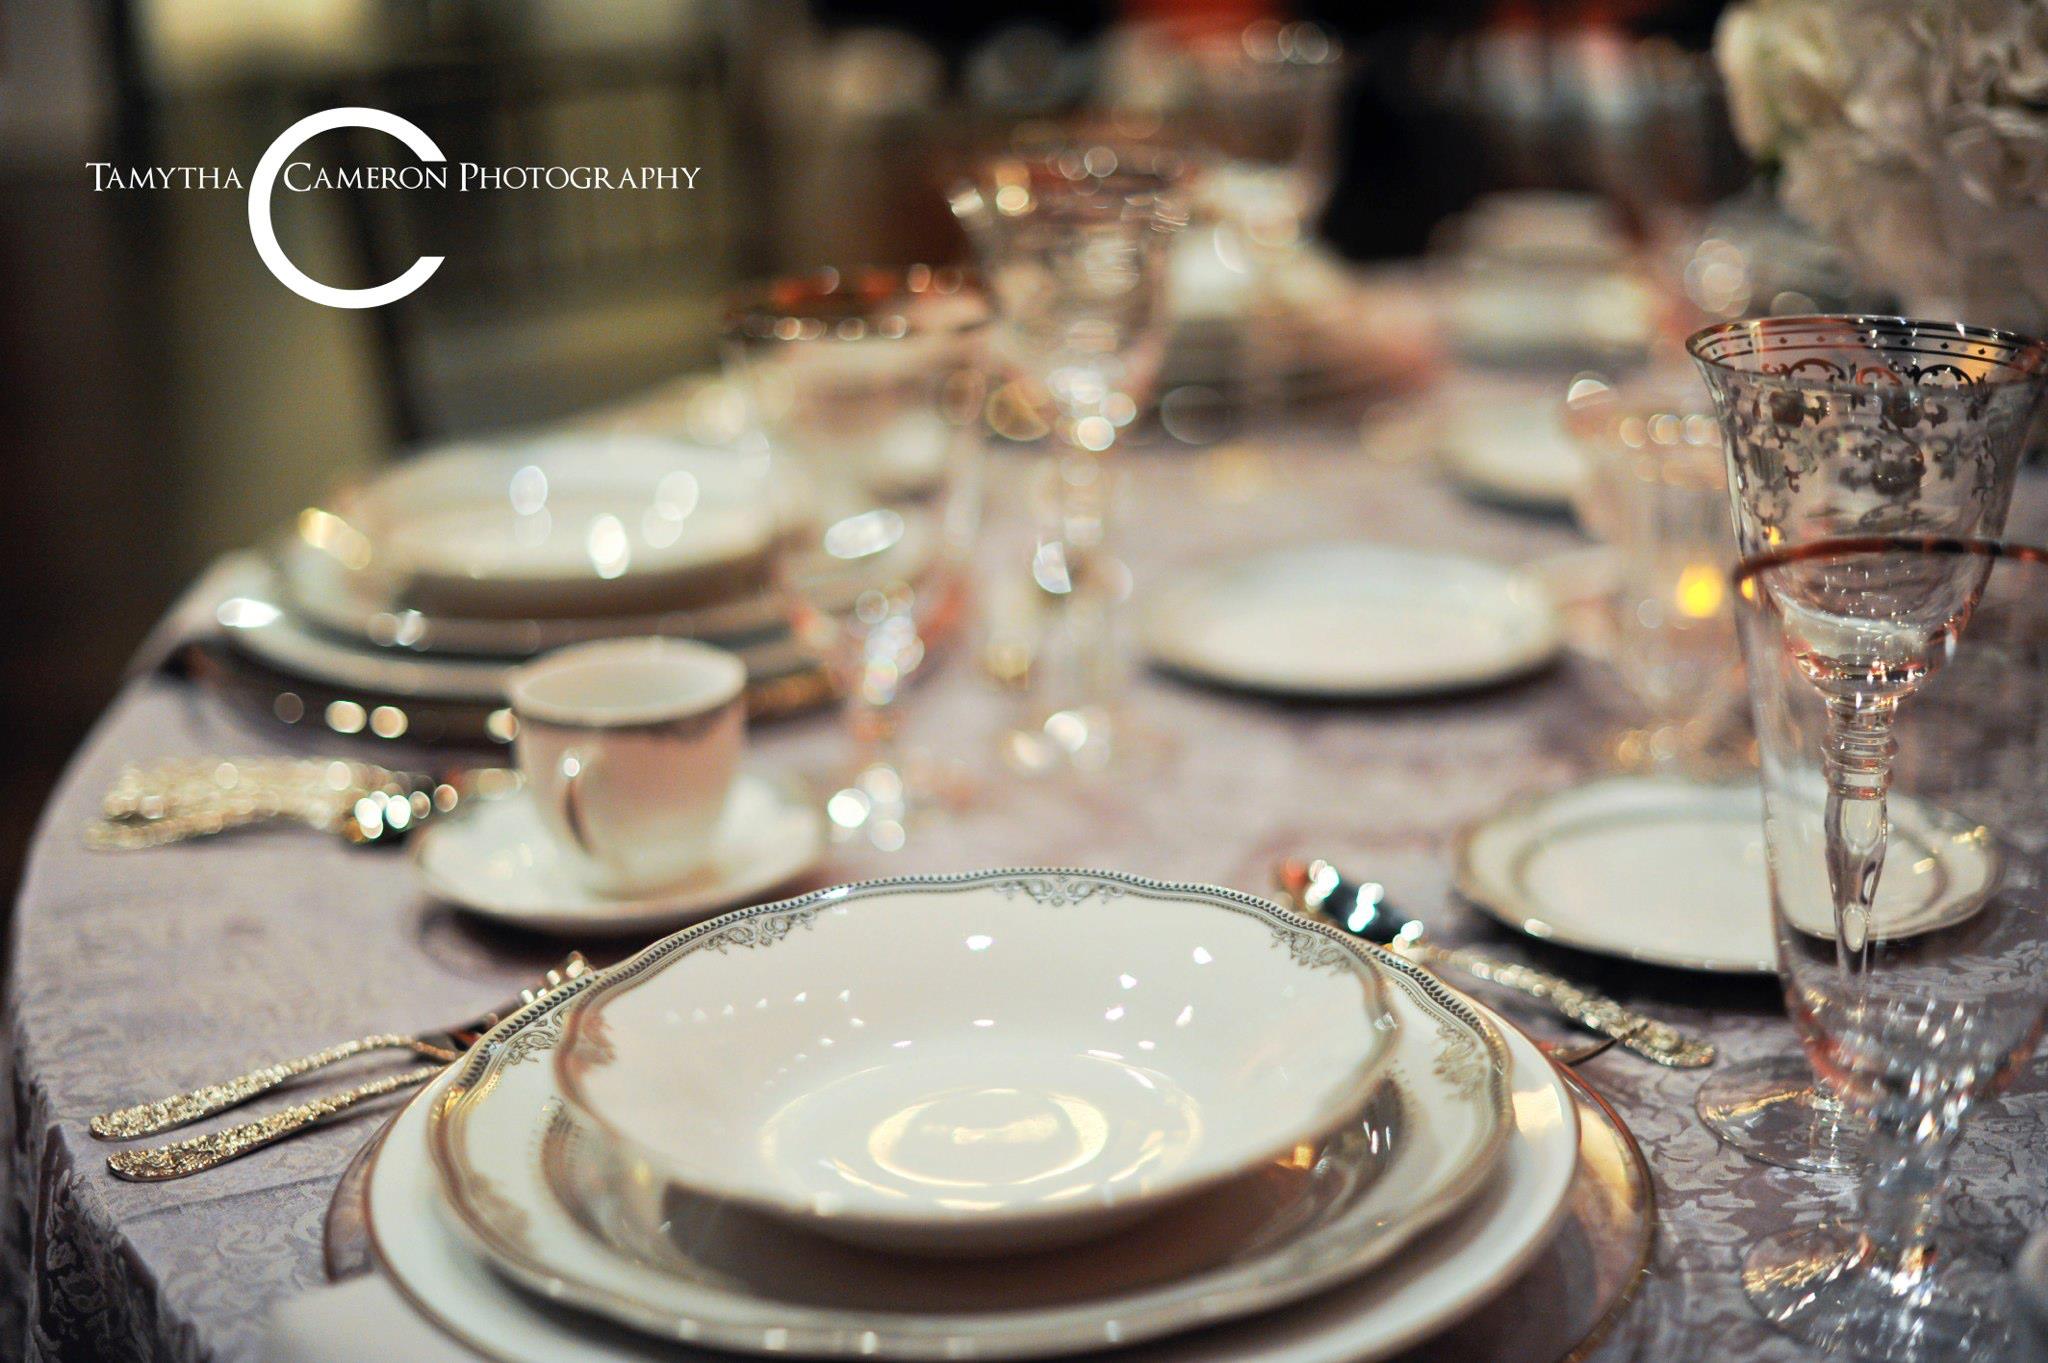
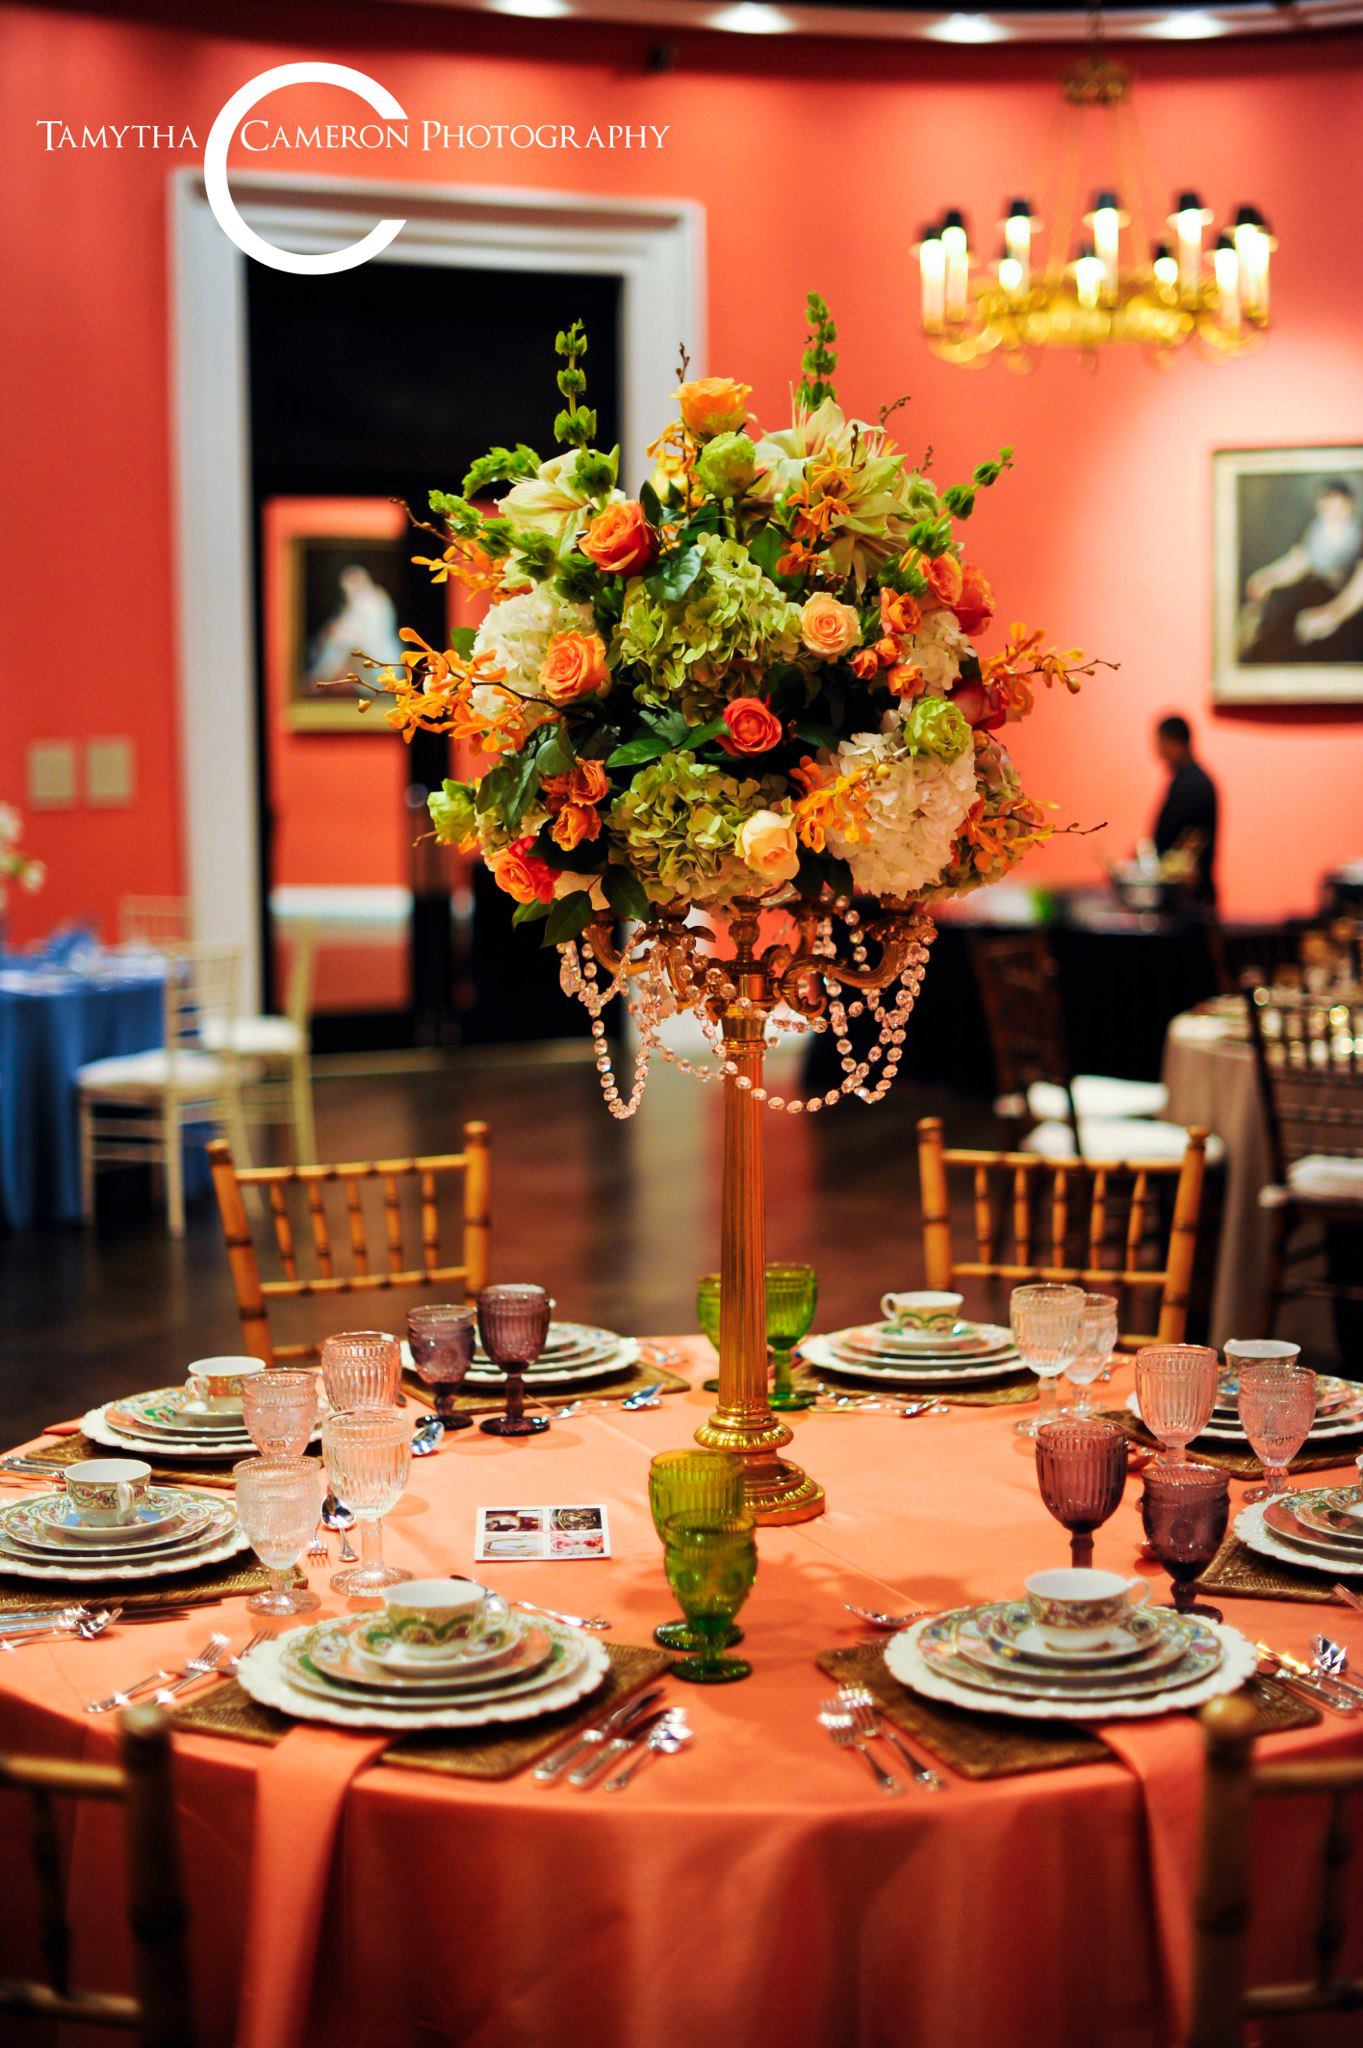
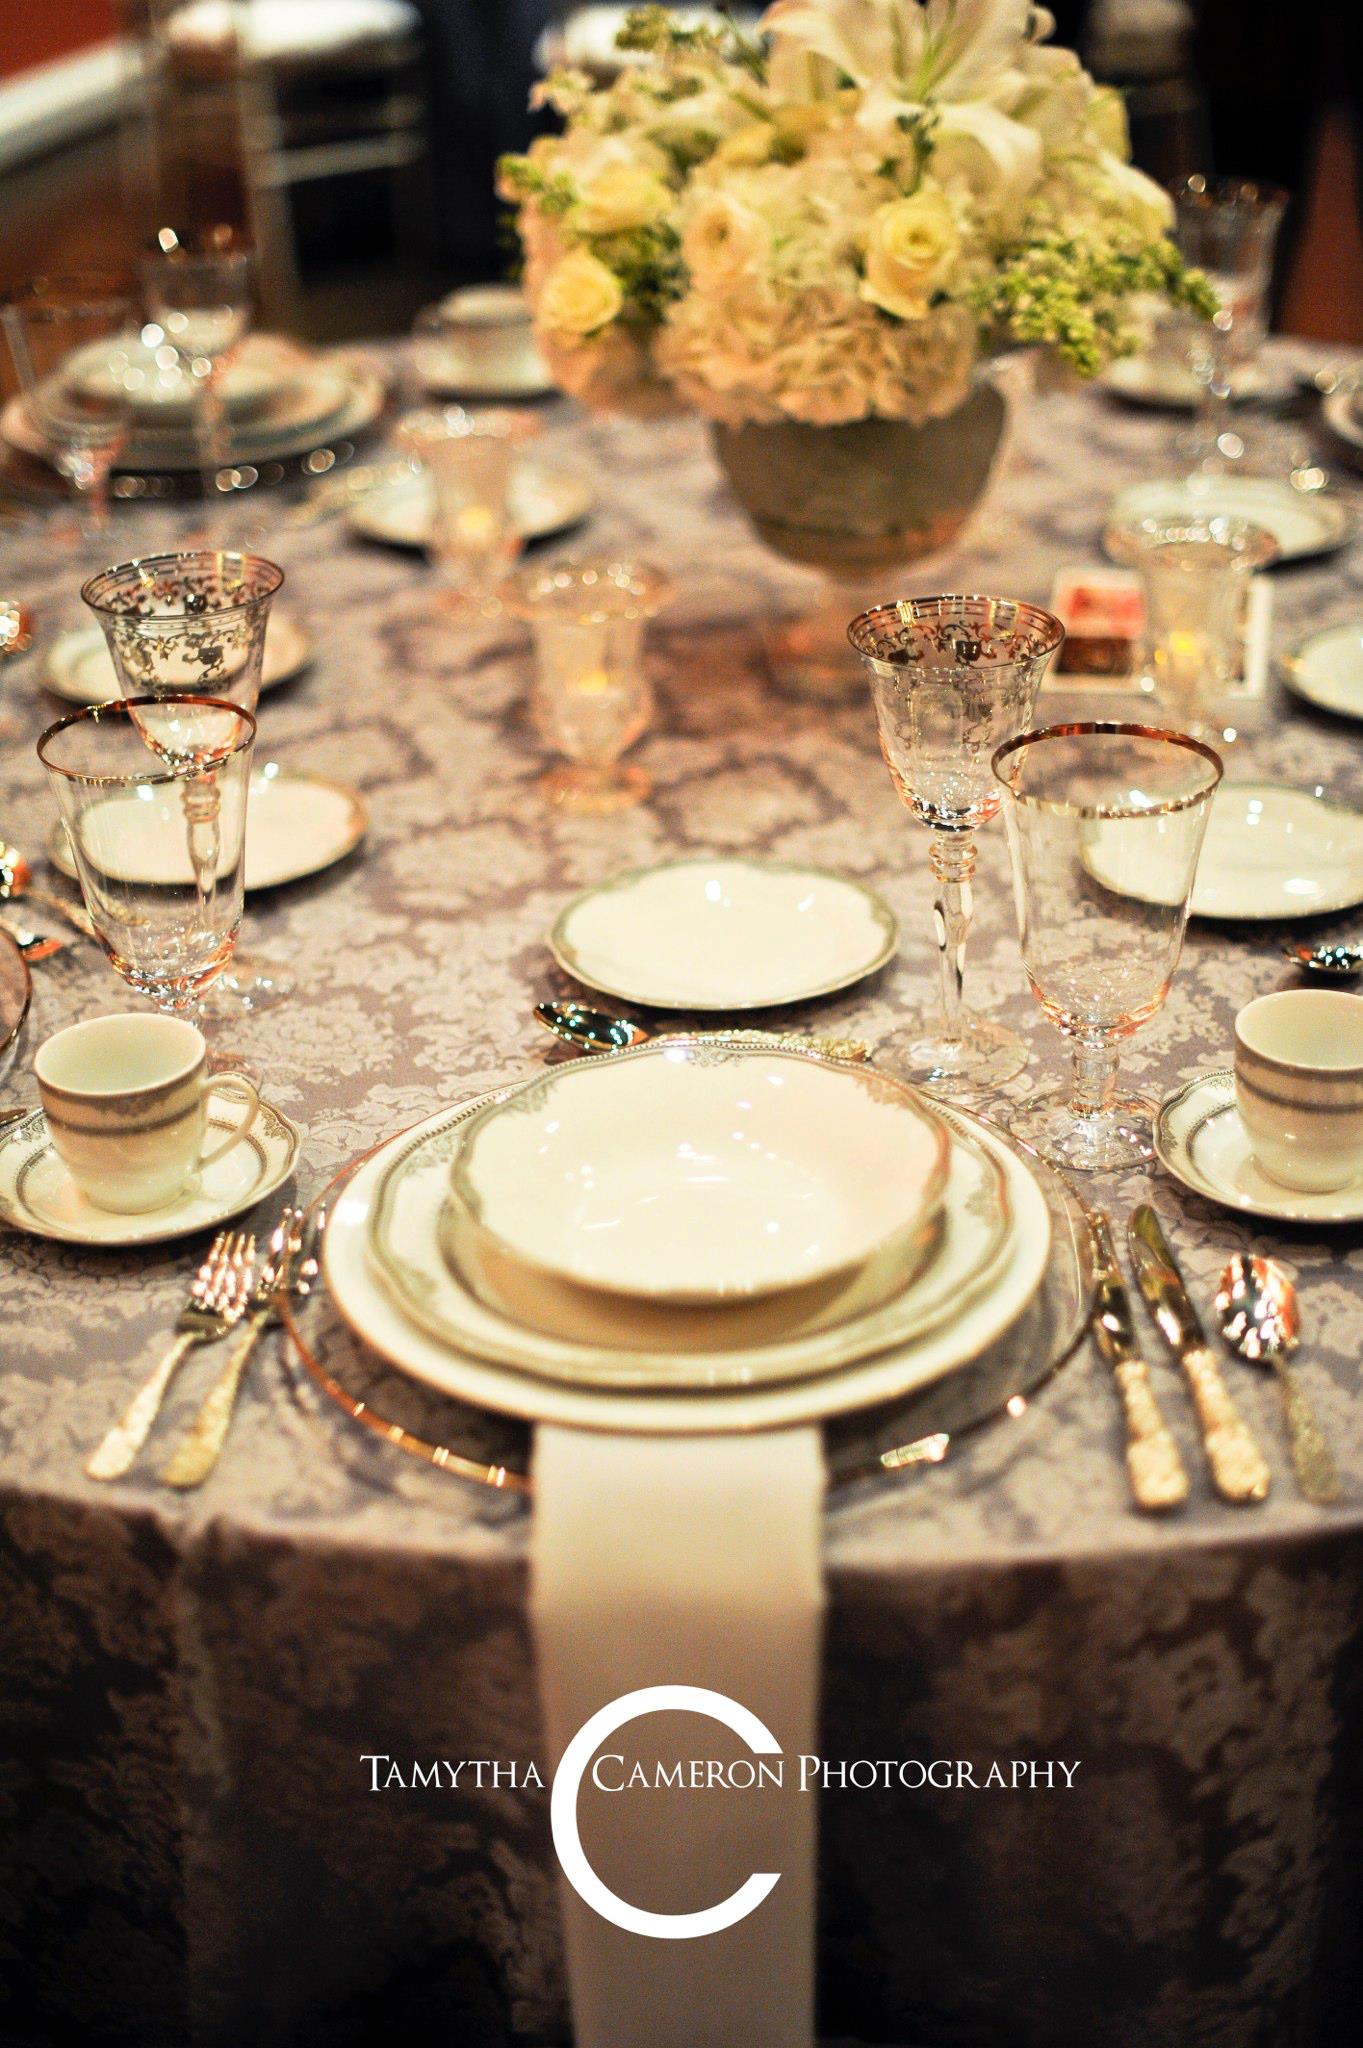
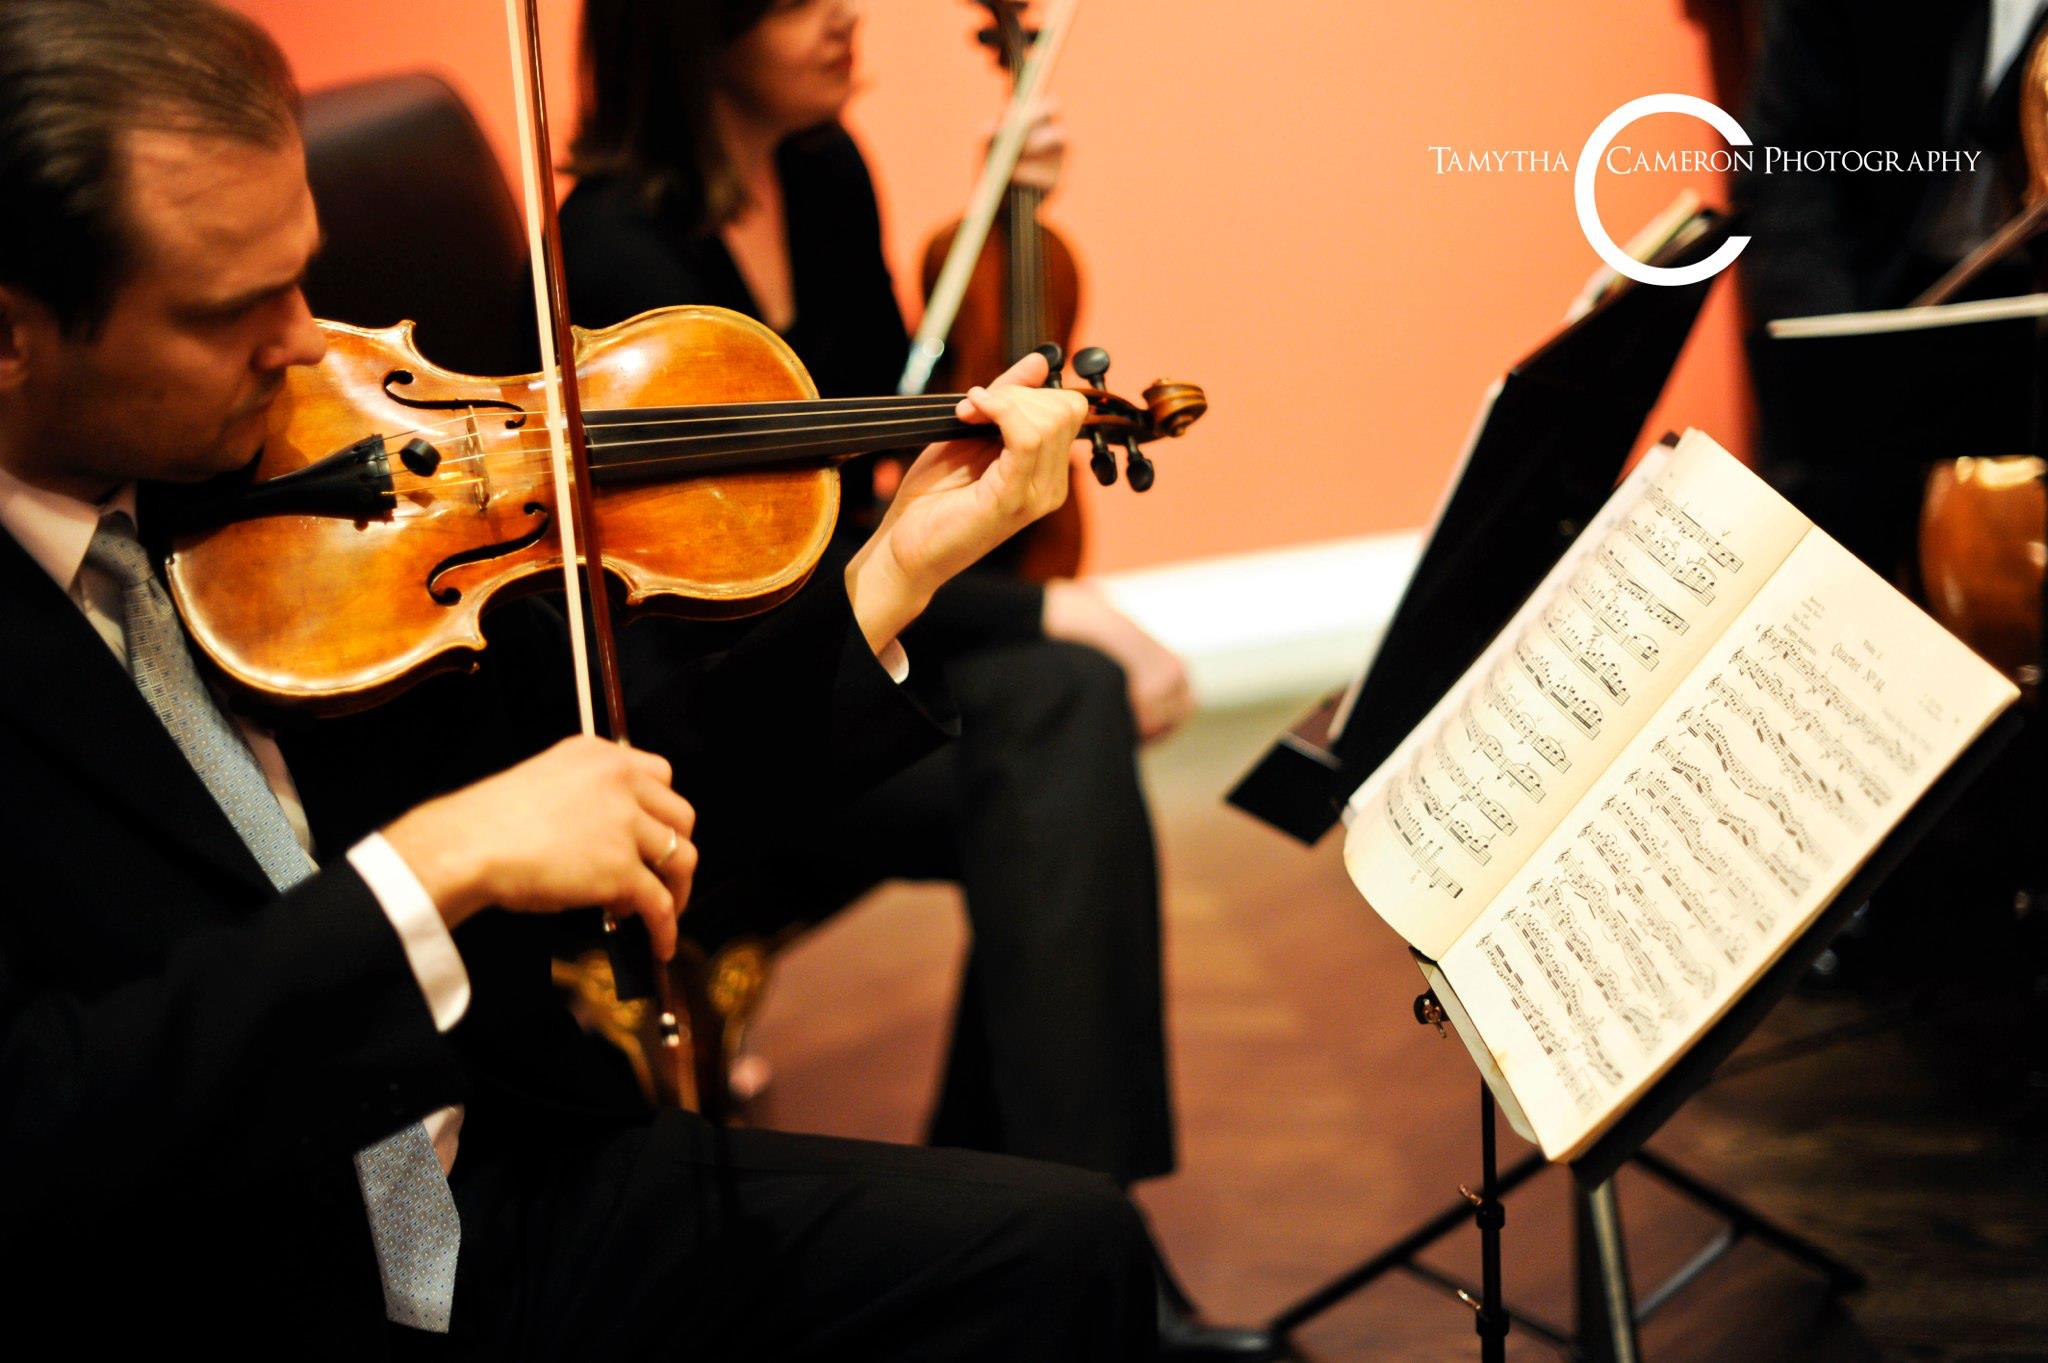
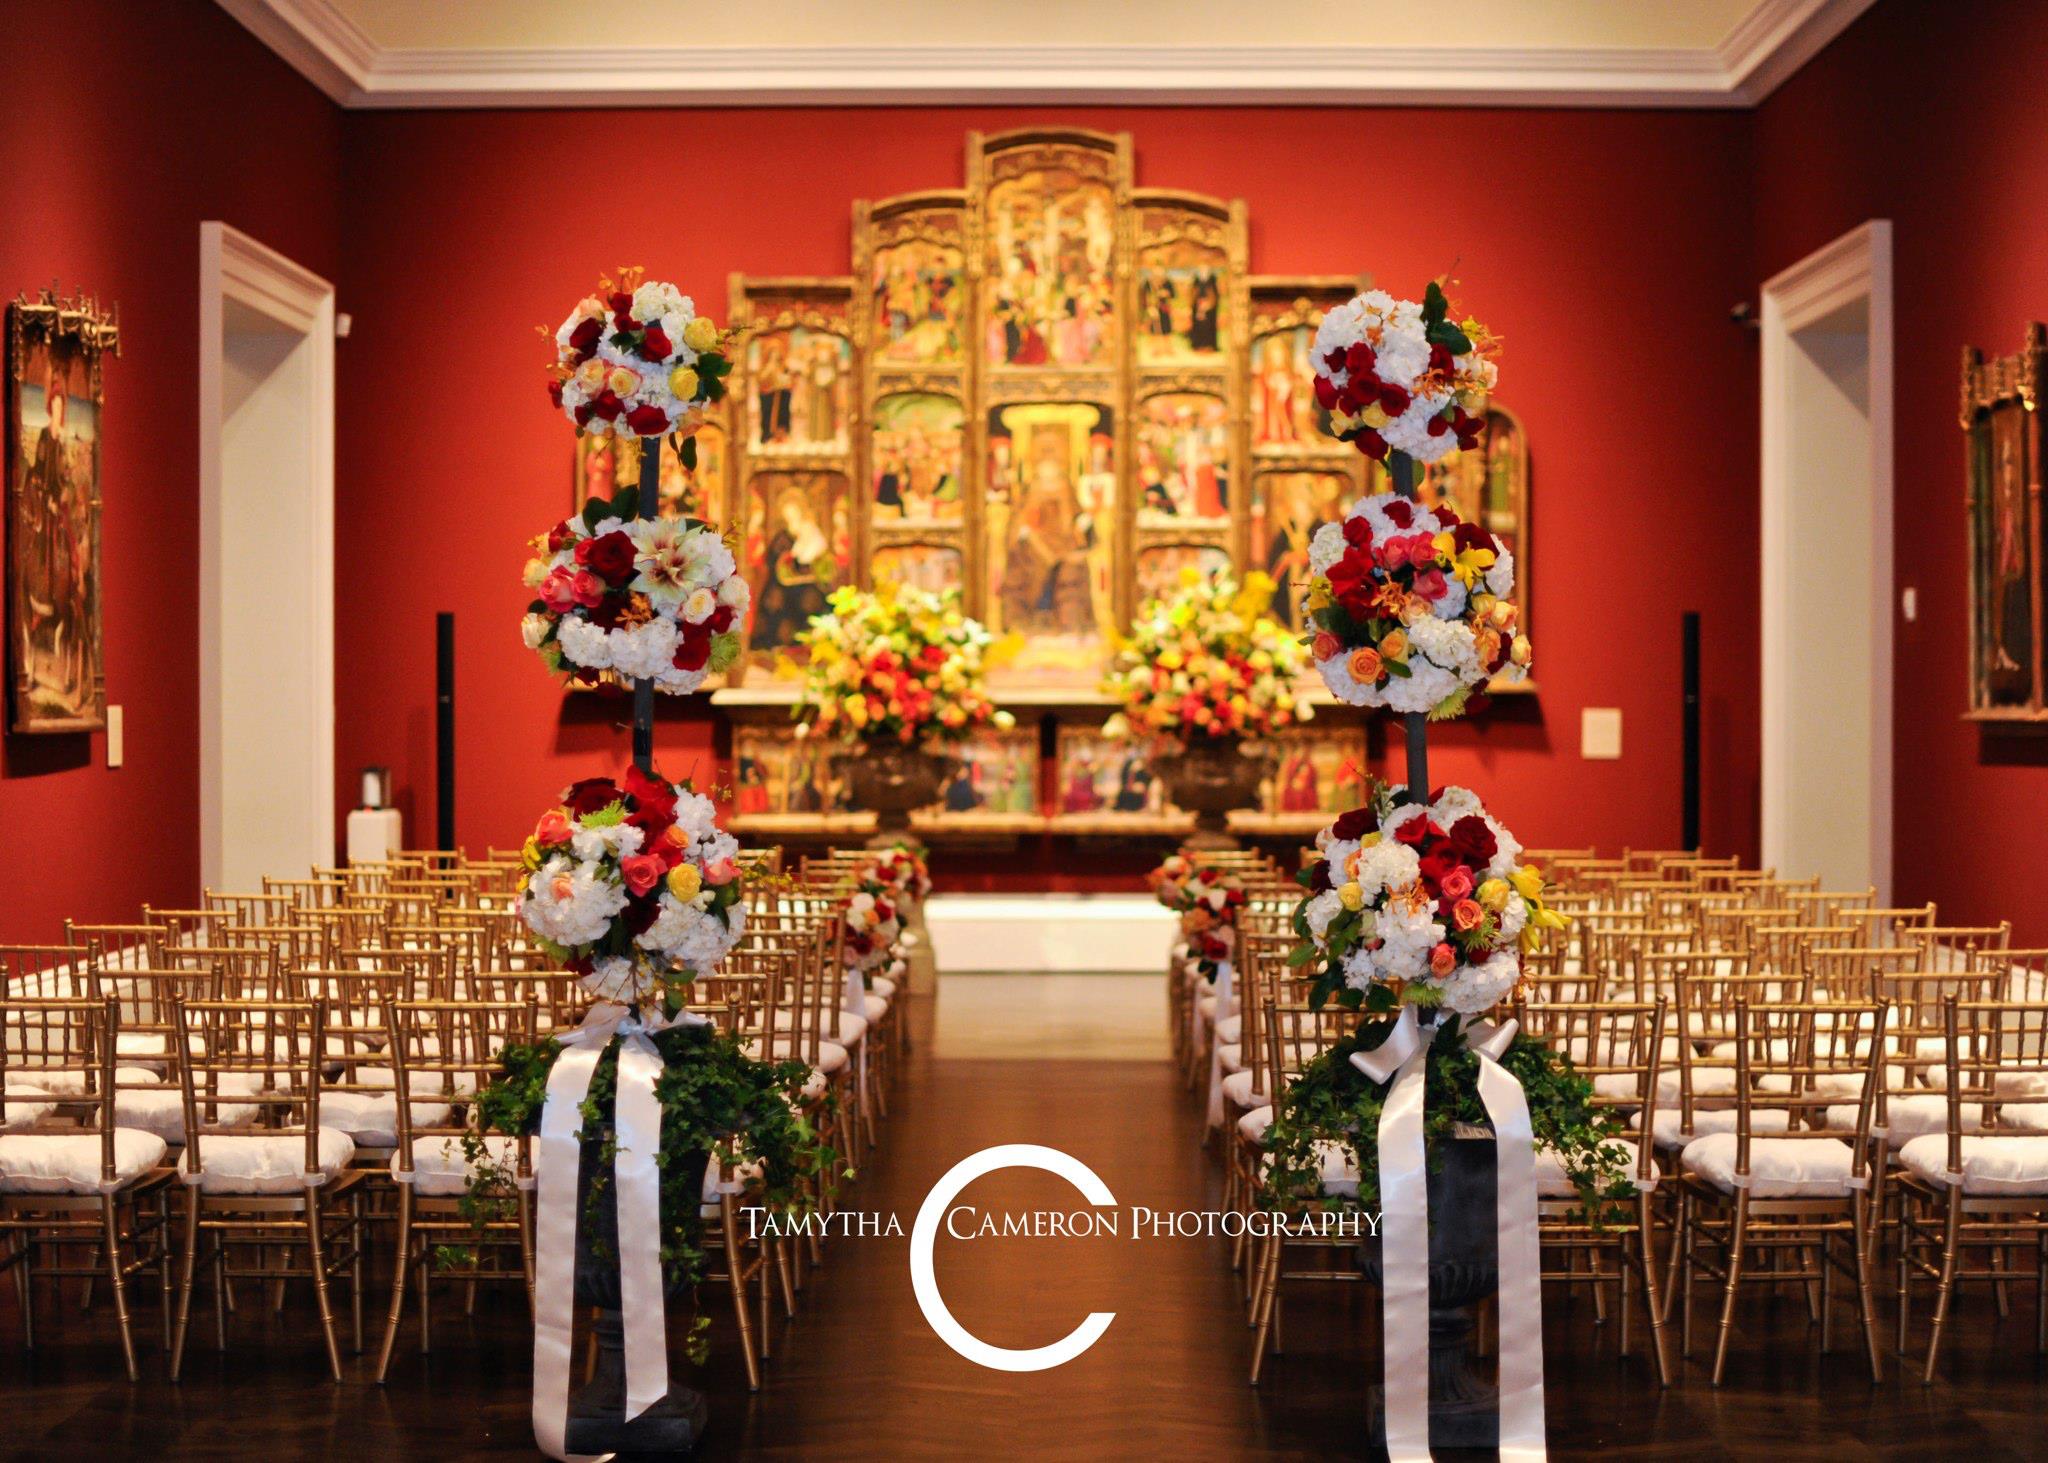
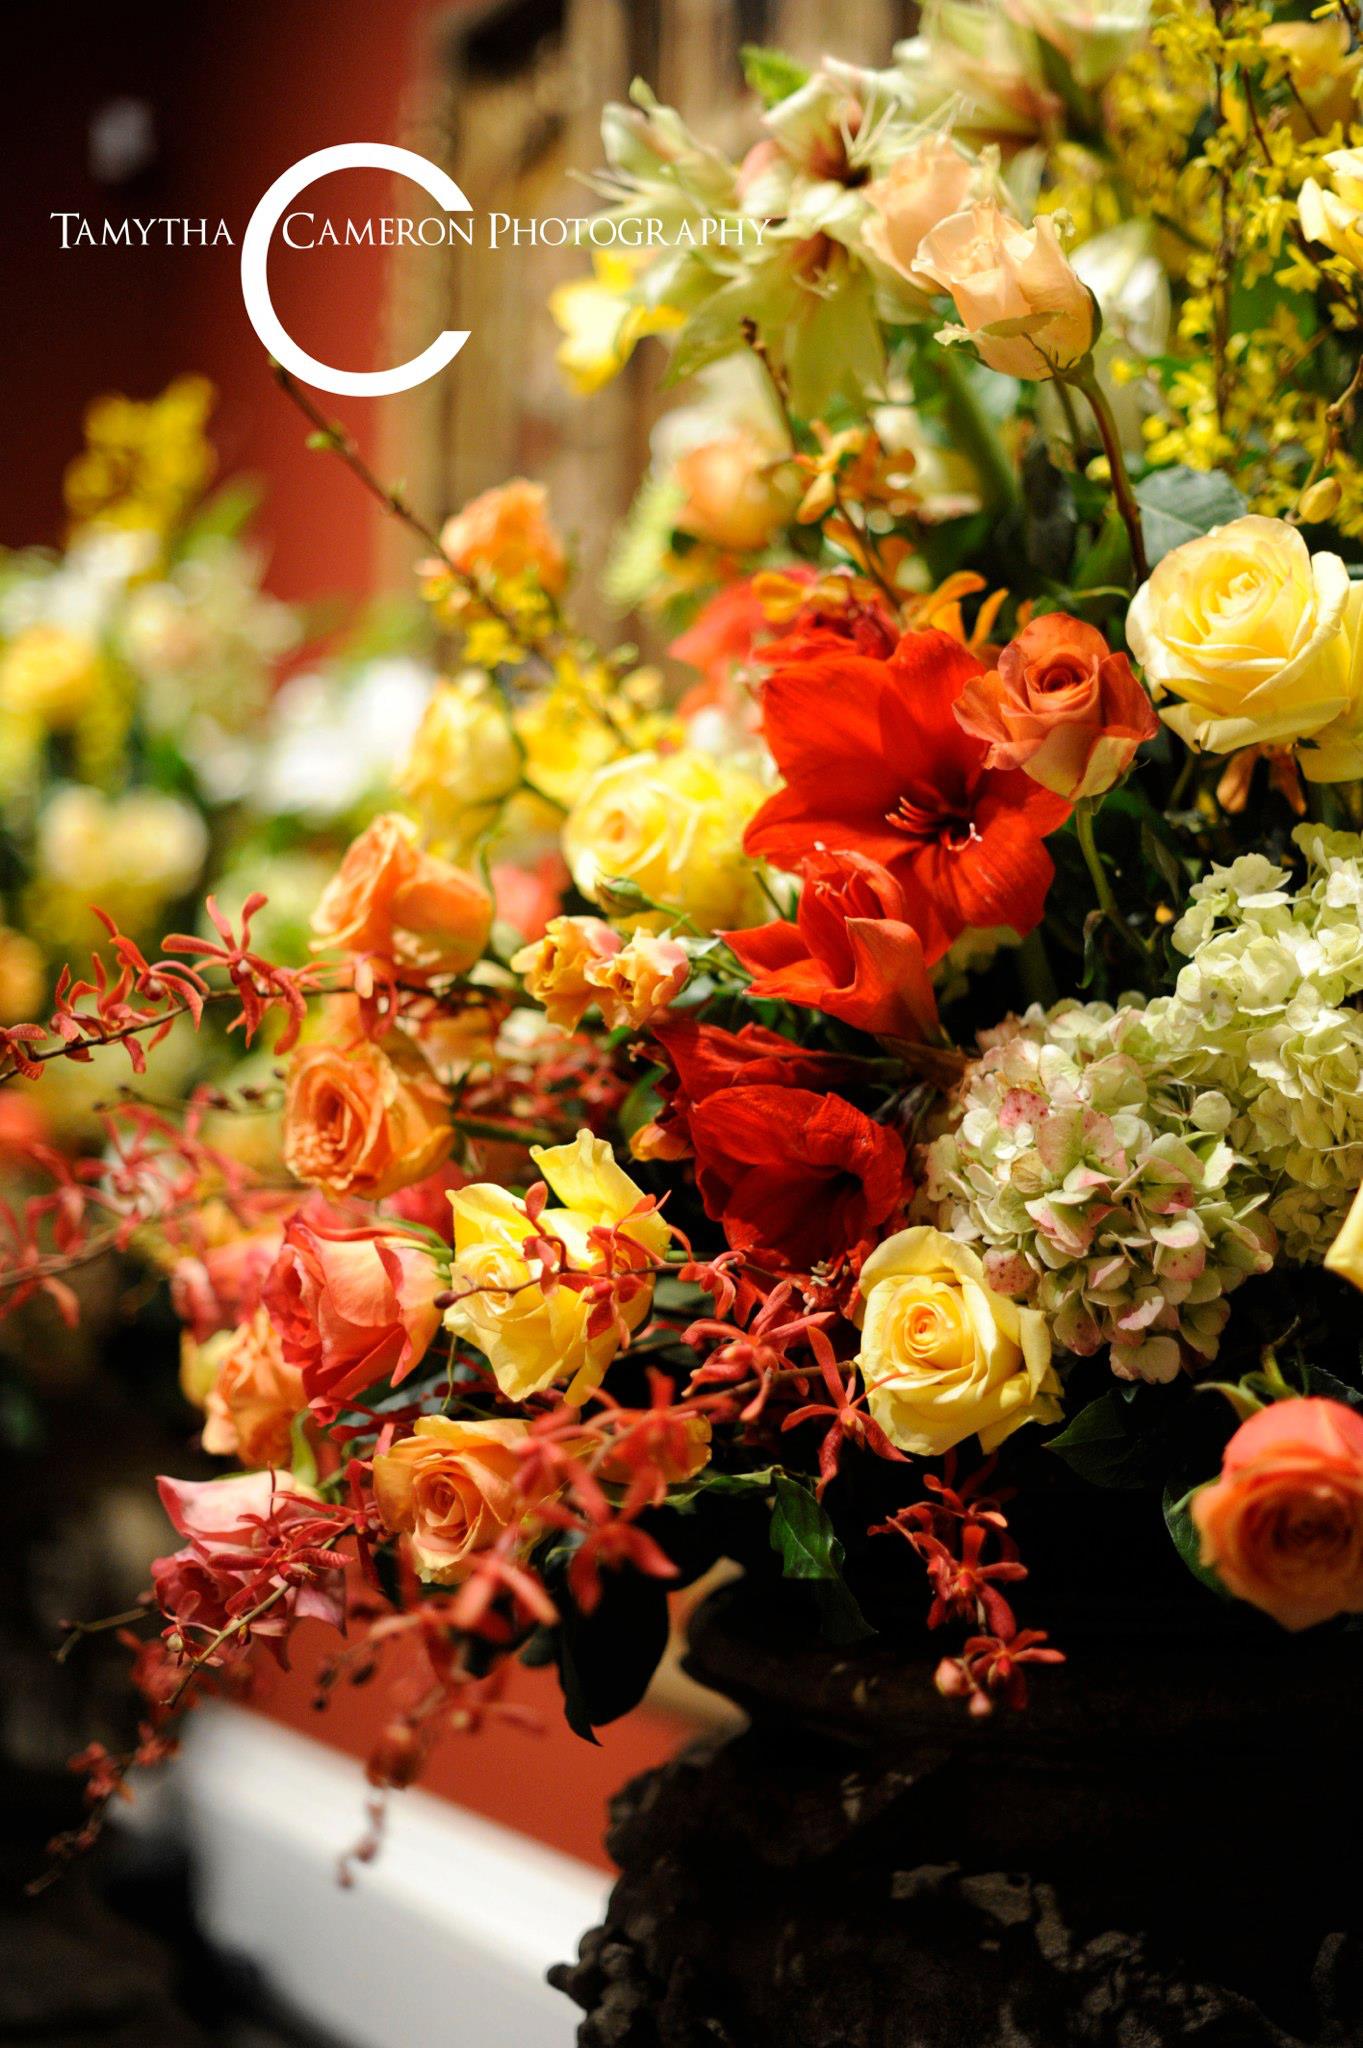
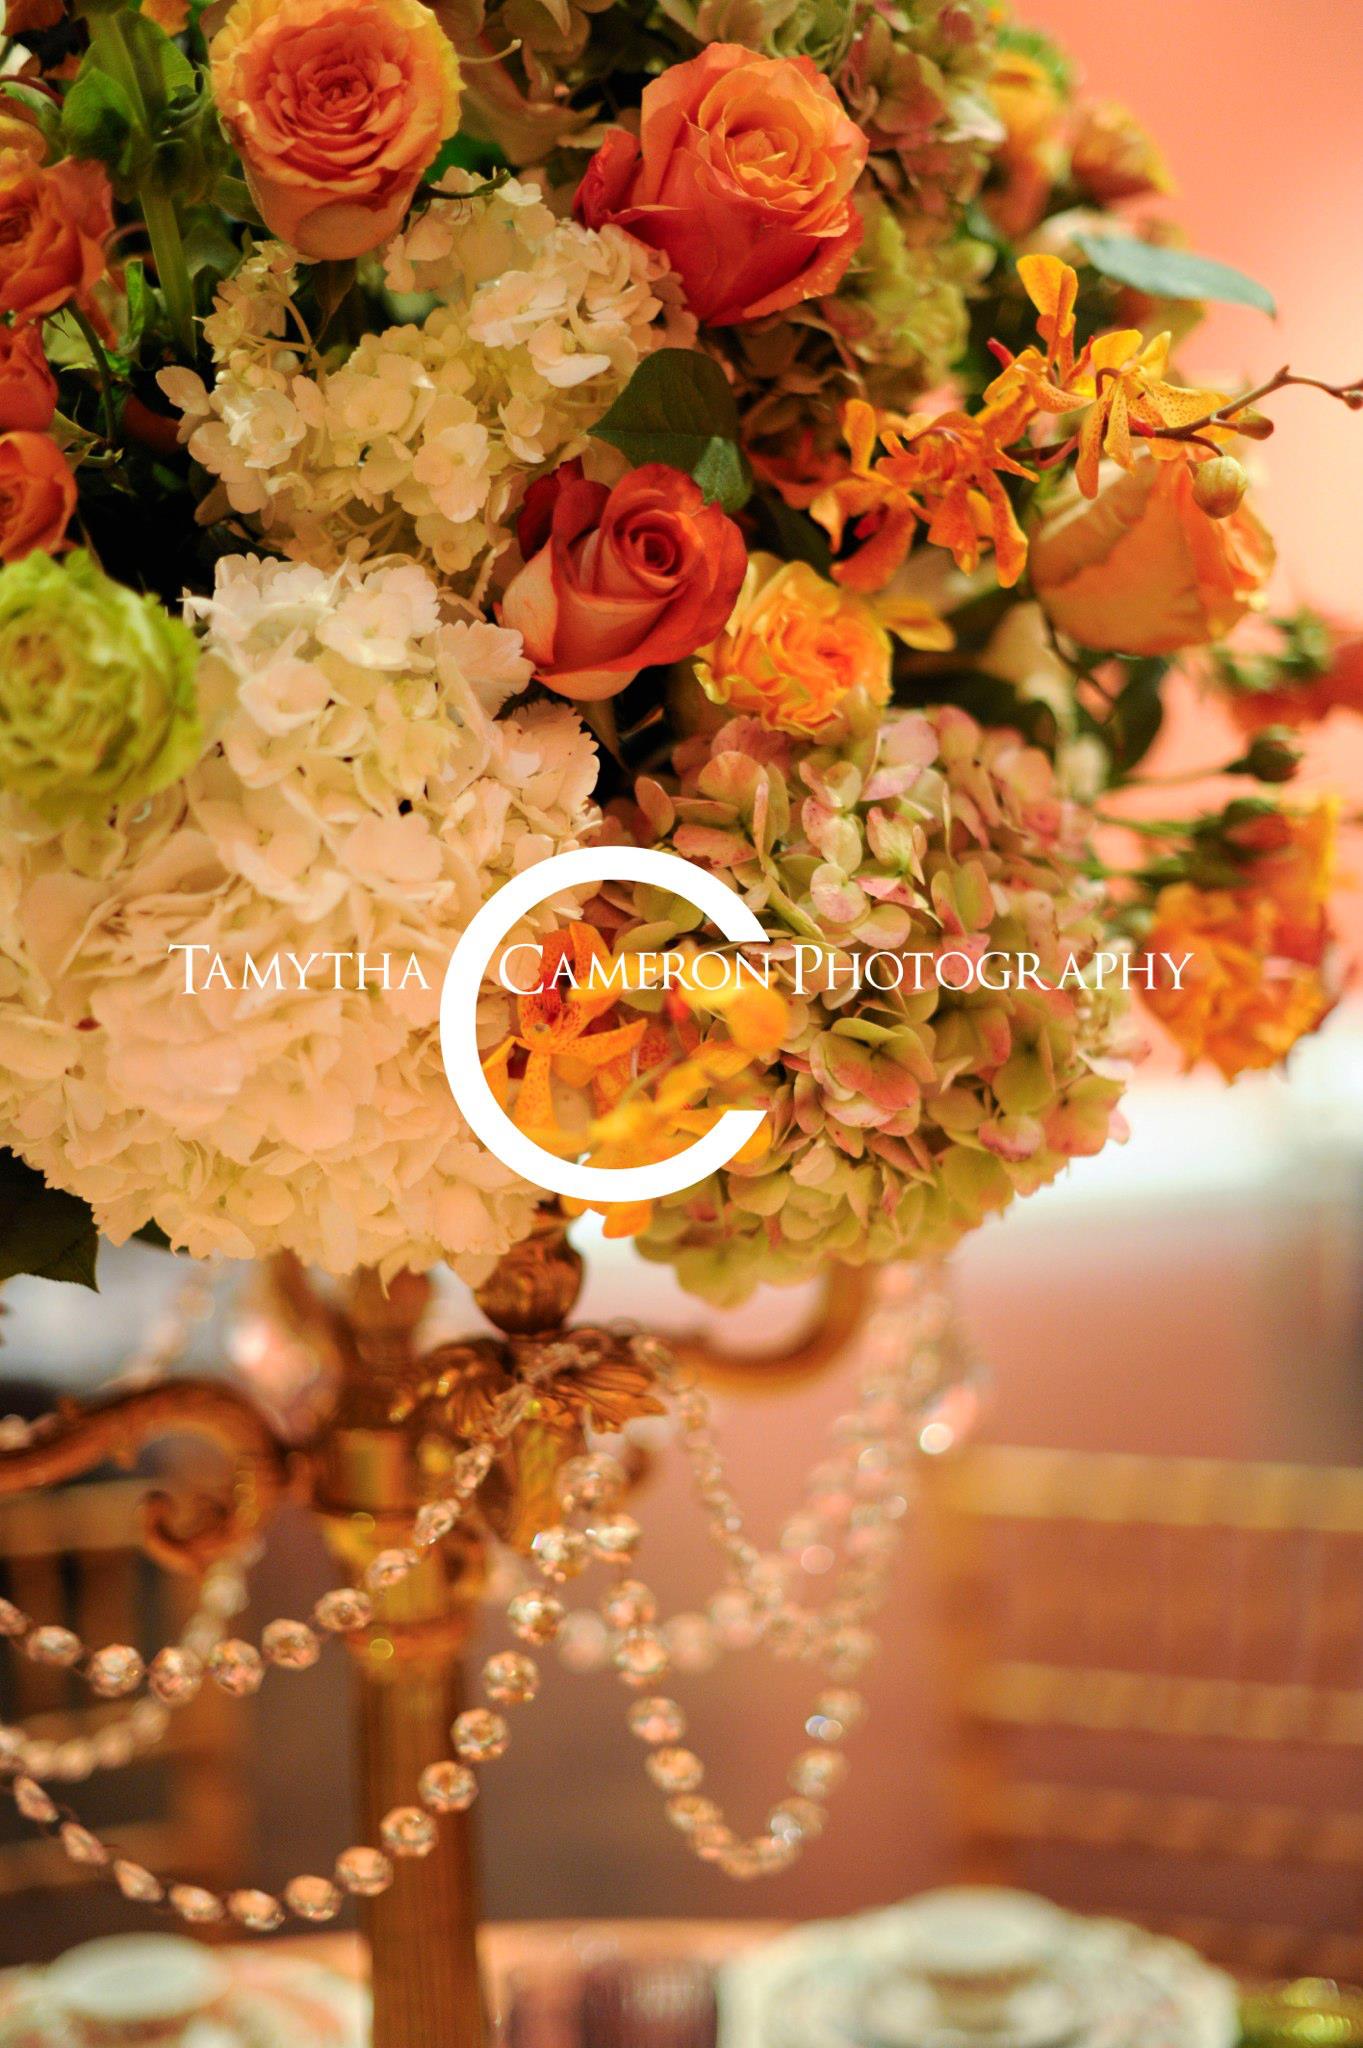
I am so lucky to have such AMAZING friends who make the Meadows Museum such a beautiful space.  Photography: Tamytha Cameron Photography, Tablescapes: Posh Couture Rentals, Florals: The Garden Gate, Catering: SMU Catering with Denise Acuff Lentz and Scott Rubin. Music: Gyros string quartet, Gold Crown Valet, AFR event furniture, Event Planner: Marin Elizabeth Fiske-Rankin