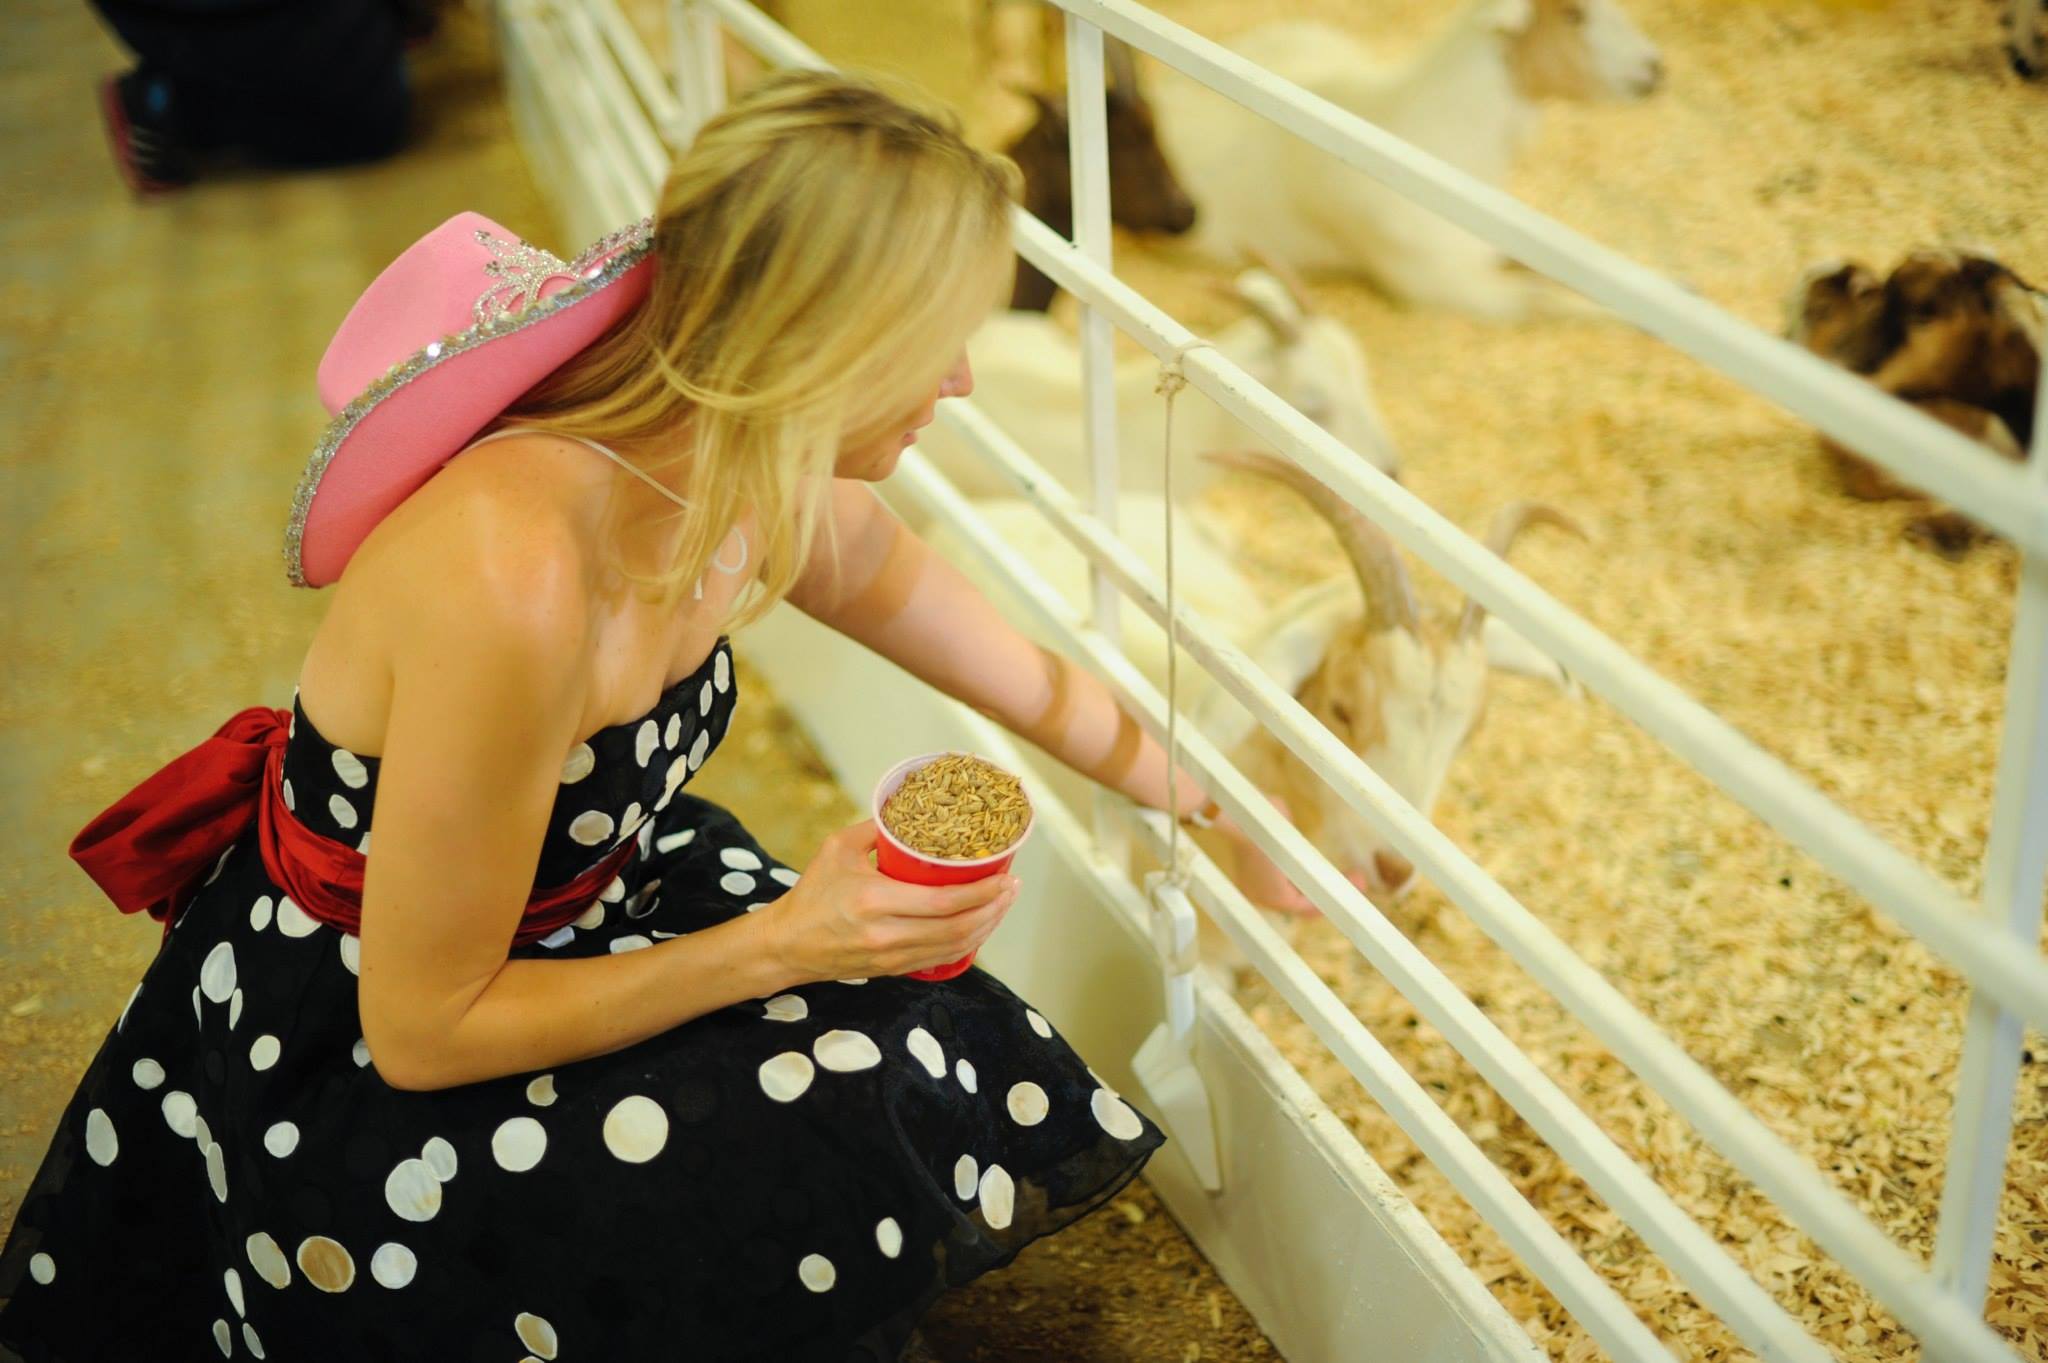
Well, a lot has happened in the past three months... I have moved from the Meadows Museum, downtown to the DMA, (Dallas Museum of Art) and things are busy! I am acclimatizing to my new museum home, slowly but surely. I also turned 35 opening night of the Texas State Fair! With the absolute sweetest group of friends a gal could ever have. Of course, all the beautiful images of us were taken by tamytha cameron photography. This has been a lucky fall!
Simple Life Style


Had to take a break.
Sorry about the unintentional break. I am finding it difficult to do all my fun activities and find time to share them! Here are a few sneak peeks at what I have been up too! Yes, I did build a Tipi. Photos and instructions to follow.
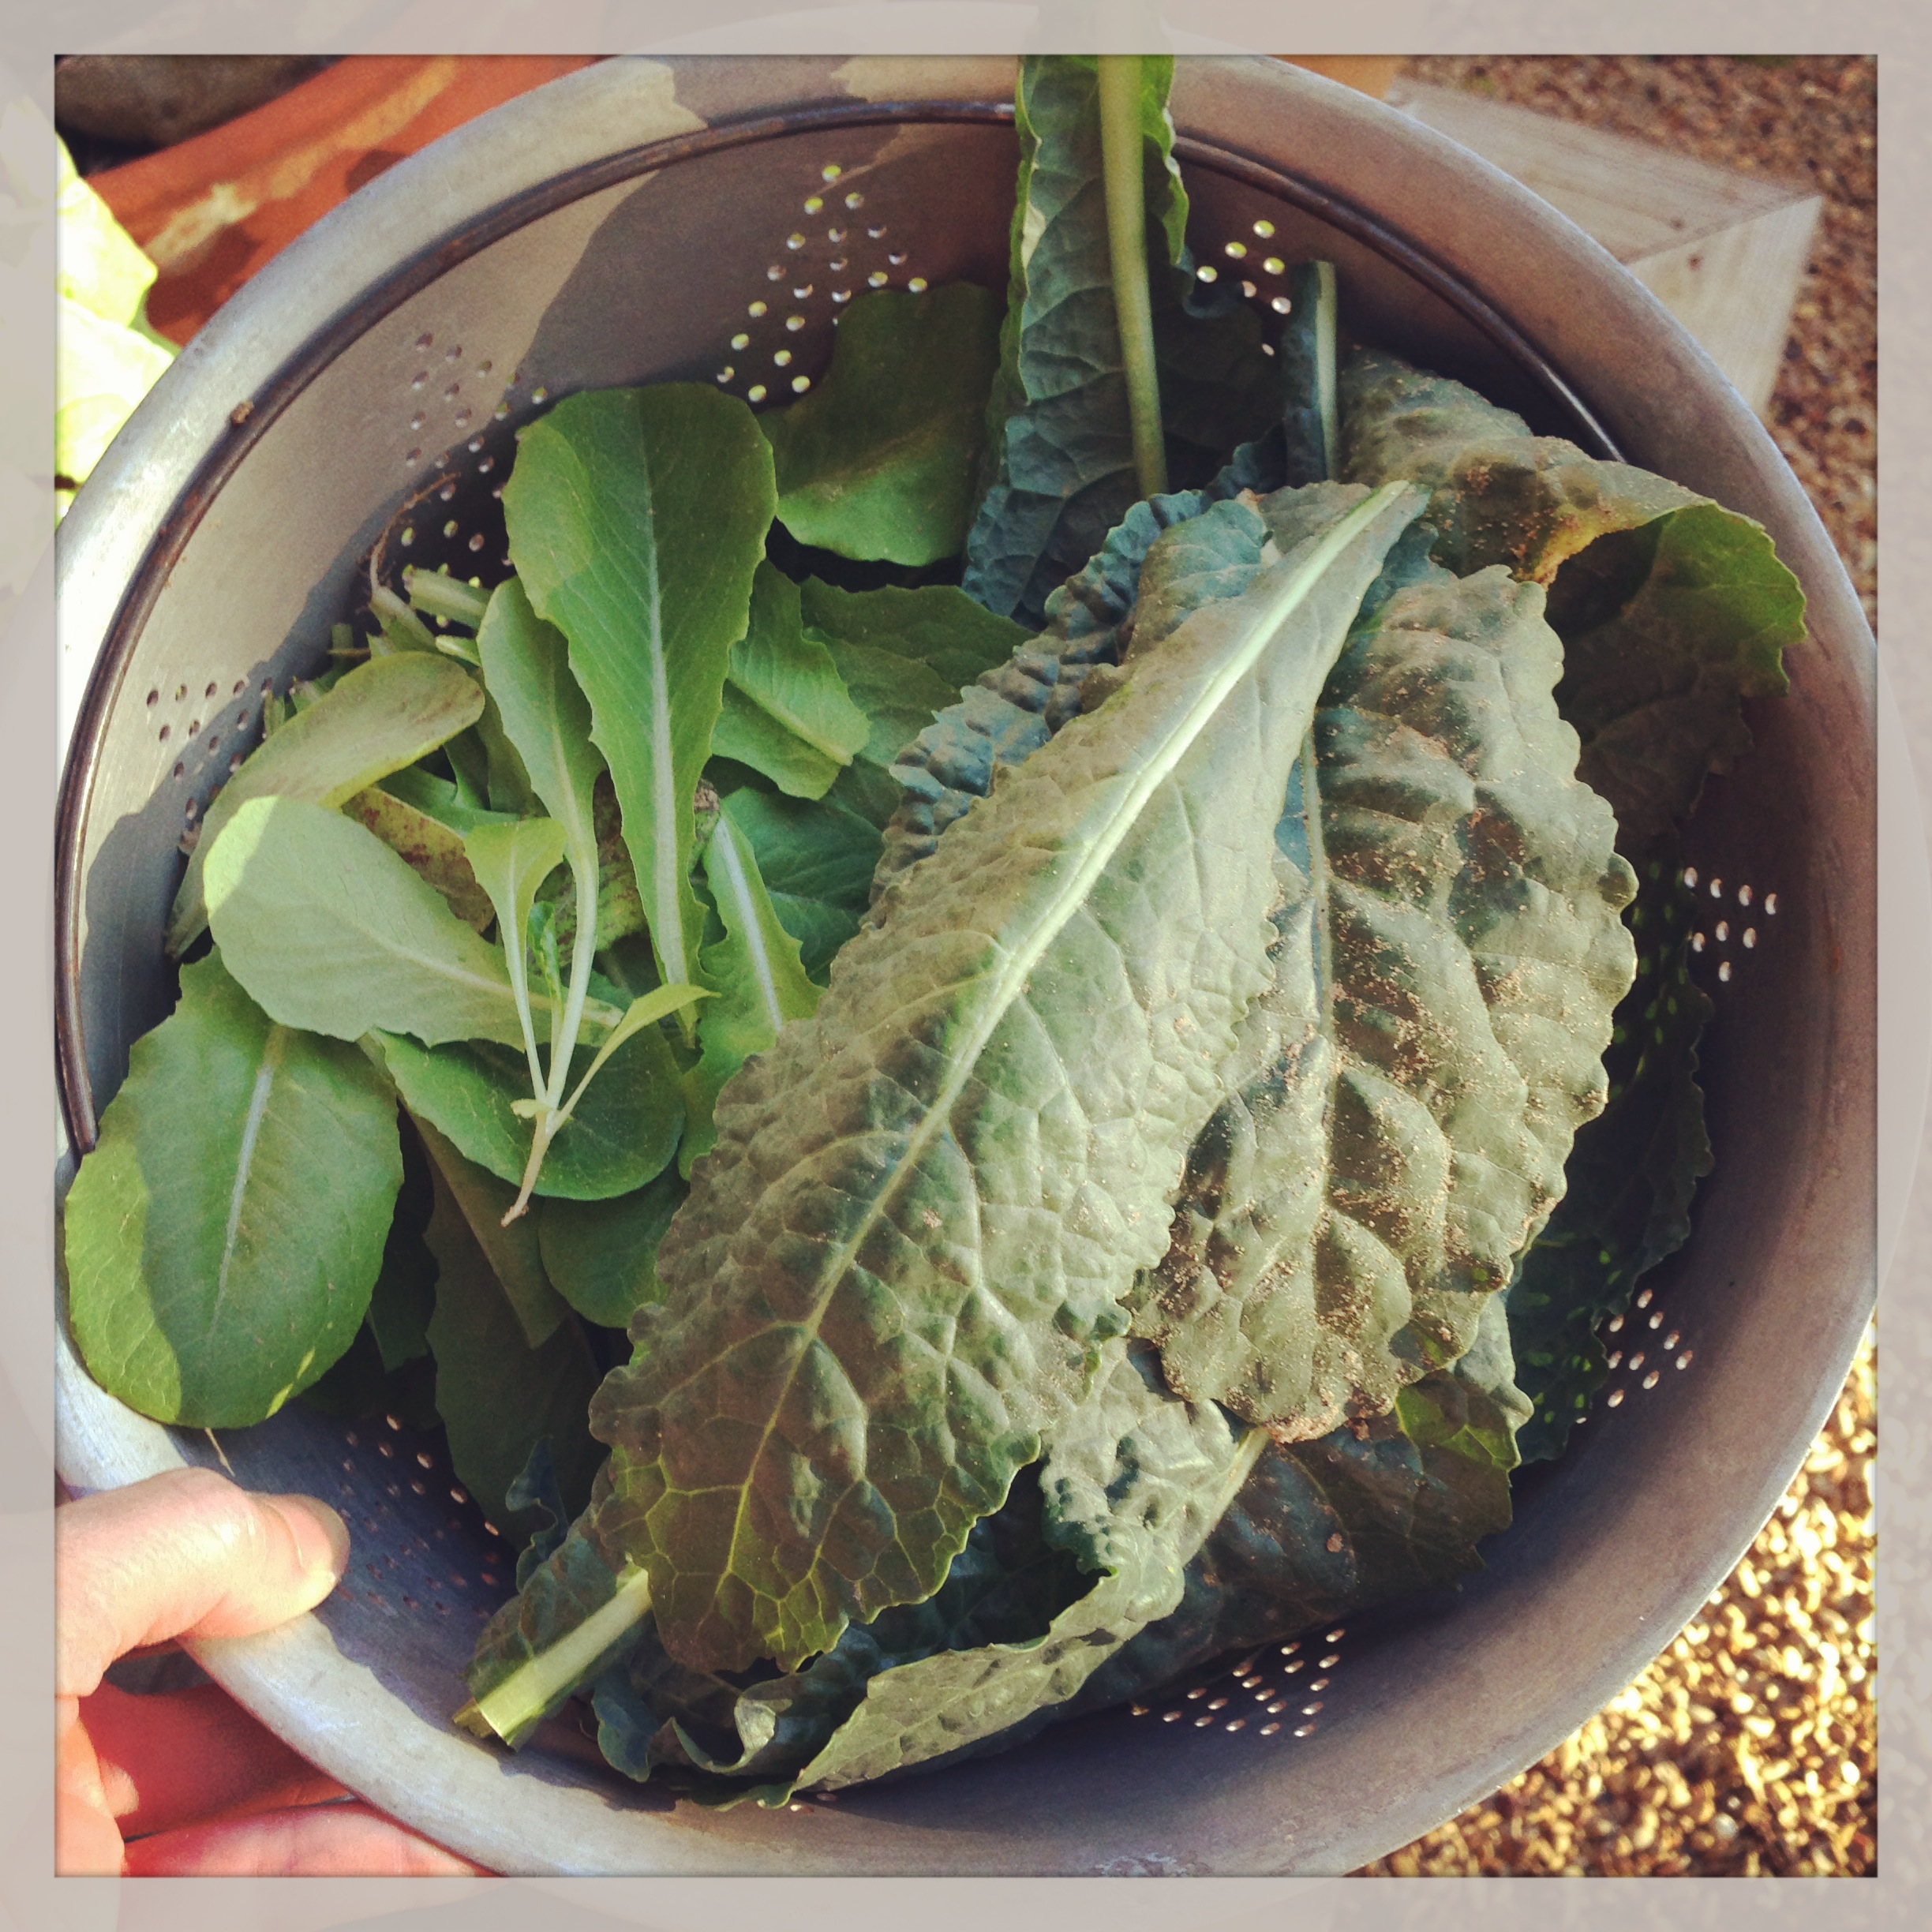
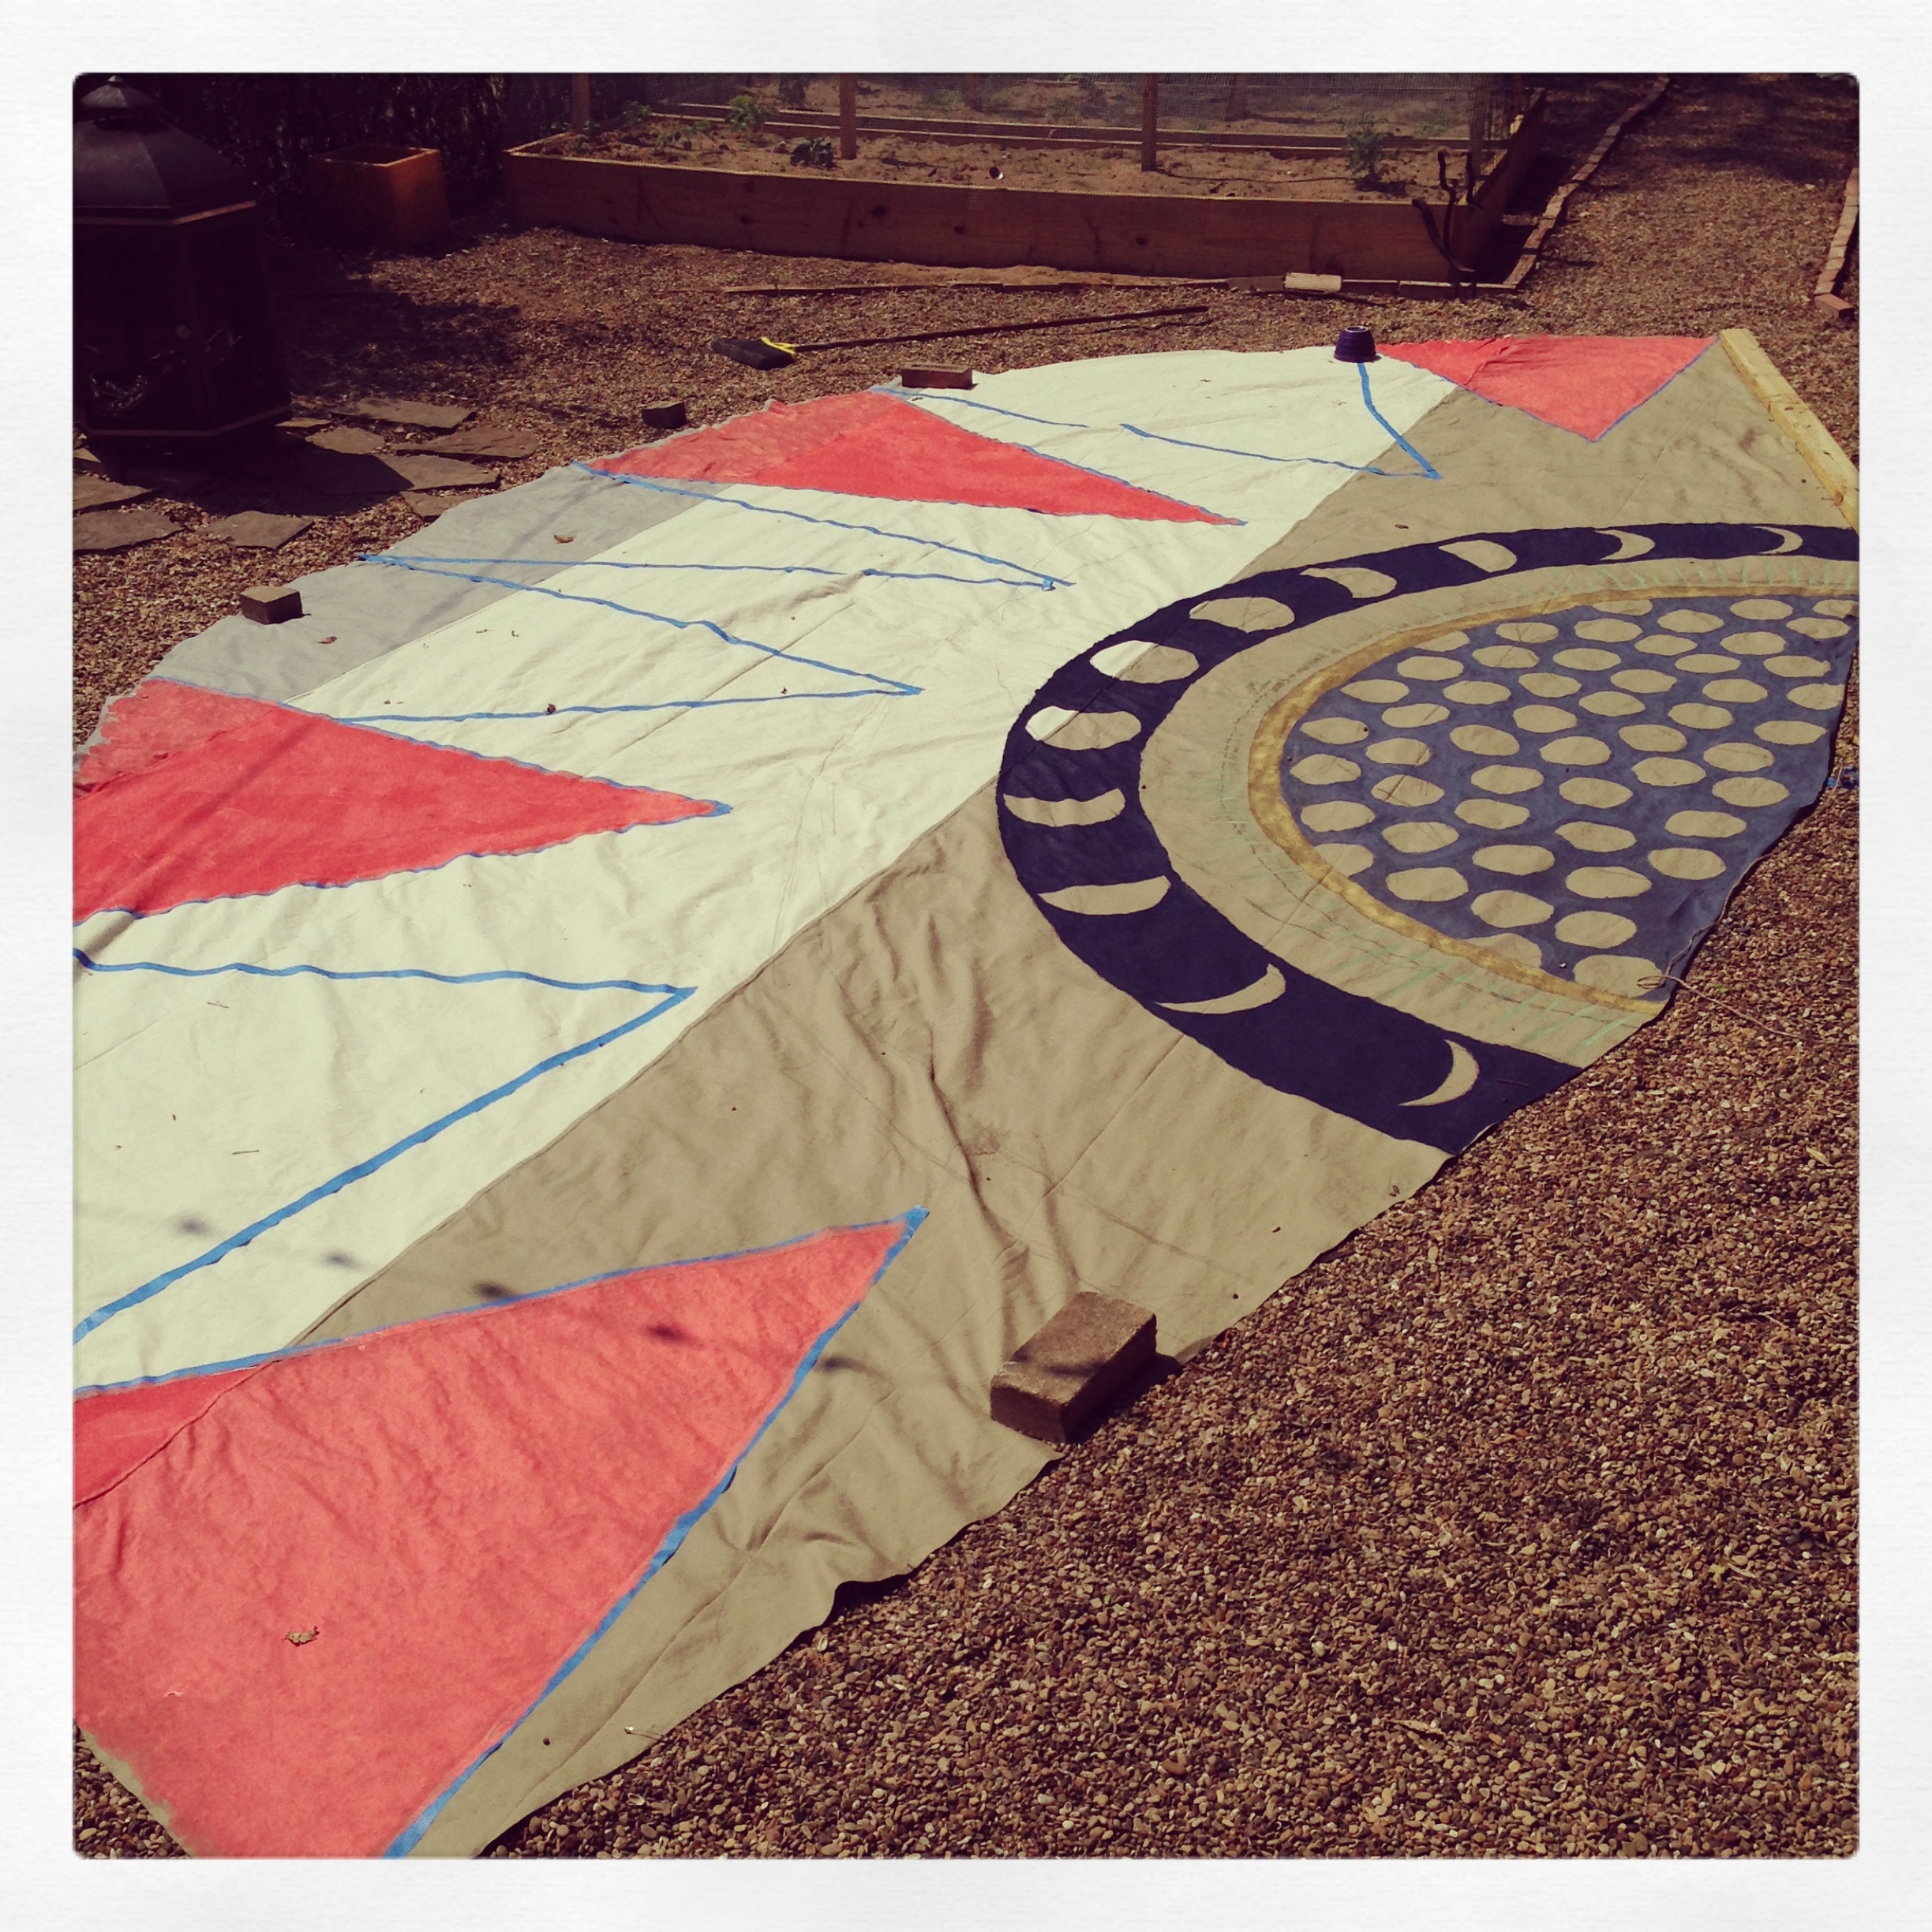
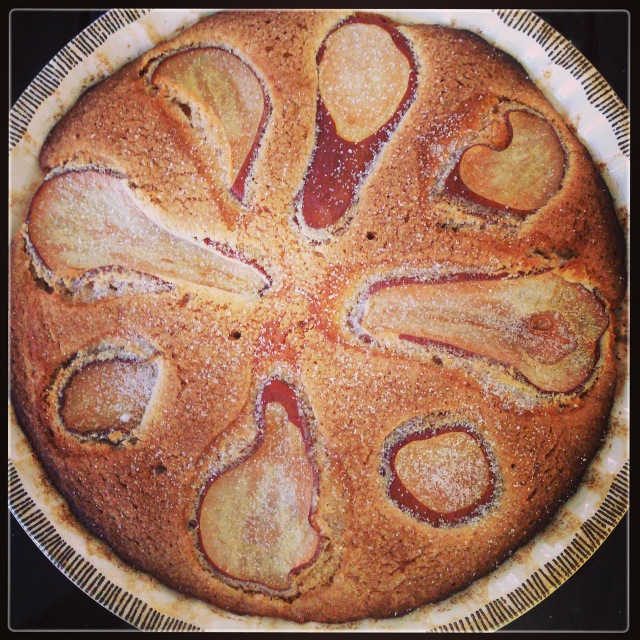
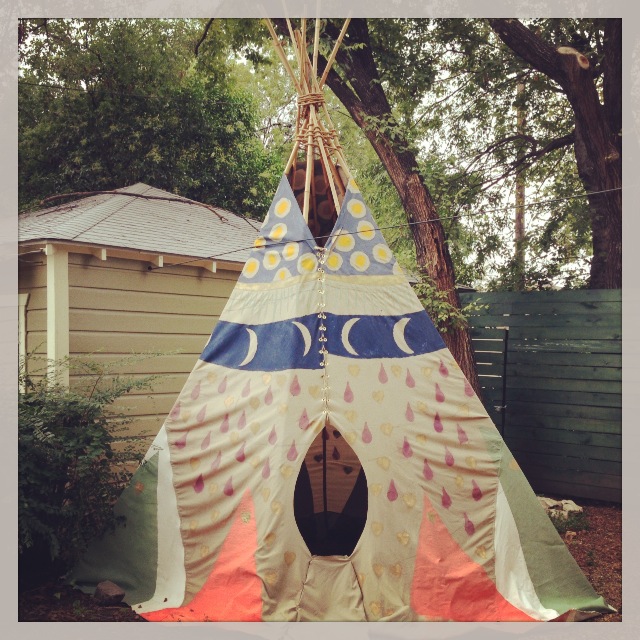
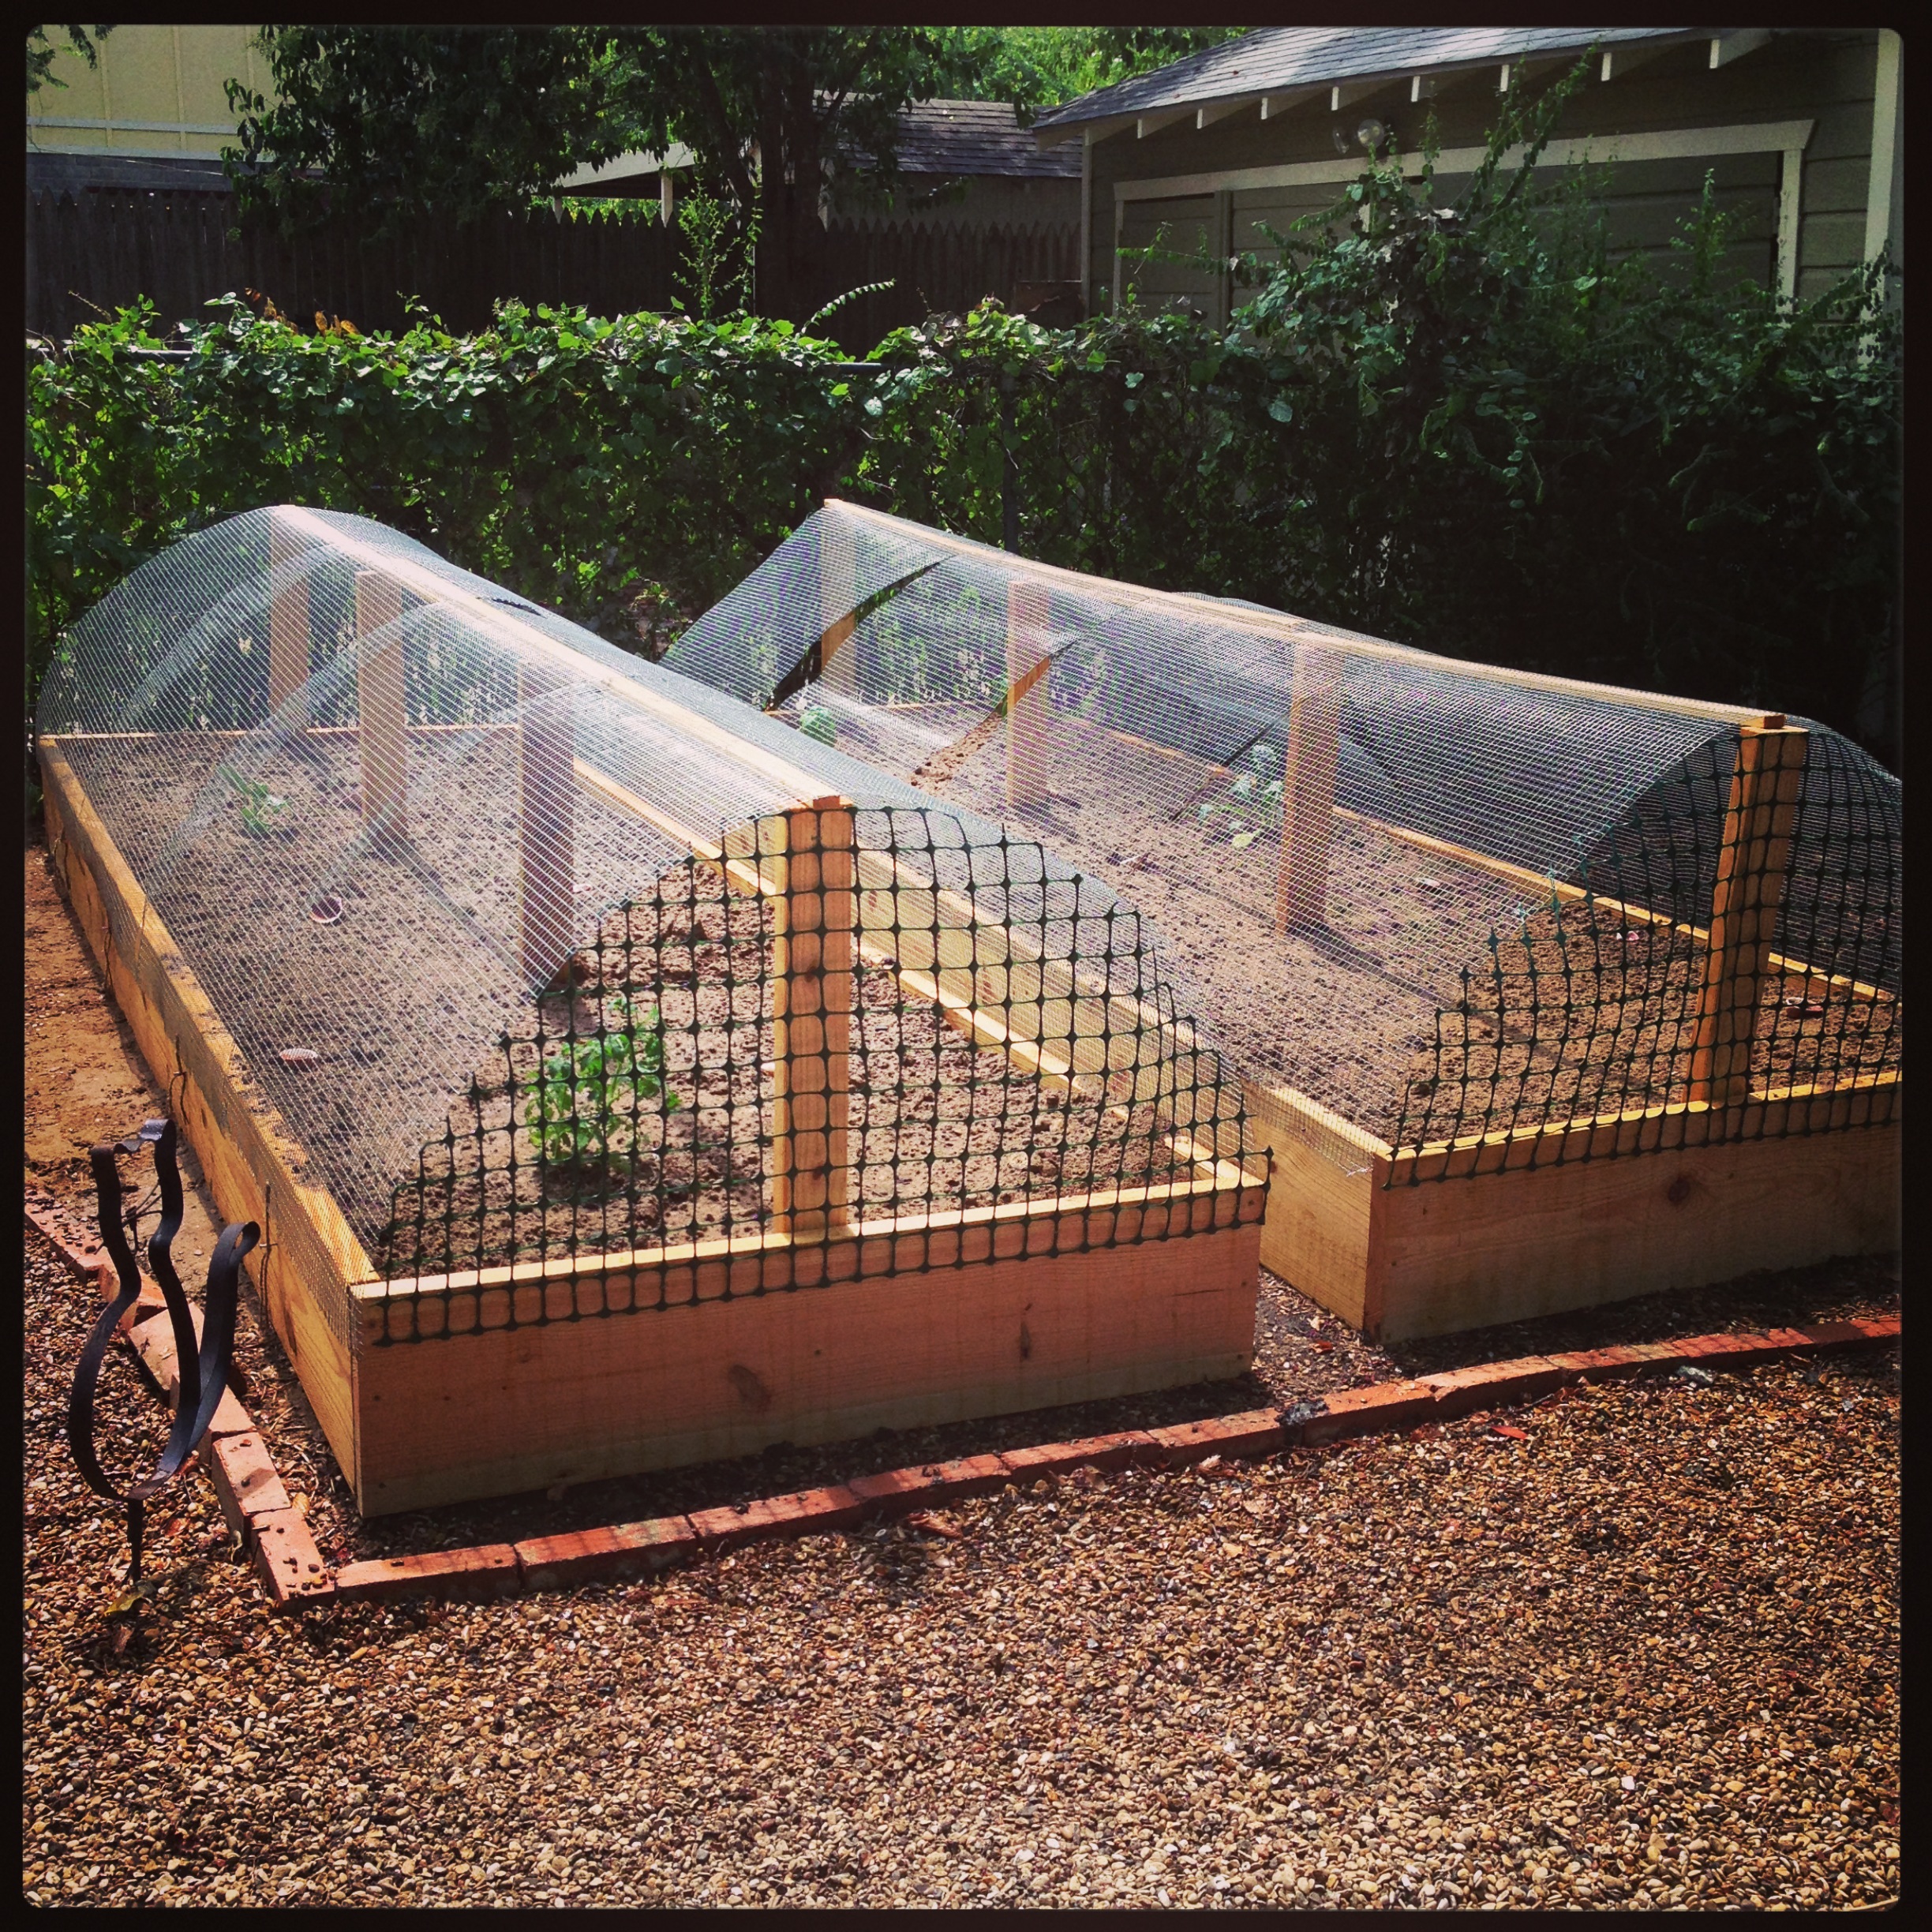
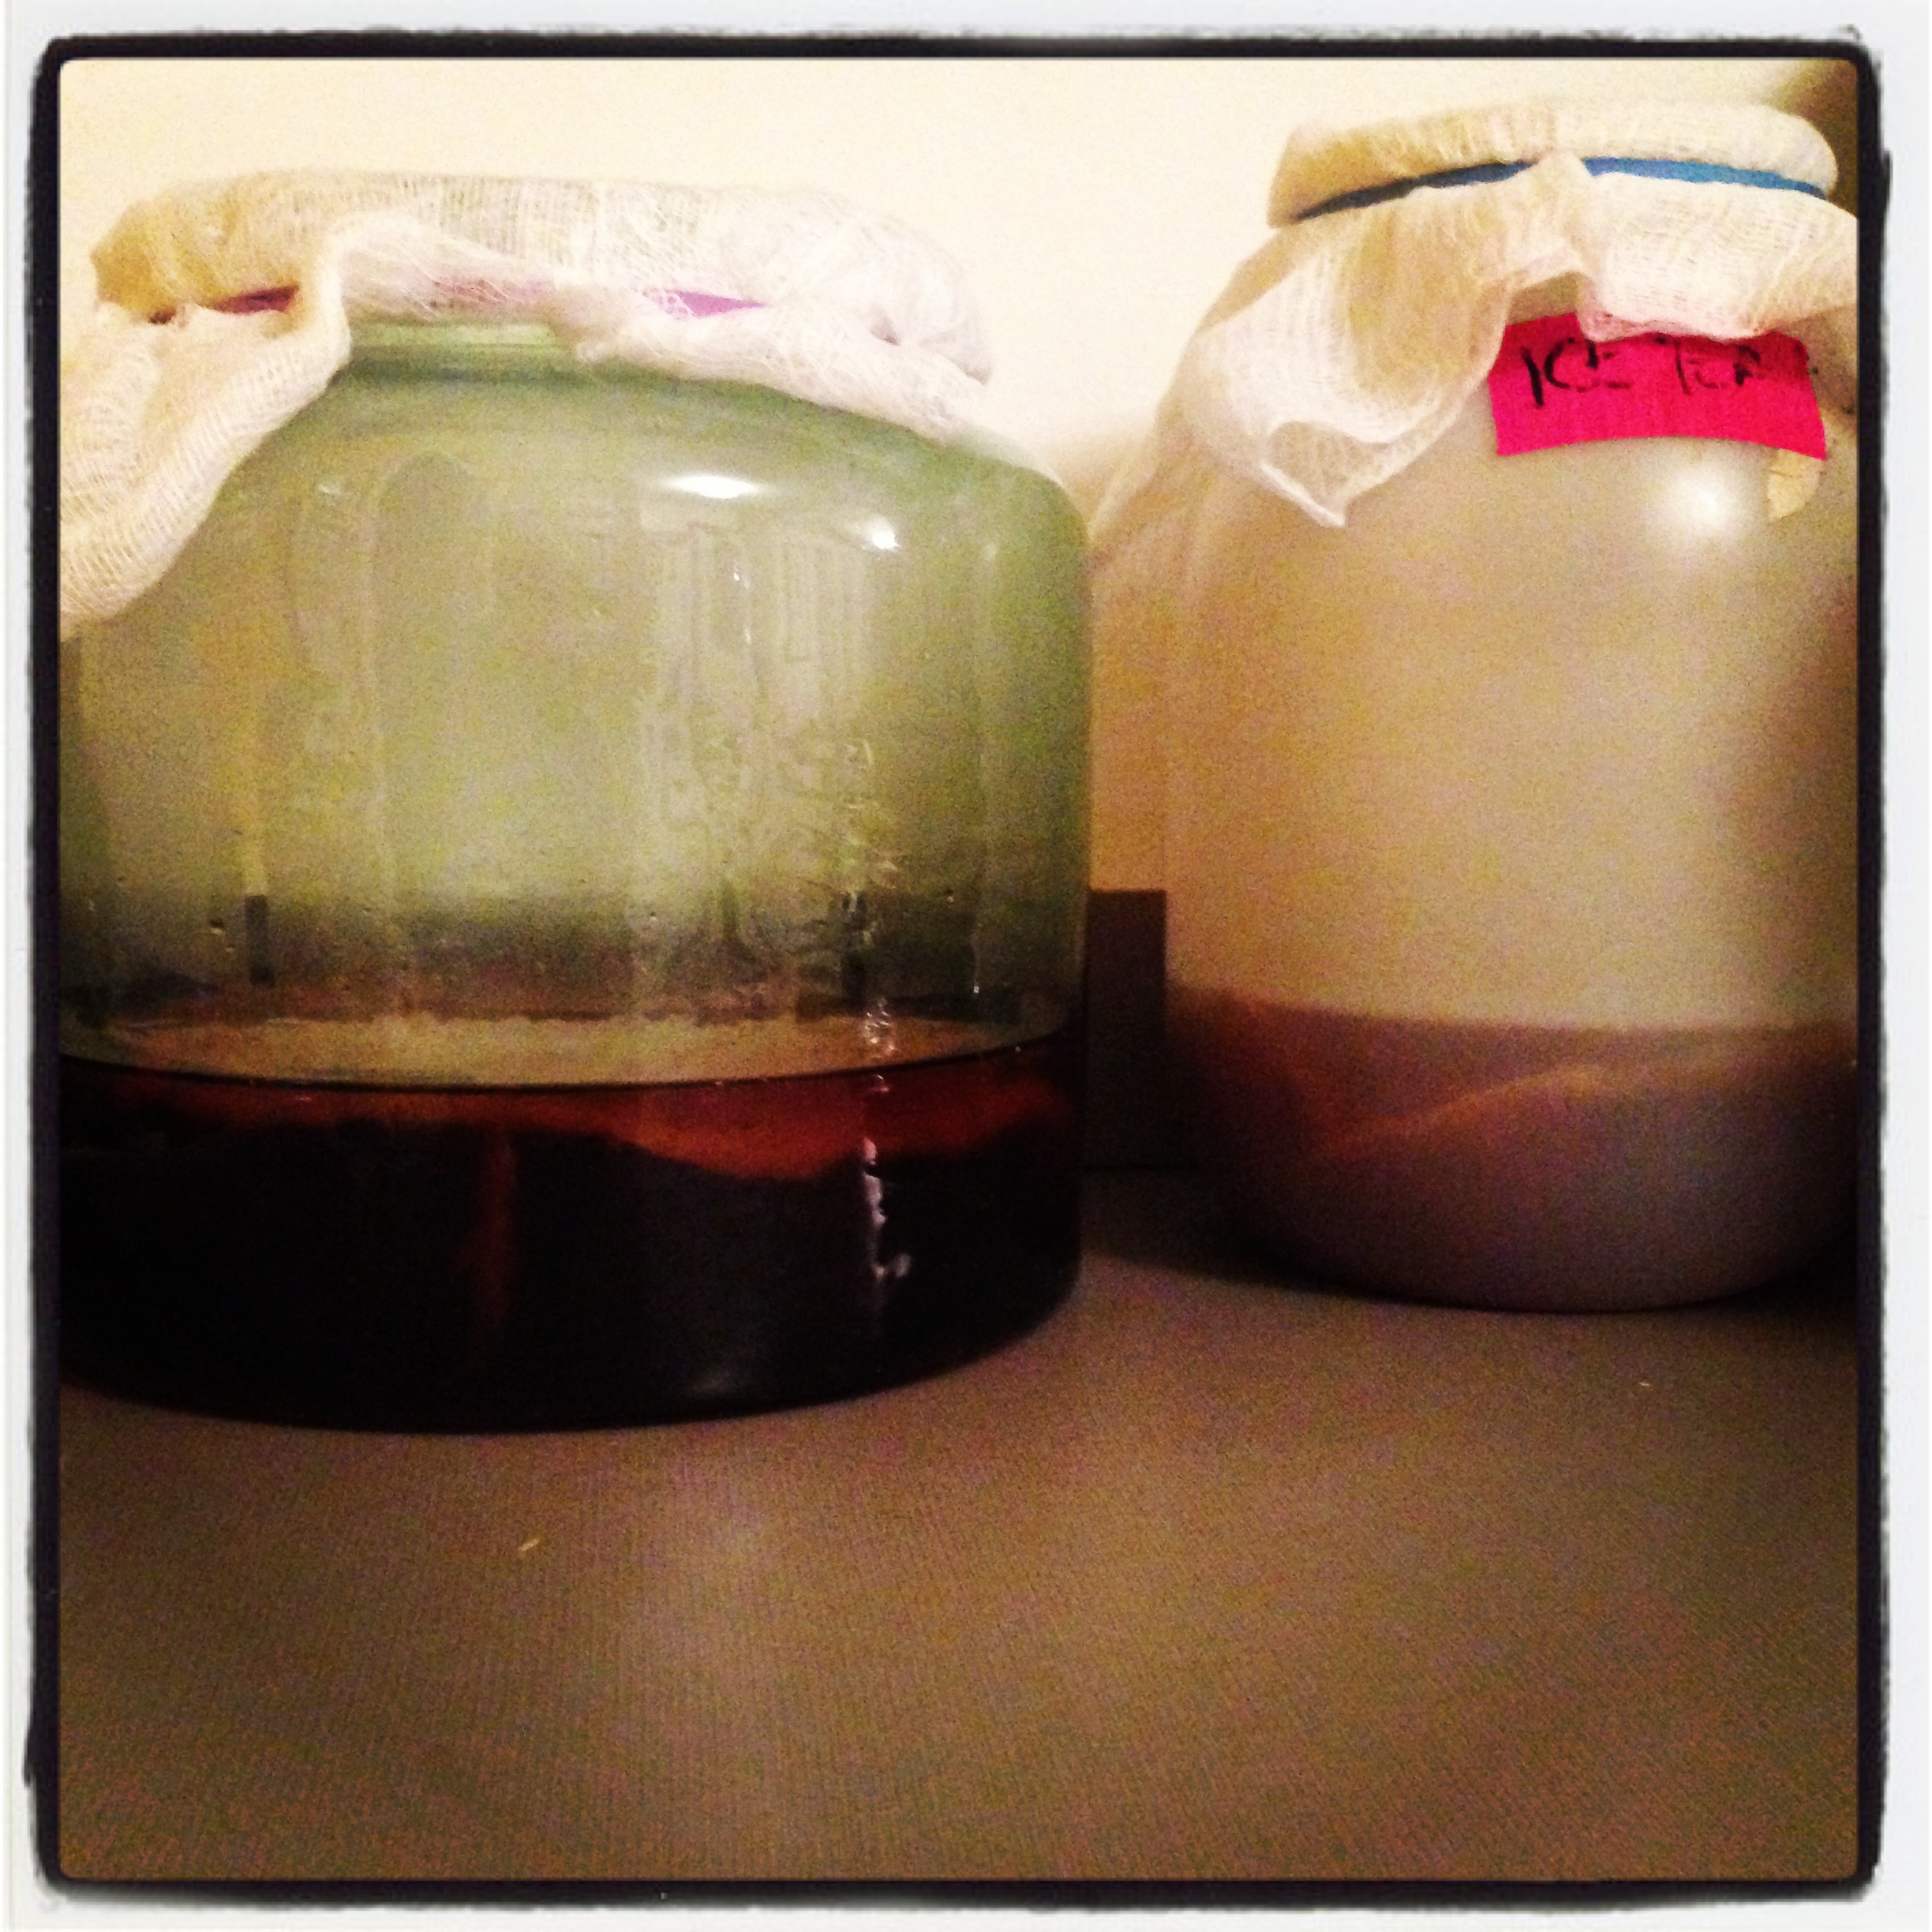
#1. Butterhead Lettuce and Dinosaur Kale #2. Tipi Cover #3. Pear pie/cake #4Tipi Up #5. Chicken Proof Gardening #6. Kombucha
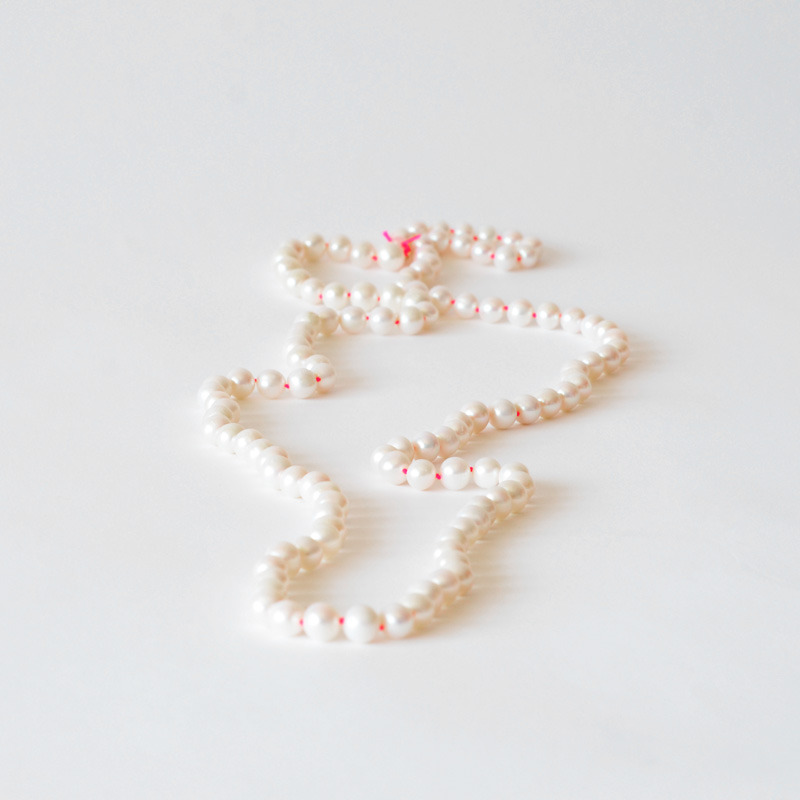
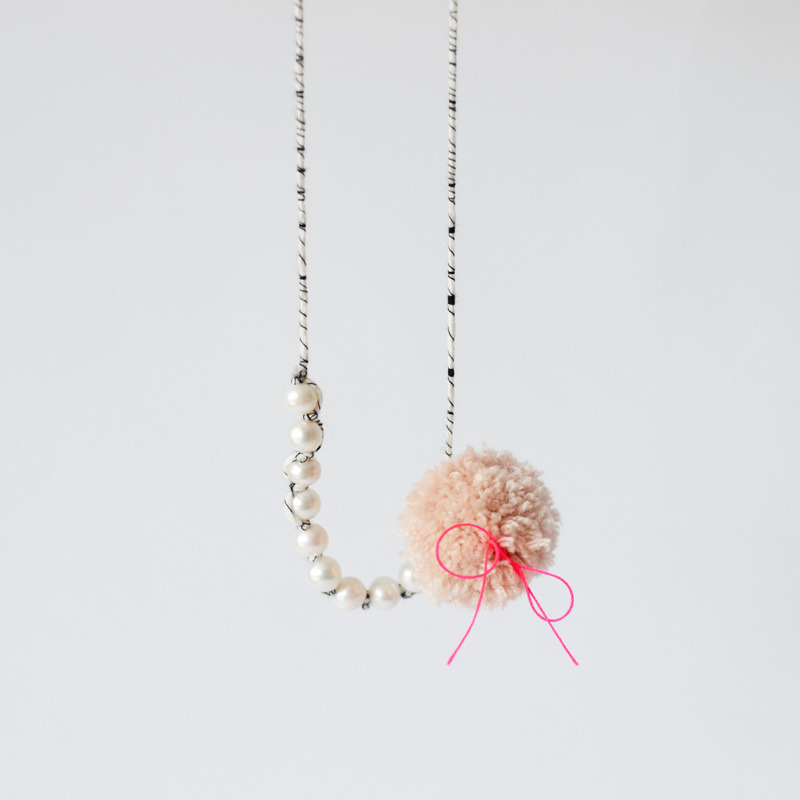
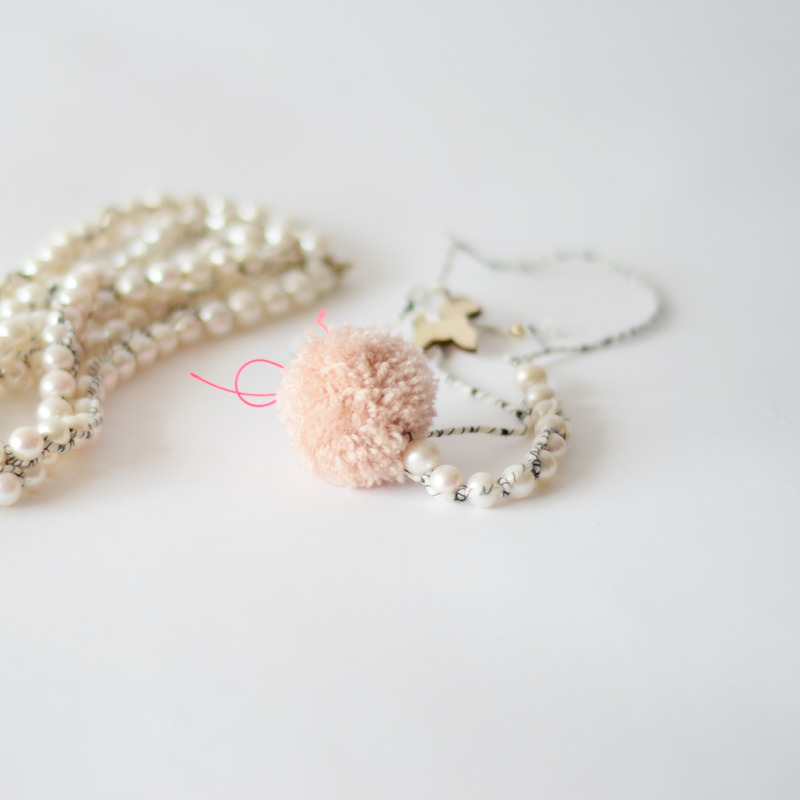
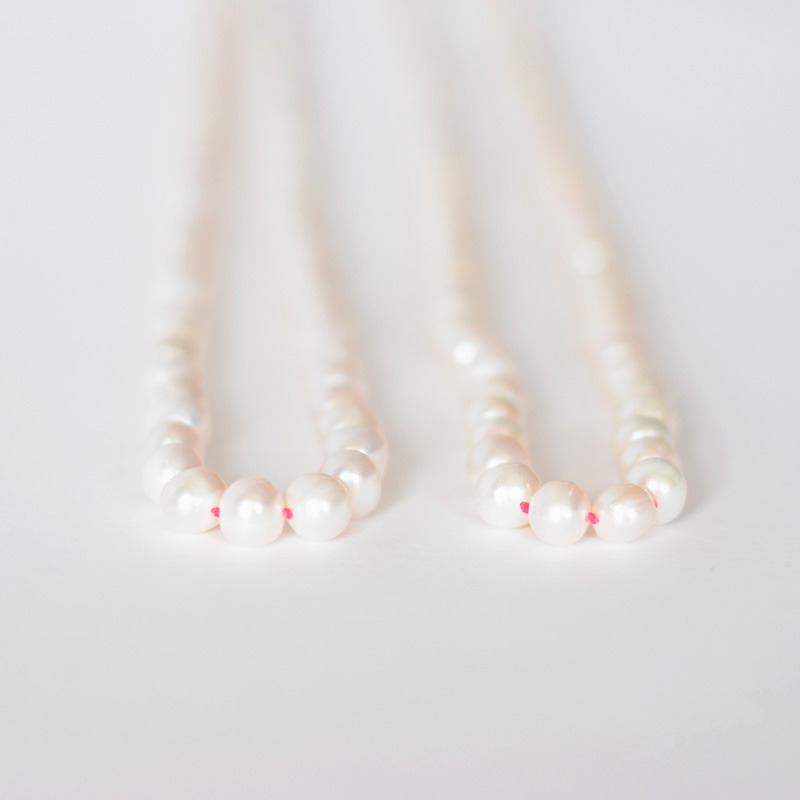
Pearls for punks
in art, Weddings, Simple Life Style
These sweet little creations are from Irene Hoofs gorgeous imagination. These non-traditional, traditional necklaces consist of freshwater pearls rated AA+ threaded together with beautiful off-white Italian cotton from Carta inc. with a 18k gold fill closing.
drool...
"Irene Hoofs, a collector of all things beautiful, created Bloesem blogs in December 2006. Leaving her hometown Amsterdam for the first time in 1997, Irene enjoyed roaming the globe for a number of years making stop overs in London, New York, Toronto and Kuala Lumpur. A banker turned graphic designer, she sold her work through BARNEYS NY and Selfridges & Co. Today she lives in Singapore with her husband Rik and two sons, Lode and Kiet. From her home office overlooking a jungle garden, she aspires to bring outside-the-mainstream daily finds to her readers on B:Kids and B:Living." - Bloesem Wear Website


My Friend Fridays
My Friend Tamytha (pronounced TAM-uh-Tha) is truly amazing. She has two beautiful and smart daughters. She is a small business owner. She is an artist/photographer. She is really pretty and funny. She is very kind and incredibly patient. She has a Masters Degree, and a one eared cat (see below). She loves Scotland and Starbucks blueberry oatmeal. I could go on and on... Tamytha and I are really different and really the same. Whenever we talk there is always laughter. She always brings out my funny side. She is one of the most selfless people I have ever met, and I love her friendship. I will always be friends with Tamytha no matter how far either of us roams. xoxoxo - M


camping
1. Dutch Oven: for yummy meals. 2. Merit badges: because you did a good job. 3. Vintage Cooler: keep beer cold 4. Appleby Trailer: no sleeping on the ground 5. BioLite Wood Burning Camp Stove: make your own power. 6. Therm-a-rest: good night sleep 7.Headlamp: hands free 8. COFFEE: so you don't harm your camp mates in the morning.
did you know... i heart quilts.
I am fortunate enough to have a side of my family that are/have been quilters. So I have a pretty good collection of them. Including two "toppers" that are not finished. The other night we had a party and somehow in a Meyer lemon vodka fueled moment Erin, Scott, and i got them all out to admire them. (i know! so dorky) Because that's how I roll now, I get a few drinks down and all I want is to talk about quilts... Anyway, after getting them out, I thought..i really need to finish these. Here is a tutorial I found on line to help me!
If you do not have vintage quilt tops laying around your house you can buy them here! vintage quilt tops on Etsy
How-Tuesday: Finish a Vintage Quilt Top
Photo by Alexia Marcelle Abegg Story by Julie Schneider Published on Mar 12, 2013 in Make
You Will Need:

• Quilt Backing Fabric – Measure your quilt top to determine how much backing fabric you will need. If your quilt is less than 84″ wide, you will need twice the length of the quilt top from 42″ wide fabric. If your quilt is 85″ or wider, you will need three times the length of the quilt top from 42″ wide fabric. (Quilting fabric generally comes in 44/45″ width, but only about 42″ is usable width so I base this calculation on that amount.) Pre-wash your backing fabric.
• Quilt Batting – Measure your quilt top and purchase enough batting to give you at least 3″ overhang at each side of the quilt. My favorite batting is Warm and Natural cotton.
• Masking Tape – to hold the layers of the quilt to the floor while you baste.
• Iron
• Straight Pins
• Ruler
• Scissors and/or Rotary Cutter and Mat
• Binding Fabric – You will need to cut 2″ wide by the 42″ width of fabric strips to make binding. To determine your yardage requirement, measure all sides of the quilt and add them together (X), divide that number by 42 = (Y), multiply Y by 2. Divide Y by 36. This is how many inches of yardage you will need. Round up to the nearest increment of a yard (yardage is usually sold in eighth yard increments, with the minimum being 1/4 yard).
• Basting Supplies:
200+ safety pins, depending on the size of your quilt. I recommend a box of 500 — that has worked on every quilt I’ve ever made, up to a large queen size.
• Quilting Supplies:
All-purpose sewing thread in a color to match your quilt. I usually purchase 500 yards for a queen size, 400 for a twin, or 300 for a small baby quilt. If you want to be safe, purchase 500yds.
A free motion, darning, or embroidery foot for your sewing machine and your machine’s manual to instruct you on how to set your particular machine.
Directions:

1. Gather up your supplies.
2. Iron quilt top, backing fabric, and batting.
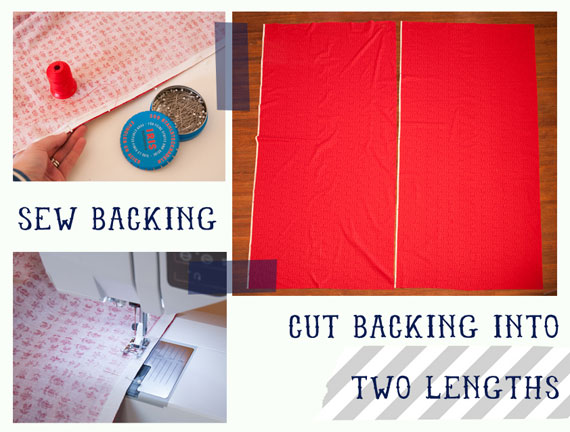
3. Prepare the Backing Fabric. Cut backing fabric into the lengths required by your quilt top. My vintage quilt top required two lengths (shown here). Pin and sew the two lengths of fabric together along the long sides using a 5/8″ seam allowance. The seam needs to be large enough to sew the entire printed selvage into the seam without any of the white selvage edge showing on the right side of the seam after it has been sewn. If 5/8″ is not enough, increase your seam allowance to catch the selvage in the seam.

Trim the seam down to approximately 1/4″. This will help the seam be flat and less noticeable, and will prevent the selvage from shrinking in the wash. Press the seam open.

4. Basting the Quilt Layers
Tip: When basting a large quilt, a partner is helpful.
Lay the prepared backing fabric wrong side up on a smooth surface, such as a hardwood floor, and tape the backing down around the edges every 6 to 8 inches. Lay the quilt batting on top of the backing fabric and smooth the batting. Safety pin the three layers of the quilt together using your safety pins. Pin in a 5″ grid over the entire quilt top.

5. Quilting the Quilt. I like to wind 5-6 bobbins before I begin so that I don’t have to stop and wind bobbins while I am quilting. Set your machine, according to the manufacturer’s instructions, for free motion and attach the free motion foot. Thread the machine with all-purpose thread. Place the quilt under the needle and unroll the edge until you have the center of the quilt under the needle. Keeping the roll to the right of the needle will help the quilt fit under the arm of your sewing machine.
Move the quilt around as you sew, keeping your stitch length even by how fast or slow you move the quilt. Create loops, squiggles, box shapes, zigzags … the possibilities are endless. Fill the entire quilt with your stitching, moving from one section to the next, continuously stitching. Check your batting instructions by the manufacturer to see how close or far apart your stitching can be and still hold the batting together. (For free-motion quilting inspiration, check out some of the resources at the end of this post.)
6. Prepare your Quilt for Binding. Set your machine for straight stitching.
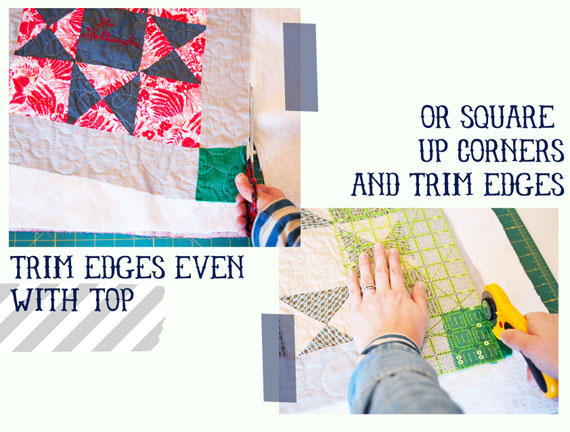
Trim the excess backing and batting with scissors or a rotary cutter, ruler and mat. If your quilt is slightly irregular at the edges, you can either cut with scissors and allow the edges to be irregular (as I have done on this quilt) or you can cut with the rotary cutter, using the ruler to square up the corners of the quilt top. I personally like the personality and charm that comes with flaws like this.

Cut your binding fabric into 2″ strips, cutting across the width of the fabric (from selvage to selvage).
Place one strip onto another fabric strip end to end, with the printed side of the fabrics facing each other, at a 90° angle. Mark a line from corner to corner 45° from the cut edge of the fabric strip. Pin the strips together and stitch on the marked line. Repeat, joining strips end to end, to make continuous binding. Trim the seams down to about 1/4″ and press the seams open. Fold the binding in half, wrong sides of the fabric touching each other, all the way down the entire length of the strip and iron.
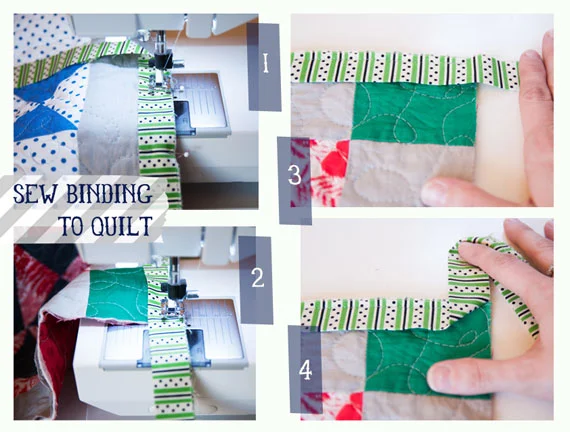
7. Bind Your Quilt. Leaving about 10″ of binding free, begin sewing the binding to the front of the quilt with the raw edges of the binding aligned with the raw, outside edges of the quilt, using a 1/4″ seam allowance. Start sewing the binding on about 20″ from a corner of the quilt.
When you reach a corner, stop sewing 1/4″ from the corner and backstitch. Remove the quilt from the machine. Fold the binding up and away from the quilt at a 45° angle as shown in photo #4 (sew binding to quilt).

Fold the binding back down towards the quilt, aligning the fold with uppermost edge of the quilt as shown in photo #1 (miter corners) and align the raw edges of the unstitched binding to the raw edges of the quilt. Pin in place.
Begin sewing again 1/4″ from the corner of the quilt, backstitch, and sew the binding to the entire quilt edge, mitering at each corner.

Stop sewing when you reach 10″ from the start of your binding stitching. Overlap the ends of the binding by 2.5″ and trim. It is ideal if the the overlap is centered in the section of the quilt’s edge where the binding has not yet been sewn to the quilt.
Unfold the ends of the binding and place them with the printed sides of the binding facing each other, letting 1/4″ of the binding extend over each of the cut ends. Be sure the binding is not twisted before pinning the ends together.

Mark a stitching line just like you did when joining the strips together before stitching them to the quilt. Sew the ends together on the marked line. Trim the seam allowances down to approximately 1/4″ and press the seam open.

Fold the binding back together with the wrong sides facing each other and sew the remaining seam of the binding and quilt.

Wrap the binding around to the back of the quilt and hand sew the binding to the quilt back. At each corner, first fold one side, allowing the corner of the binding to create a little 45°angle, then fold the other side over, also allowing it to create a small 45° angle. This will give you mitered corners. Hand sew the entire binding down to the quilt back.
Congratulations! You now have a finished quilt. You can wash it if you prefer, and let it air dry or dry in the dryer on low heat. Snuggle up and enjoy!

Thank Goodness for etsy!
my friend
I have a best friend named Scott. I wanted to share his awesome-ness. Not only does he look smashing in a coon-skin cap he is also an amazing artist. ENJOY!

P.S. Some of Scott's work is available. Let me know if you want to get in touch with him.
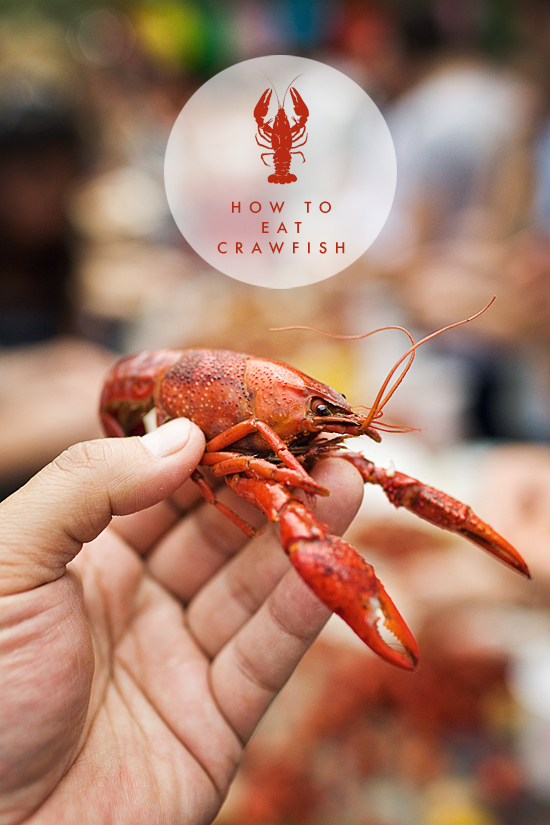
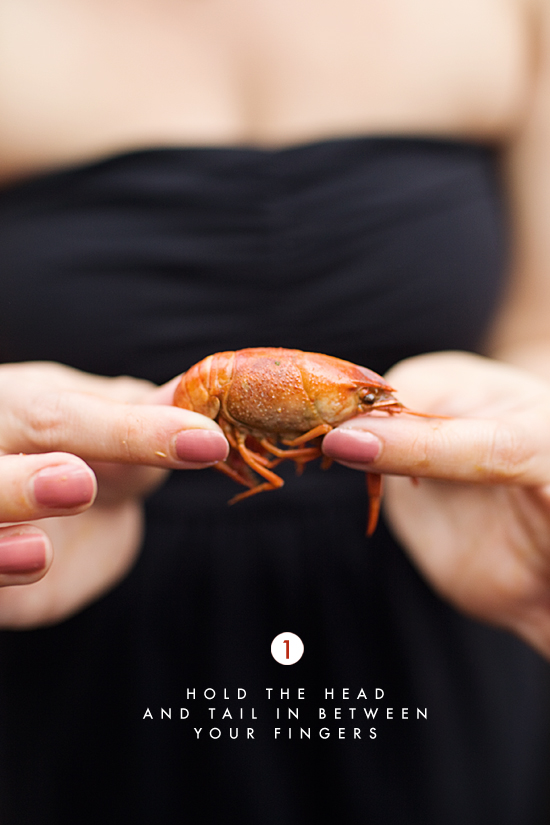
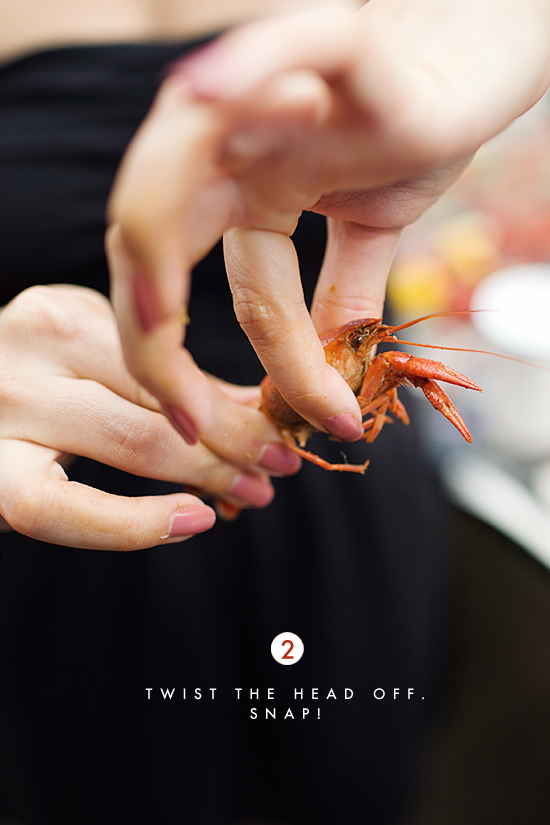
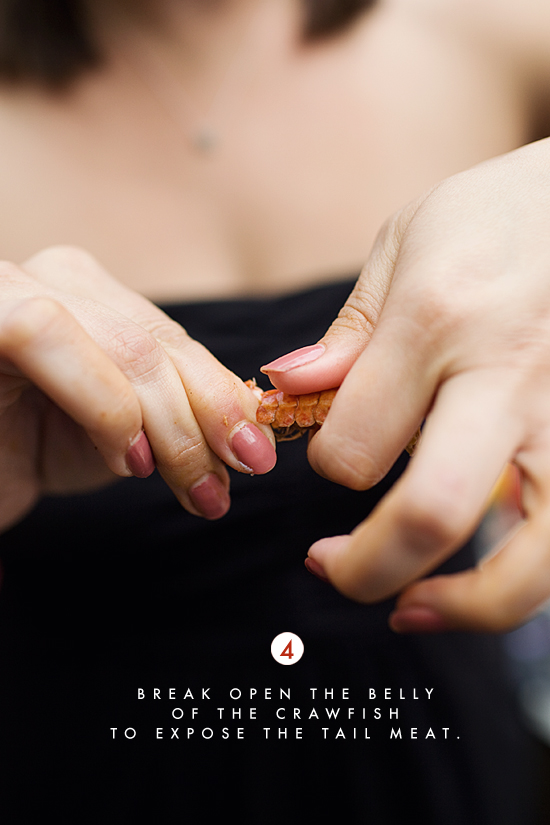
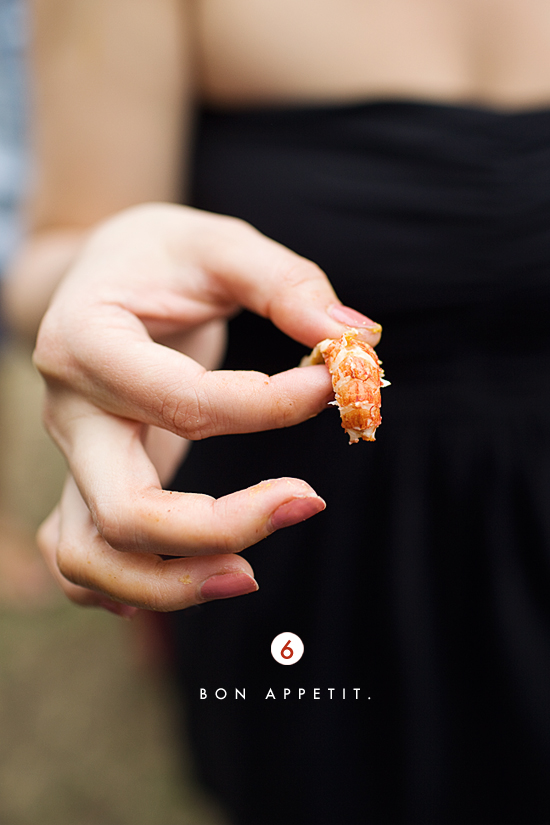
How to Eat Crawfish: Eat, Drink + Be Merry.
For those attending any crawfish (mud bugs) boils soon, I thought a quick guide would be handy so no time is wasted. Cold bugs, not on our watch! I "borrowed" this tutorial from the Eat Drink & Be Merry website.


Friday Favorites
New blog crush, Love + cupcakes
True Southerner Cosmo Quiz!
I meet people all the time claiming to be Southern. Being a Southerner myself I just nod politely and smile. So I thought, I should make a visual "Cosmo" quiz just to help people determine just how Southern they are!
Circle the items you have IN YOUR house. See the results below.


1 - 4 Bless your heart. Thanks for playing!
4 - 7 You got a real chance at having some heritage.
7 - 10 You didn't even play cause you know your Southern, and you got stuff to do.
Just kidding! Any and all of these items in your home make you a Great Southerner!
Friday Favorites

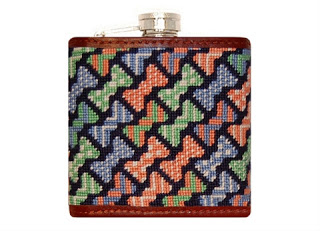
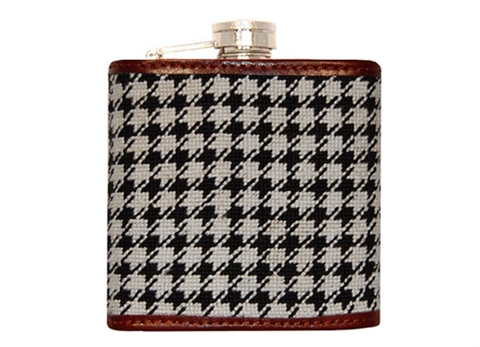
In honor of 139 Kentucky Derby
I am sad I will not be at the Derby this year! However, I can sooth myself with one of these needlepoint flasks. They are SO southern and SO Kentucky. I can't decide which of these little beauties to order. You can pick one up here.
Word to the wise, you won't be able to get in the track with a flask! ENJOY!


friday
it is no secret that i hate A. getting my picture taken...and B. Photoshop. so with that in mind i am teaching myself how to use Photoshop. Shudder. i am proud and embarrassed all at the same time! YEA!

photoshop practice
Procrastination
With the opening ceremonies for the Martín Rico exhibition over and the Museum Flowers show about to start in 5 days...I am feeling a little ADD.
My thoughts keep wandering over to this website Adventures in Cooking. Good luck trying to stay focused after seeing this masterpiece!
Spiced Apple Cake

3 Eggs
2 and 1/4 Cups Flour
1 and 1/2 Cups Unsweetened Applesauce
1 and 1/4 Cups Granulated Sugar
1 Cup Vegetable Oil
1/4 Cup Brown Sugar
2 and 1/2 Teaspoons Vanilla Extract
1 Teaspoon Baking Soda
1 Teaspoon Salt
3/4 Teaspoon Baking Powder
1 and 1/2 Teaspoons Cinnamon
1/2 Teaspoon Nutmeg
1/2 Teaspoon Cloves
1/2 Cup Golden Raisins
1/4 Cup Pecans
Salted Caramel Frosting
1 and 1/4 Cups Plus 1/3 Cup Granulated Sugar
1 Cup Whole Milk
1 Cup Plus 1/4 Cup Butter (unsalted), softened
1/4 Cup Plus 1 Tablespoon Flour
1 Teaspoon Vanilla Extract
1/2 Cup Heavy Cream, at room temperature
1/3 Cup Brown Sugar, packed
2 Tablespoons Water
1/2 Teaspoon Salt
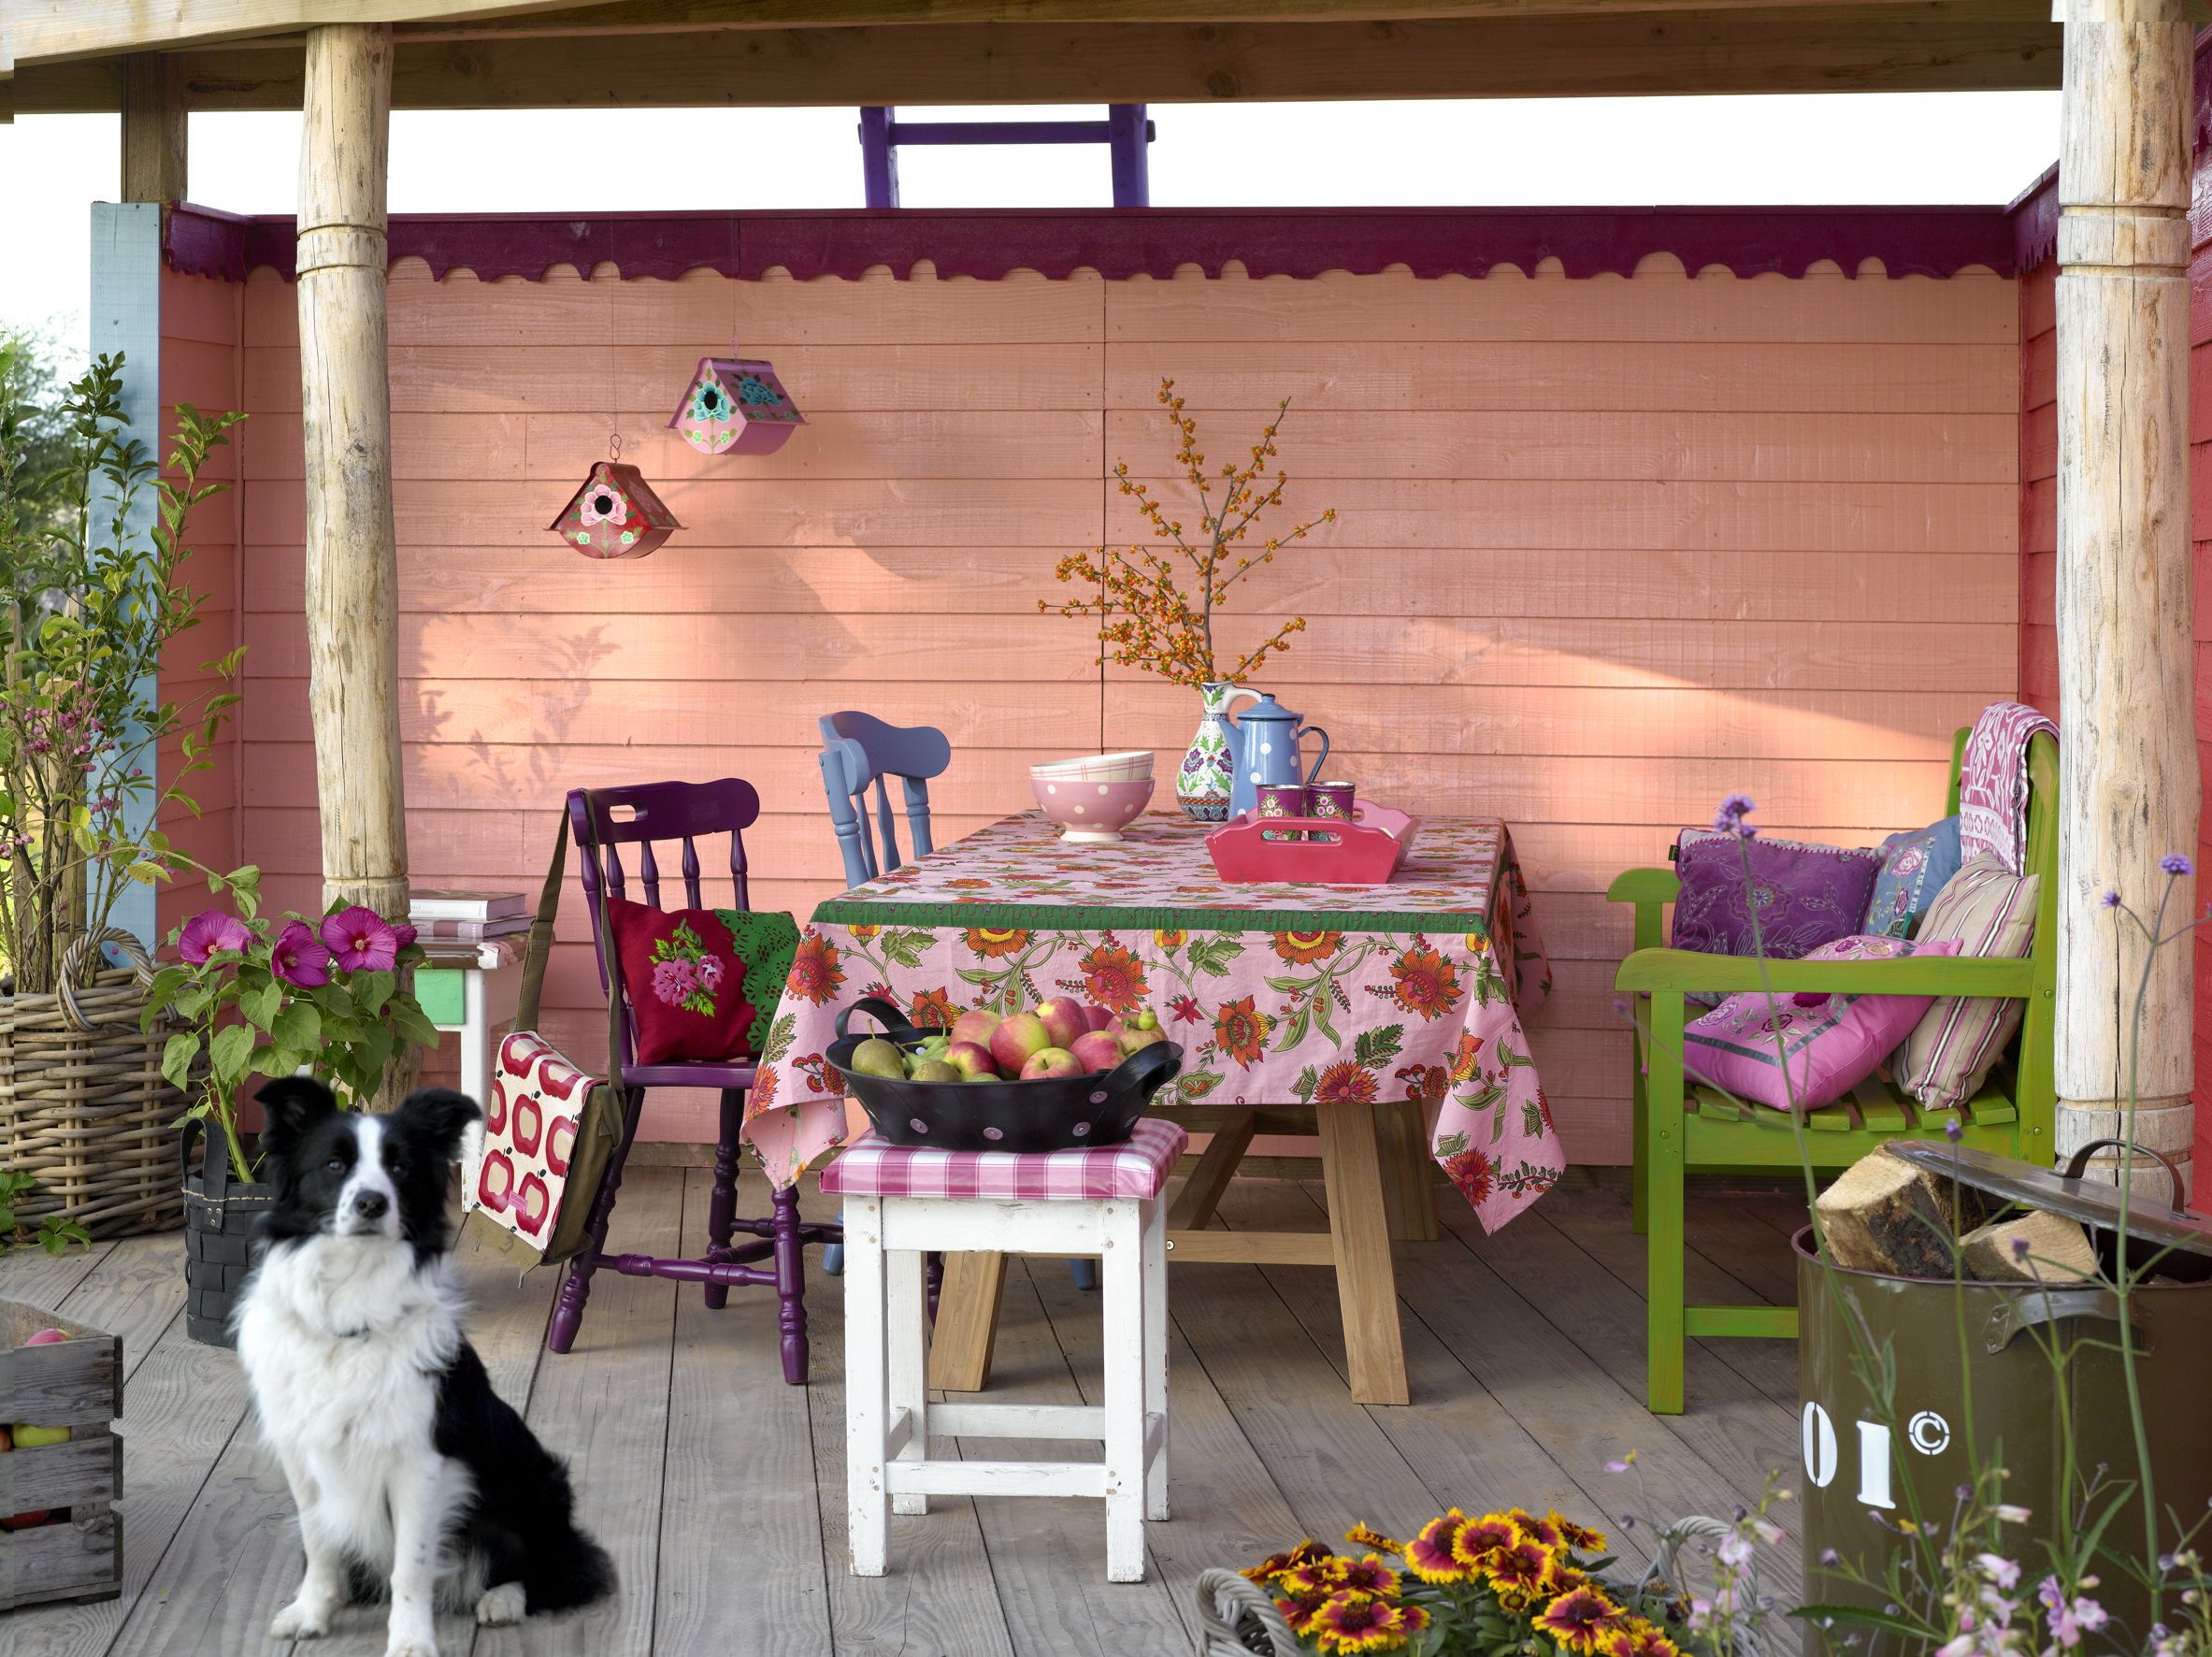
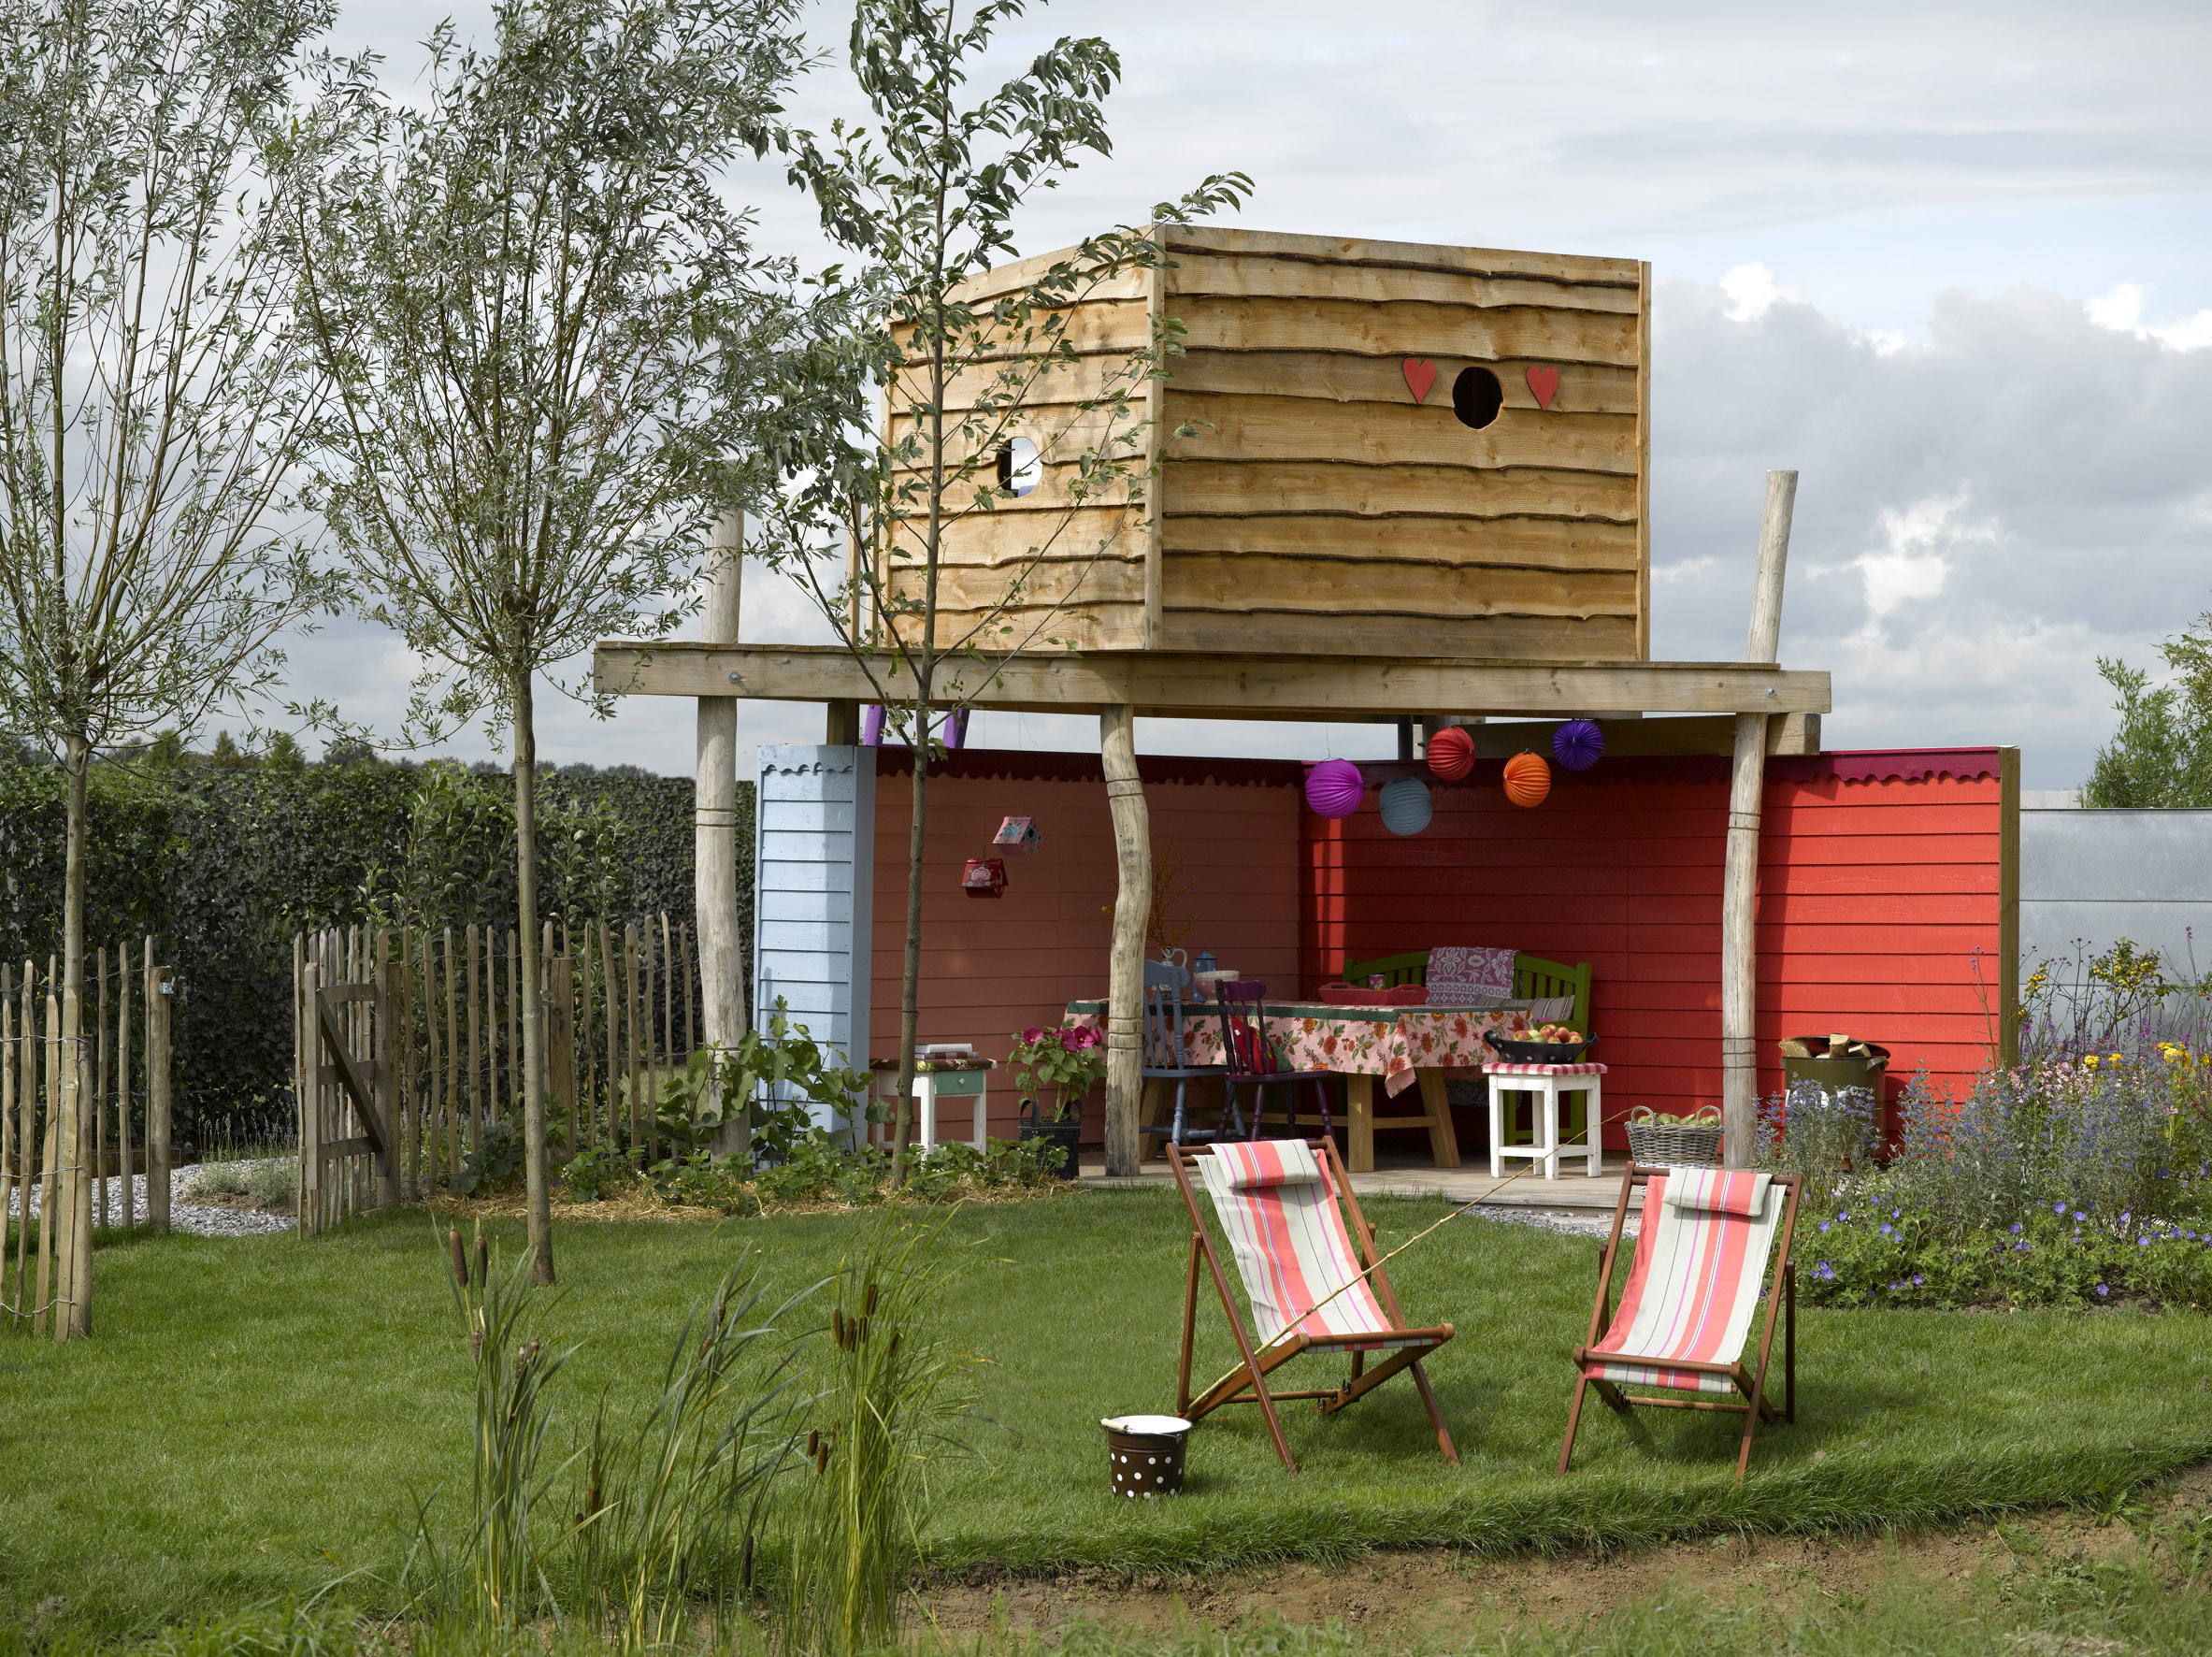
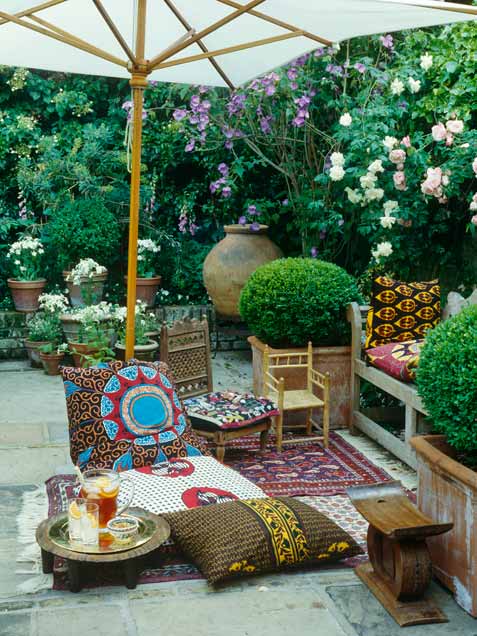
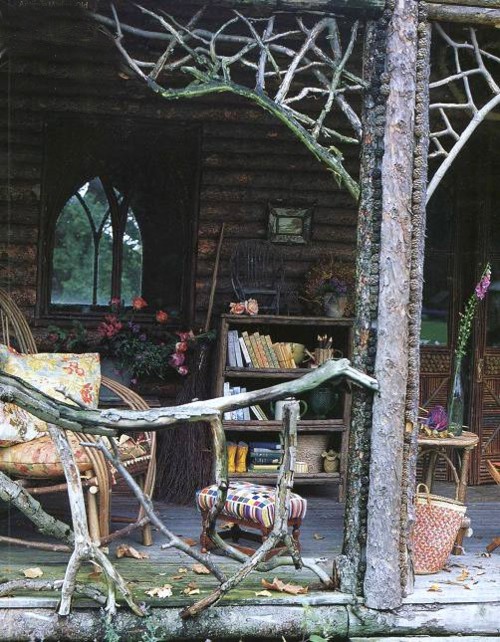
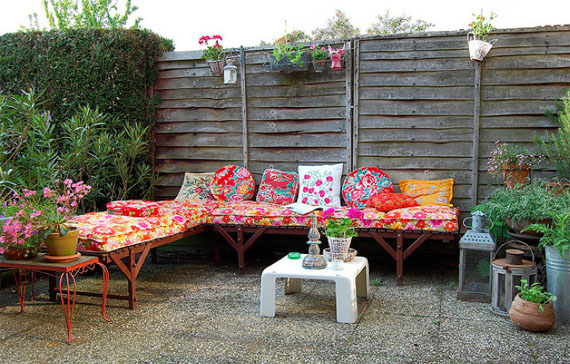
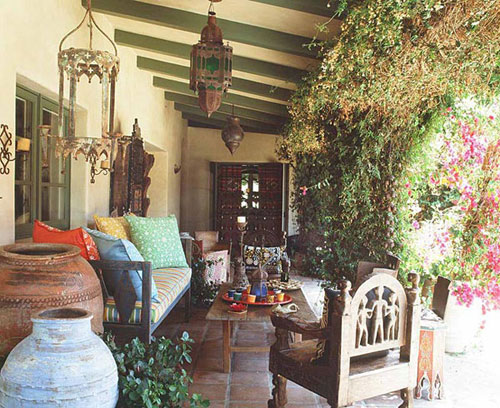
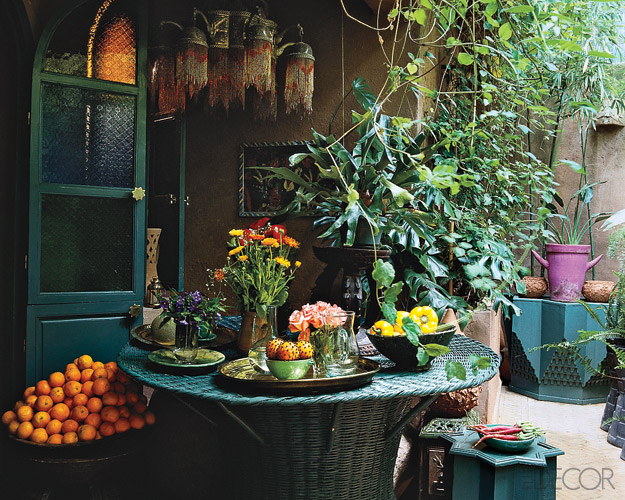
jardin escape


POSH COUTURE RENTALS Hearts ME!
NOSTALGIA: A KENTUCKY CHRISTMAS WITH MARIN
WEDNESDAY, DECEMBER 19, 2012
If anything, the holidays should be a time to reflect on our family and blessings. With everything going on in the world around us, that sentiment is only too apropos this December. With that in mind, we asked a couple of our dear friends to share the very things that make Christmastime so special for their families.We know Marin Fiske-Rankin as a friend and creative Events and Food Service Manager at SMU'sMeadows Museum. (You may remember her handiwork from this post on the Velazquez Black Tie Dinner in honor of the collaboration with the famed Prado Museum.) Her sense of humor and sweet disposition immediately brought her to mind for this post, but once we found out she grew up on a horse-racing farm in Kentucky, we knew she would have great memories to share with us. See what makes a Kentucky Christmas so special below and check back tomorrow for a tabletop inspired by Marin and her scrumptious English and Kentucky recipes.
 |
| Top Image: MARIN AS A CHILD ON HER HORSE, SALLY / MARIN AS WE KNOW HER TODAY | Middle Image: THE GATES AND CORINTHIA GATE ARE ACTUALLY PICTURES FROM MARIN'S FAMILY HORSE-RACING FARM | Bottom Image: NOTHING BEATS SHARING CHRISTMAS IN YOUR PJ'S WITH FAMILY IN KENTUCKY |
Thank you for sharing with us, Marin. POSH friends, we'd love to hear what memories make you nostalgic for the holidays.
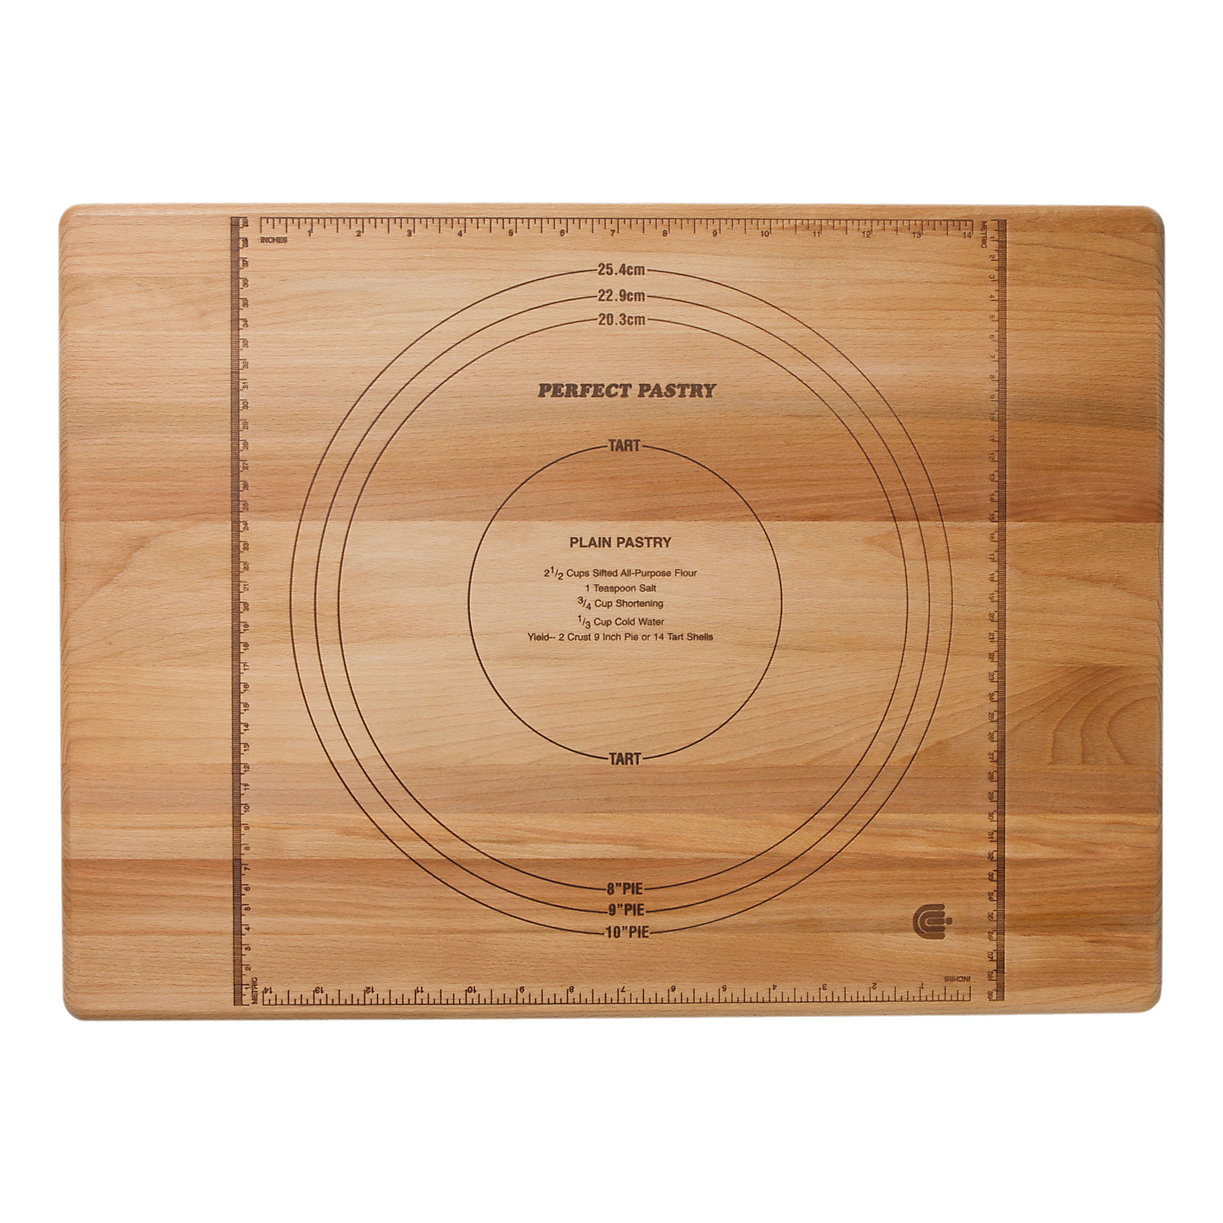
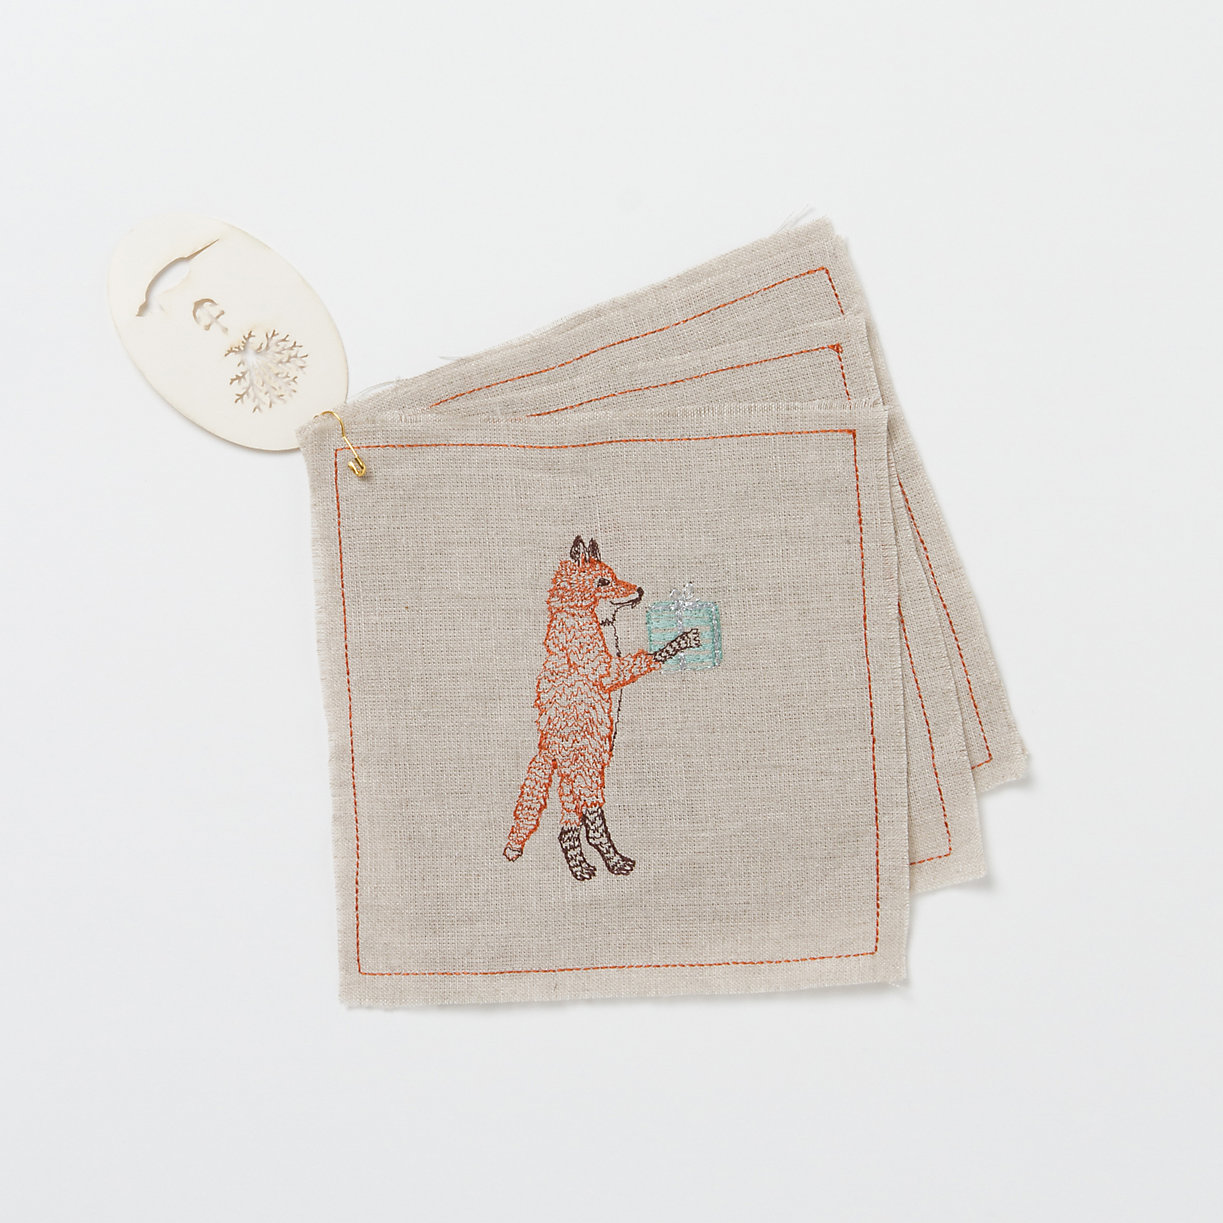
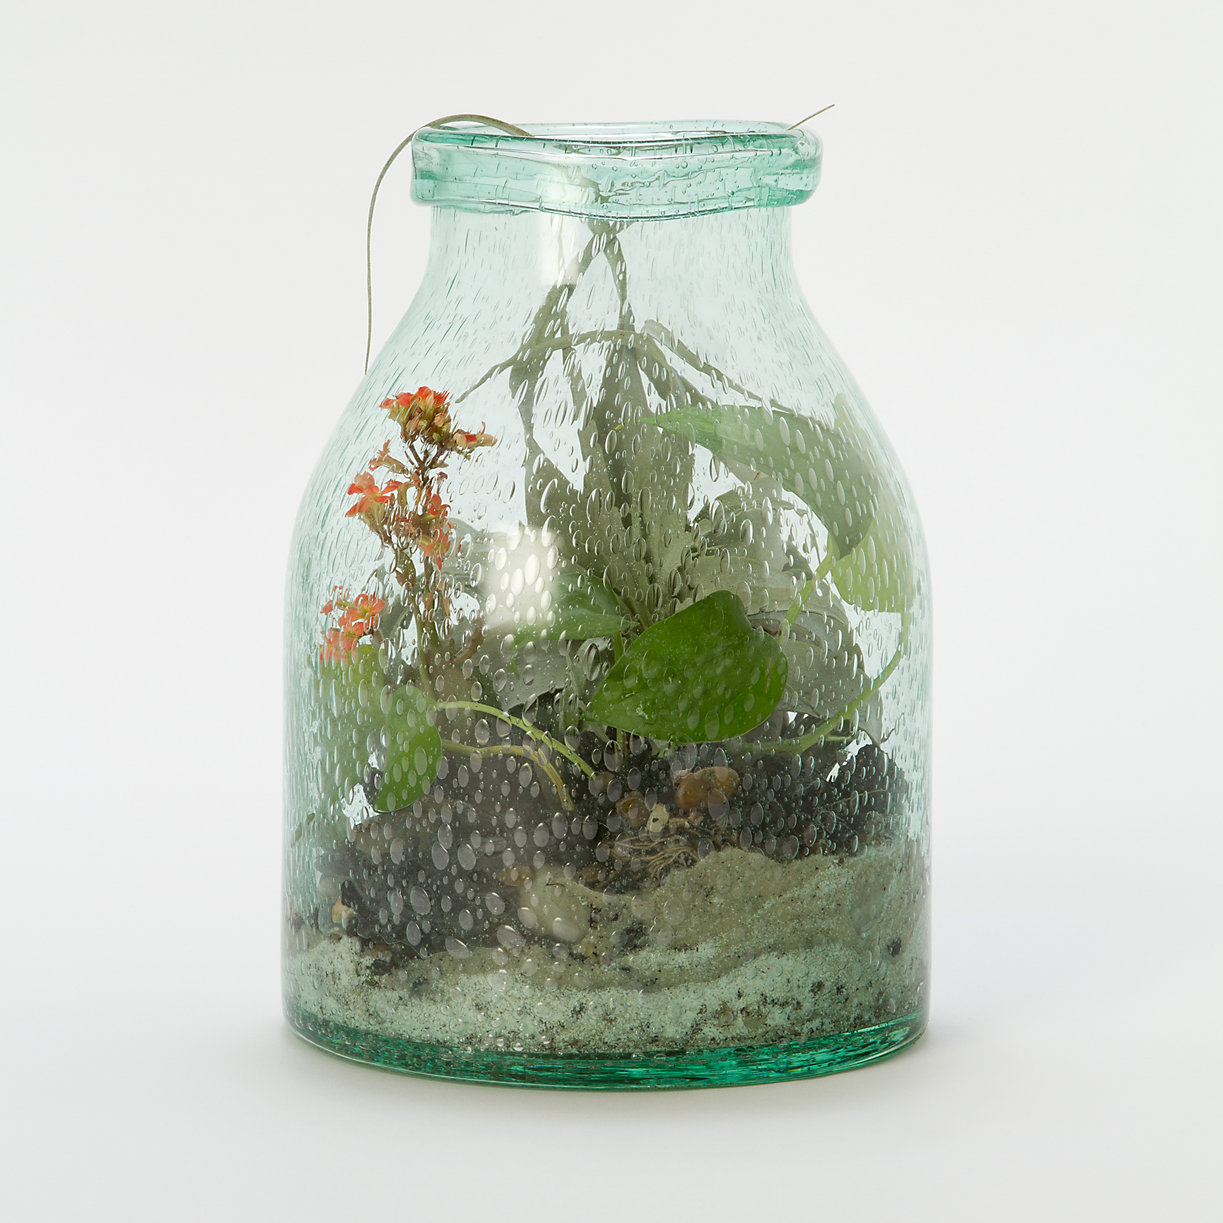
Terrain!
Terrain is an awesome little shop! It is full of amazing little and big gifts. You can still get your order by Christmas, so get on it.
[caption id="attachment_1380" align="aligncenter" width="490"]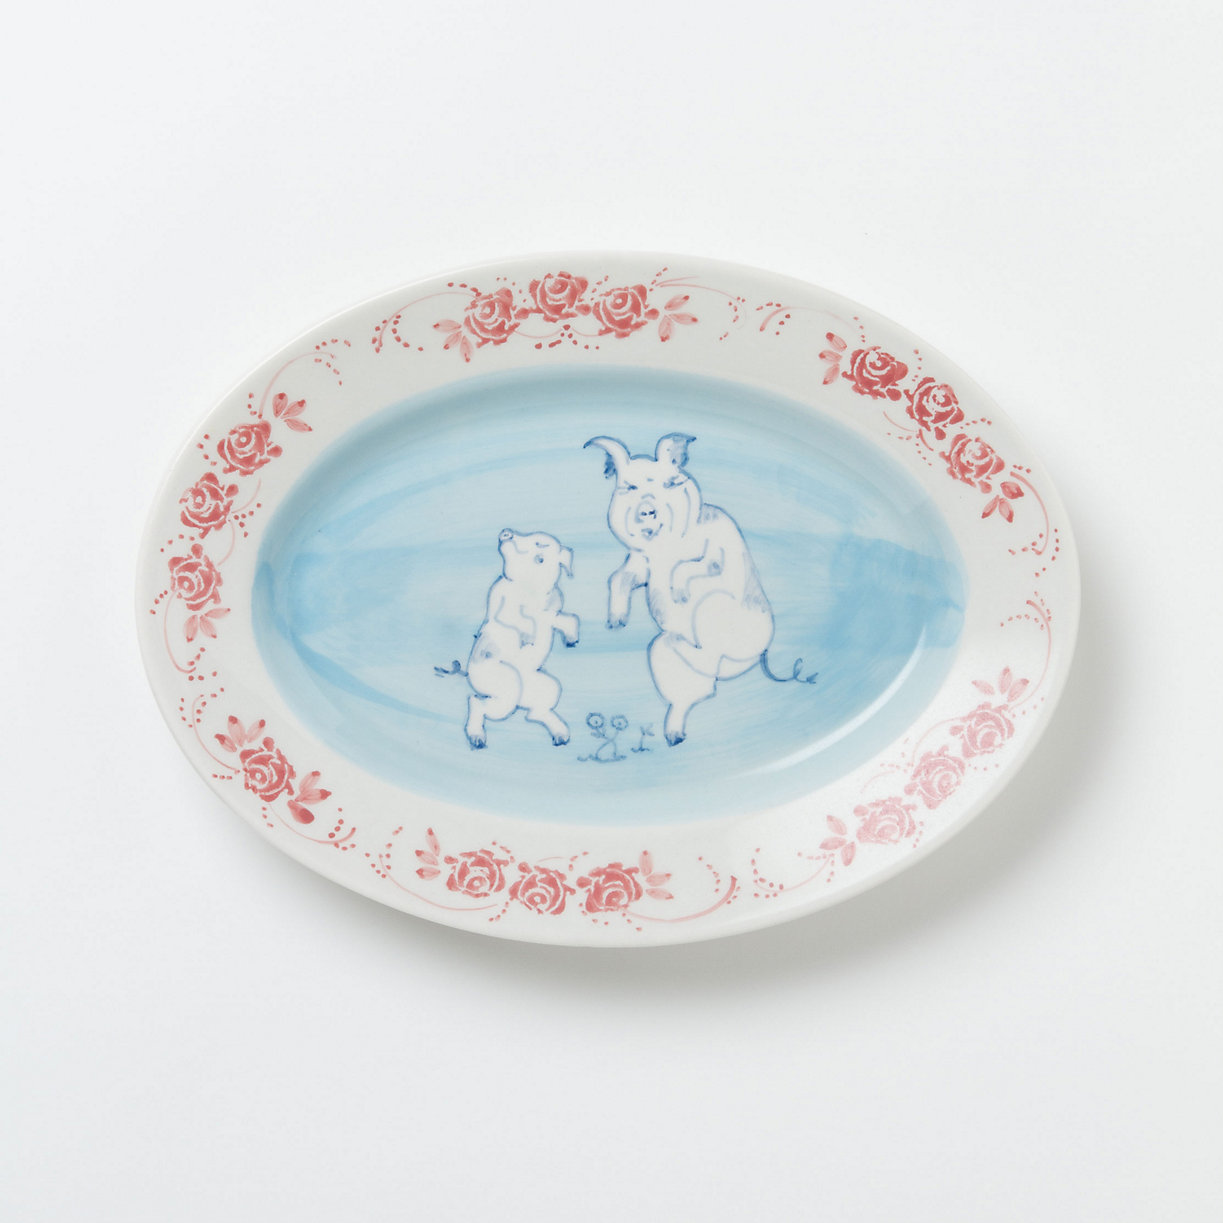 Pigs dance a jig.[/caption]
[caption id="attachment_1382" align="aligncenter" width="490"] 32 Cones with Holder! YES please.[/caption]
Wood Butter
One of my favorite gifts from my mom are wooden spoons. Oh the joys of a new spoon! Little ones, big ones, ones with holes for olives, and tiny ones for salt... Now, not everyone will shriek with happiness when present a tiny hand carved spoon. But i do! So I was thrilled to see this post from Creative Culinary (originally Bon Appetite Hon) Now I know what I will be making all my family and co-workers for Christmas.

Several months ago Wendi withBon Appetit Hon, did a post on Wood Butter; like you I had a moment of Huh? What? Well, typically called Spoon Oil, Wendi had decided that Wood Butter fit better and I agree; leave it to another food person to put the perfect name on this elixir that is so simple but so perfect for the care of the wood items we use in the kitchen. A necessity but also a bit indulgent…yes, butter is perfect! We need to take special care of our wood kitchen items in Denver due to the low humidity in our environment and I can be as lax as the next person. Making your own ‘wood butter’ makes it simple and inexpensive too. I was reminded by my friend Jennifer at Bread and Putter that it’s also magical hand lotion…and that it is!Though Wendi had to find an online resource for the beeswax part of the magic, I was lucky to find a local resource. Peak Candle Supplies provides beeswax in small pellets for easier melting; I bought two pounds which is enough for (48) 4 oz containers…um, that should be enough for awhile don’t you think? Finding the food grade mineral oil was easy once I finally remembered to put it on my grocery list; it’s typically available in the pharmacy. I now know why that poor guy gave me such a funny look when I lamented that I wish they had more than four bottles. I’ve always used it for wood conditioning; I’m thinking he was wondering why I needed more than four bottles of a laxative. Who knew?
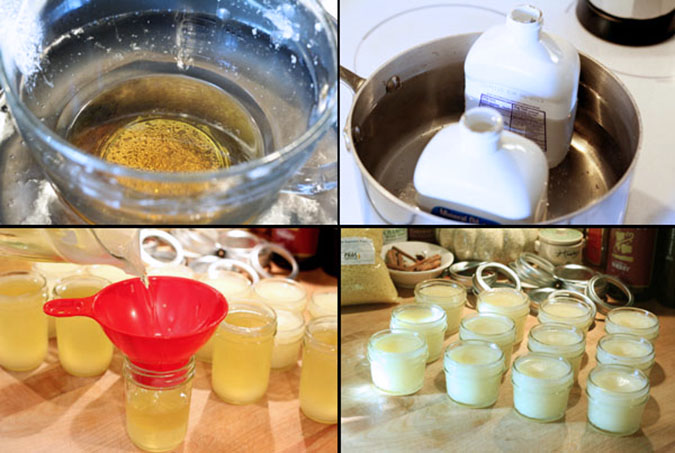
The process is easy but can be messy. Most ‘recipes’ include heating the wax in a mid size Ball jar in hot water and adding warmed mineral oil to the wax once it is melted. I preferred using a large glass measuring cup with a pour spout as I was going to be pouring the combined liquid into a whole bunch of small jars. I also used a funnel just for canning and it worked perfectly. The only negative to this method is the removal of the wax from the measuring cup and funnel. I decided since I’ll be doing this again, I’ll just save those two utensils just for this process and candle making and not worry about the residue layer that remained inside each.

What better way to show you the magic of Wood Butter than a Before and After photo. Totally untouched, promise. Everything in this photo has been treated with an application of wood butter including the bottom board. Simply apply a bit to a paper towel or a piece of cheesecloth and rub a dollop onto the surface until it’s rubbed in. The bowl in front was an inexpensive one I purchased from World Market and it was apparently never supposed to touch water. It did, I thought it ruined but ‘the butter’ did the trick. I found the wooden rolling pin at a yard sale and can’t believe the difference myself. All of my cutting boards have a renewed luster; in fact they seem new again. It is not a sage compound butter but it is a miracle butter!
Wood Butter – A Recipe for Your Utensils!Prep Time: 10 minutes
Cook Time: 35 minutes
A terrific homemade product to use for all of your wood kitchen products from wooden spoons to cutting boards.
INGREDIENTS
- 8 ounces pure beeswax - measured dry. One package of the pellets that I purchased weighed 16 ounces and I used half a package at a time.
- 32 ounces of mineral oil - typically packaged with 16 liquid ounces per container so I used 2 containers.
PREPARATION
- Bring a large saucepan filled with water to a gentle boil.
- Place your beeswax inside a 2 quart glass measuring cup or a 1 quart glass jar; set the glass into the gently boiling water.
- Place the container(s) of mineral oil inside another medium saucepan filled with water and heat to low.The mineral oil just needs to be warmed to mix with the beeswax; no need for a rolling boil.
- Once all the wax has melted, turn off the stove and carefully add the warmed mineral oil to the beeswax;stirring with a spoon to combine.
- Using a towel around the handle of the measuring cup, carefully pour the liquid into each jar fit with the canning funnel;filling them almost to the top.
- Finish filling all jars and wait for to cool and firm up before using.
Re-blogged from Creative Culinary
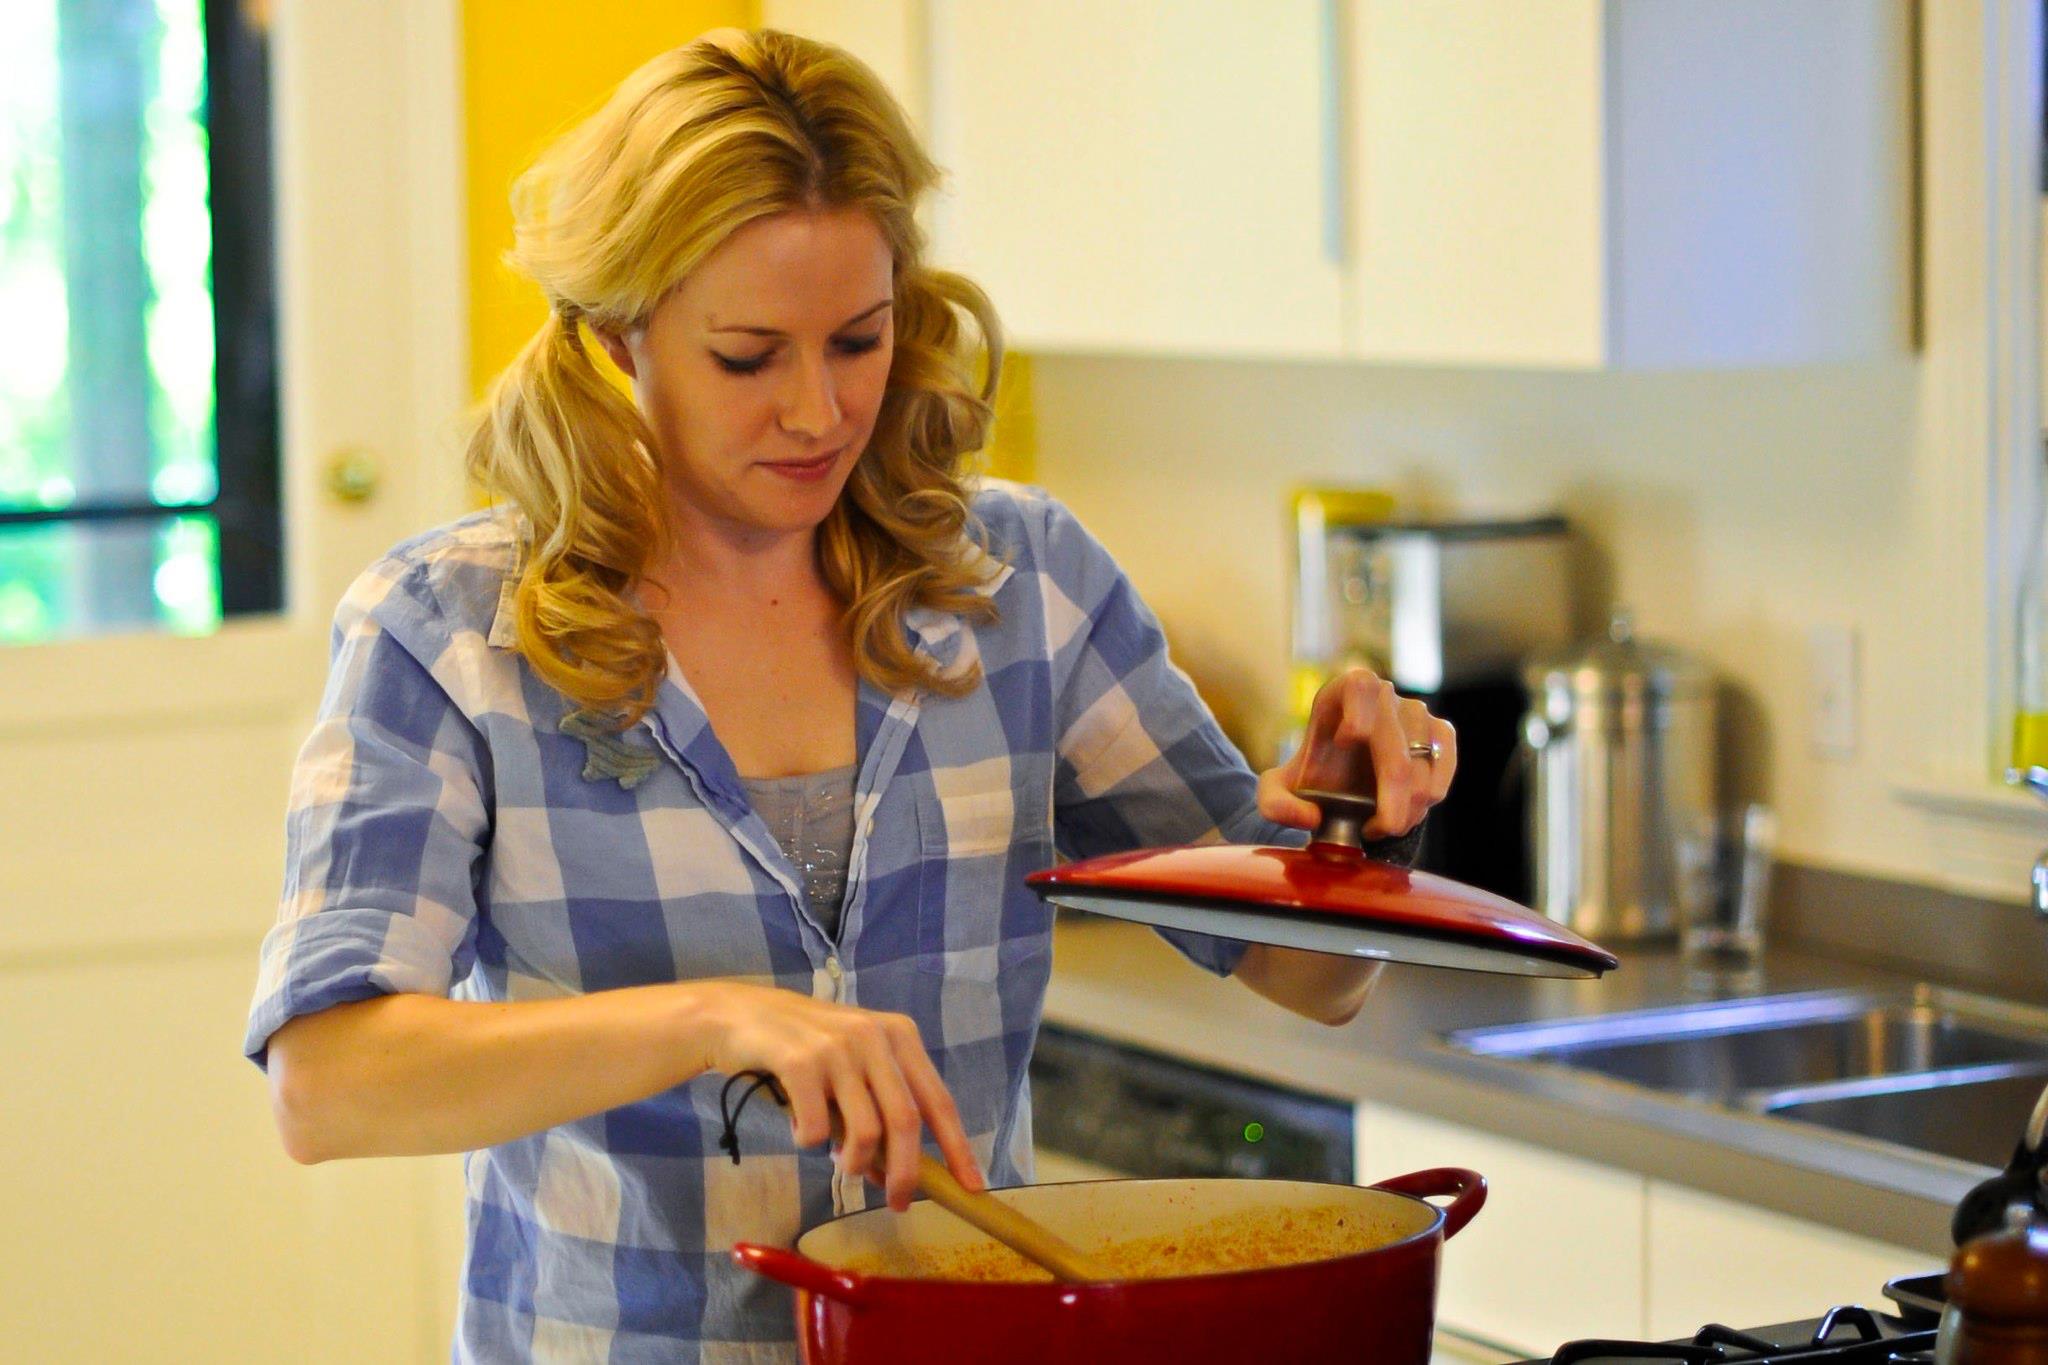
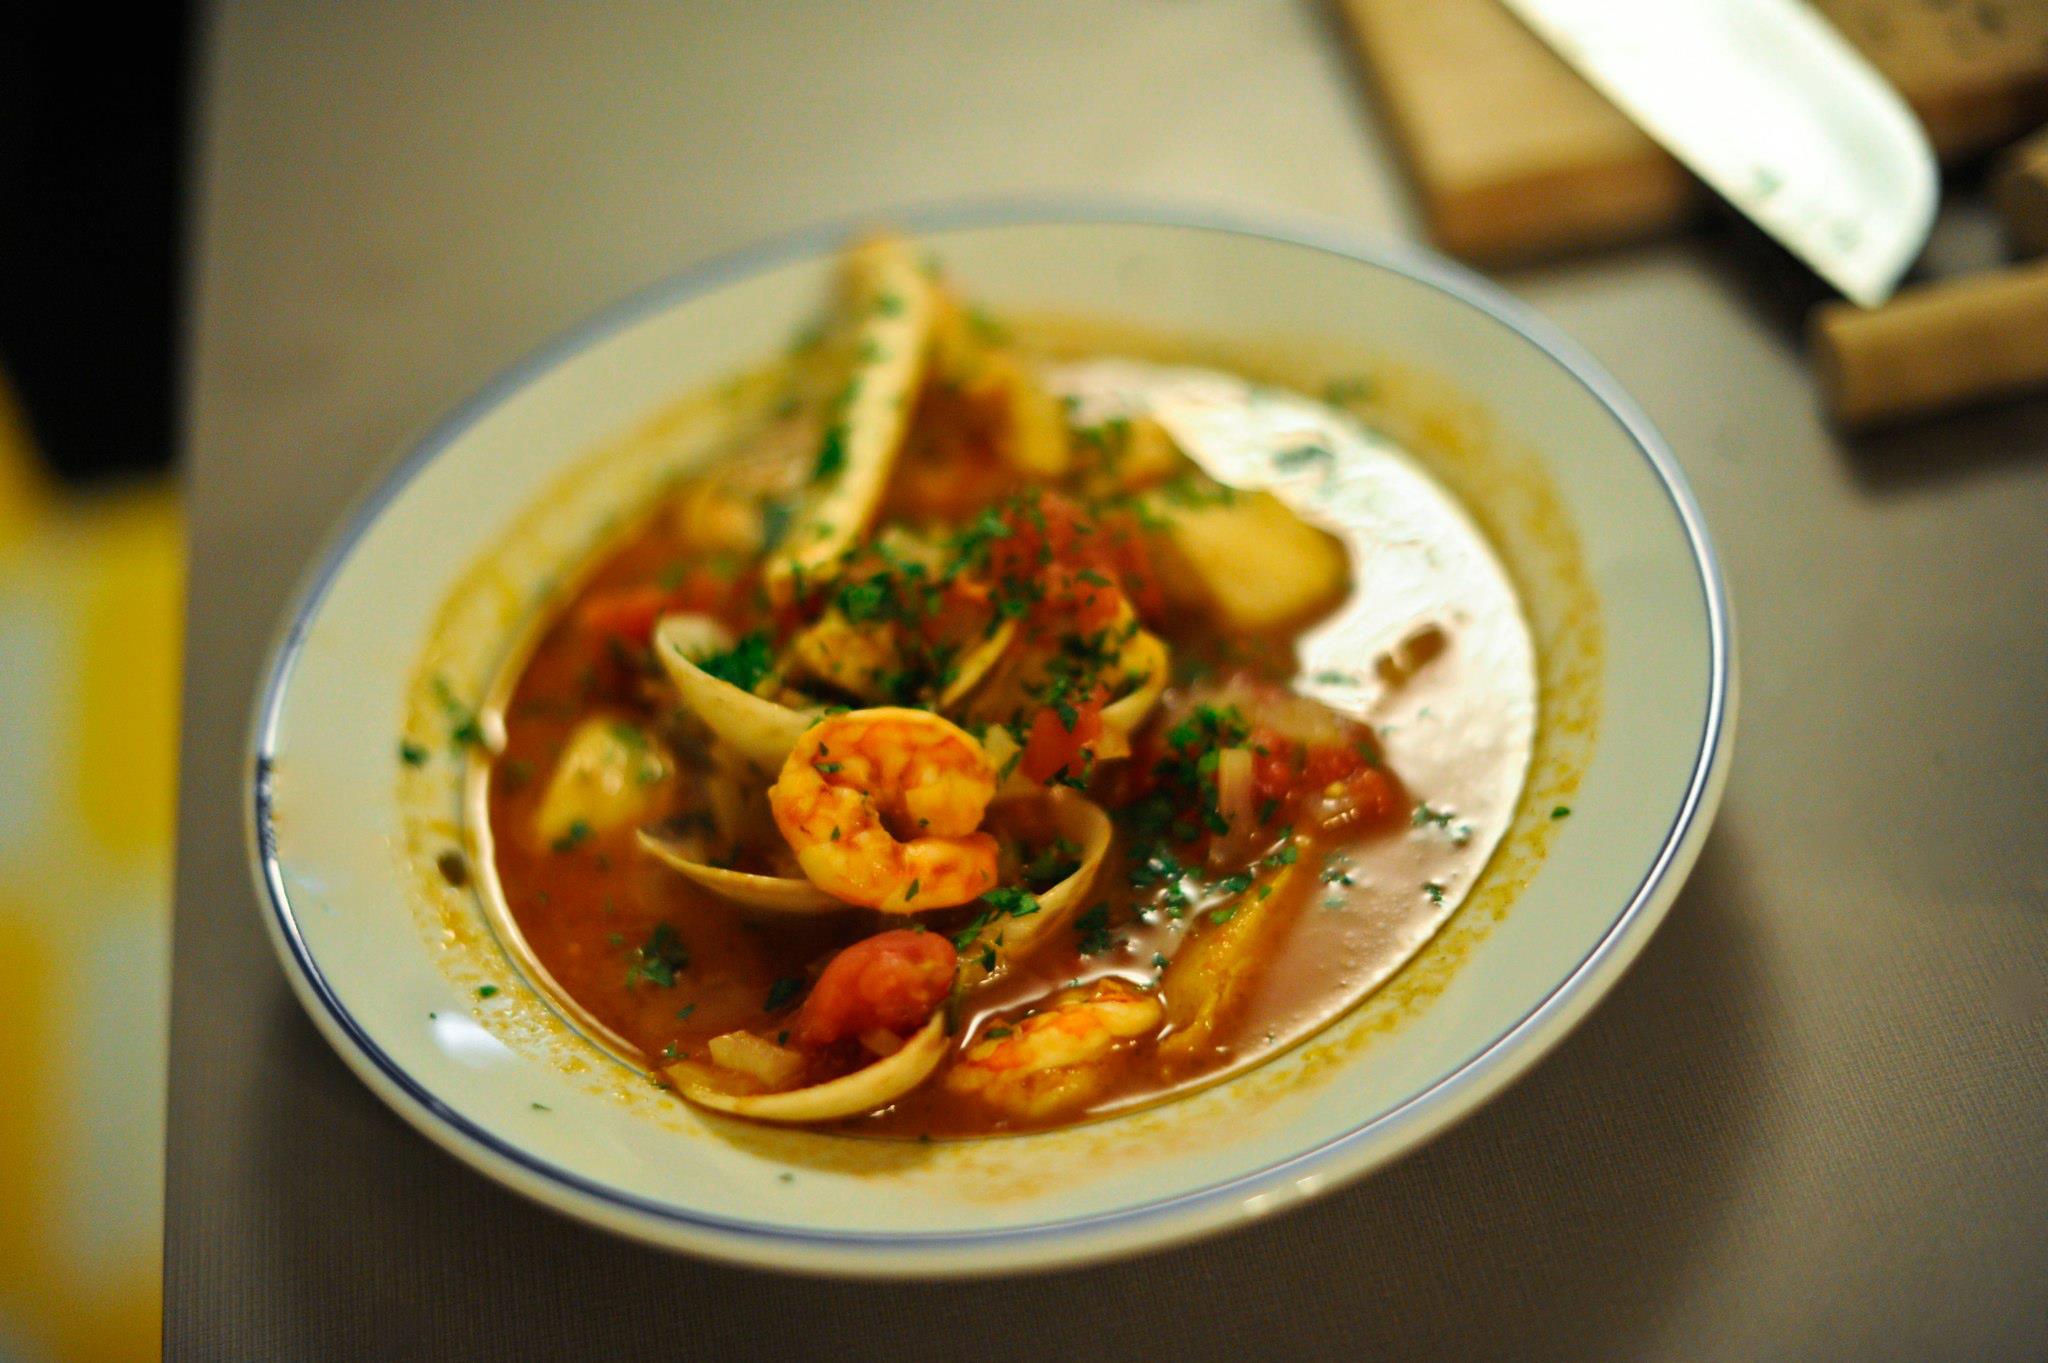
Bardot + Bouillabaisse = Bastille Day
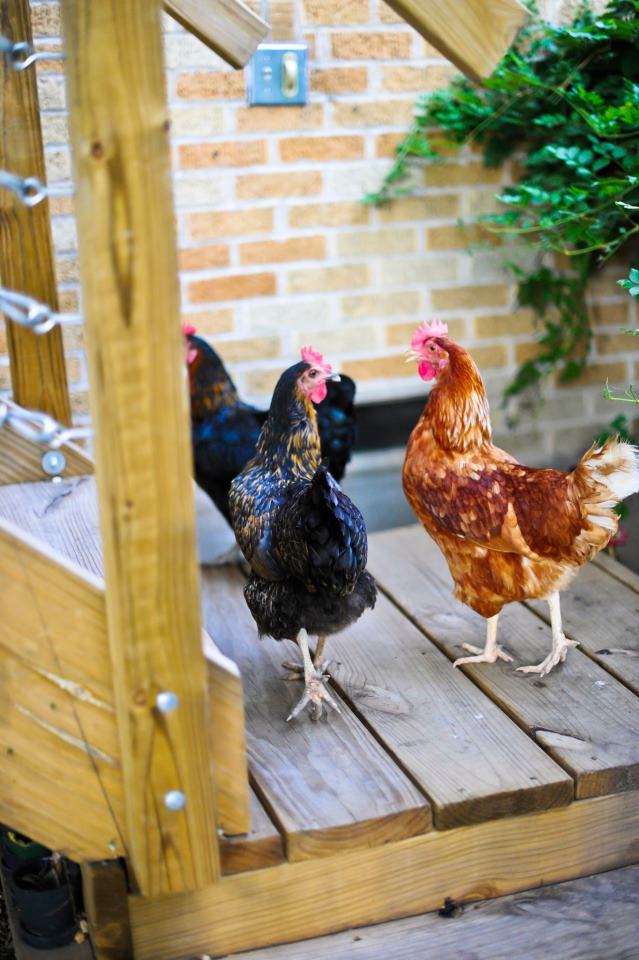
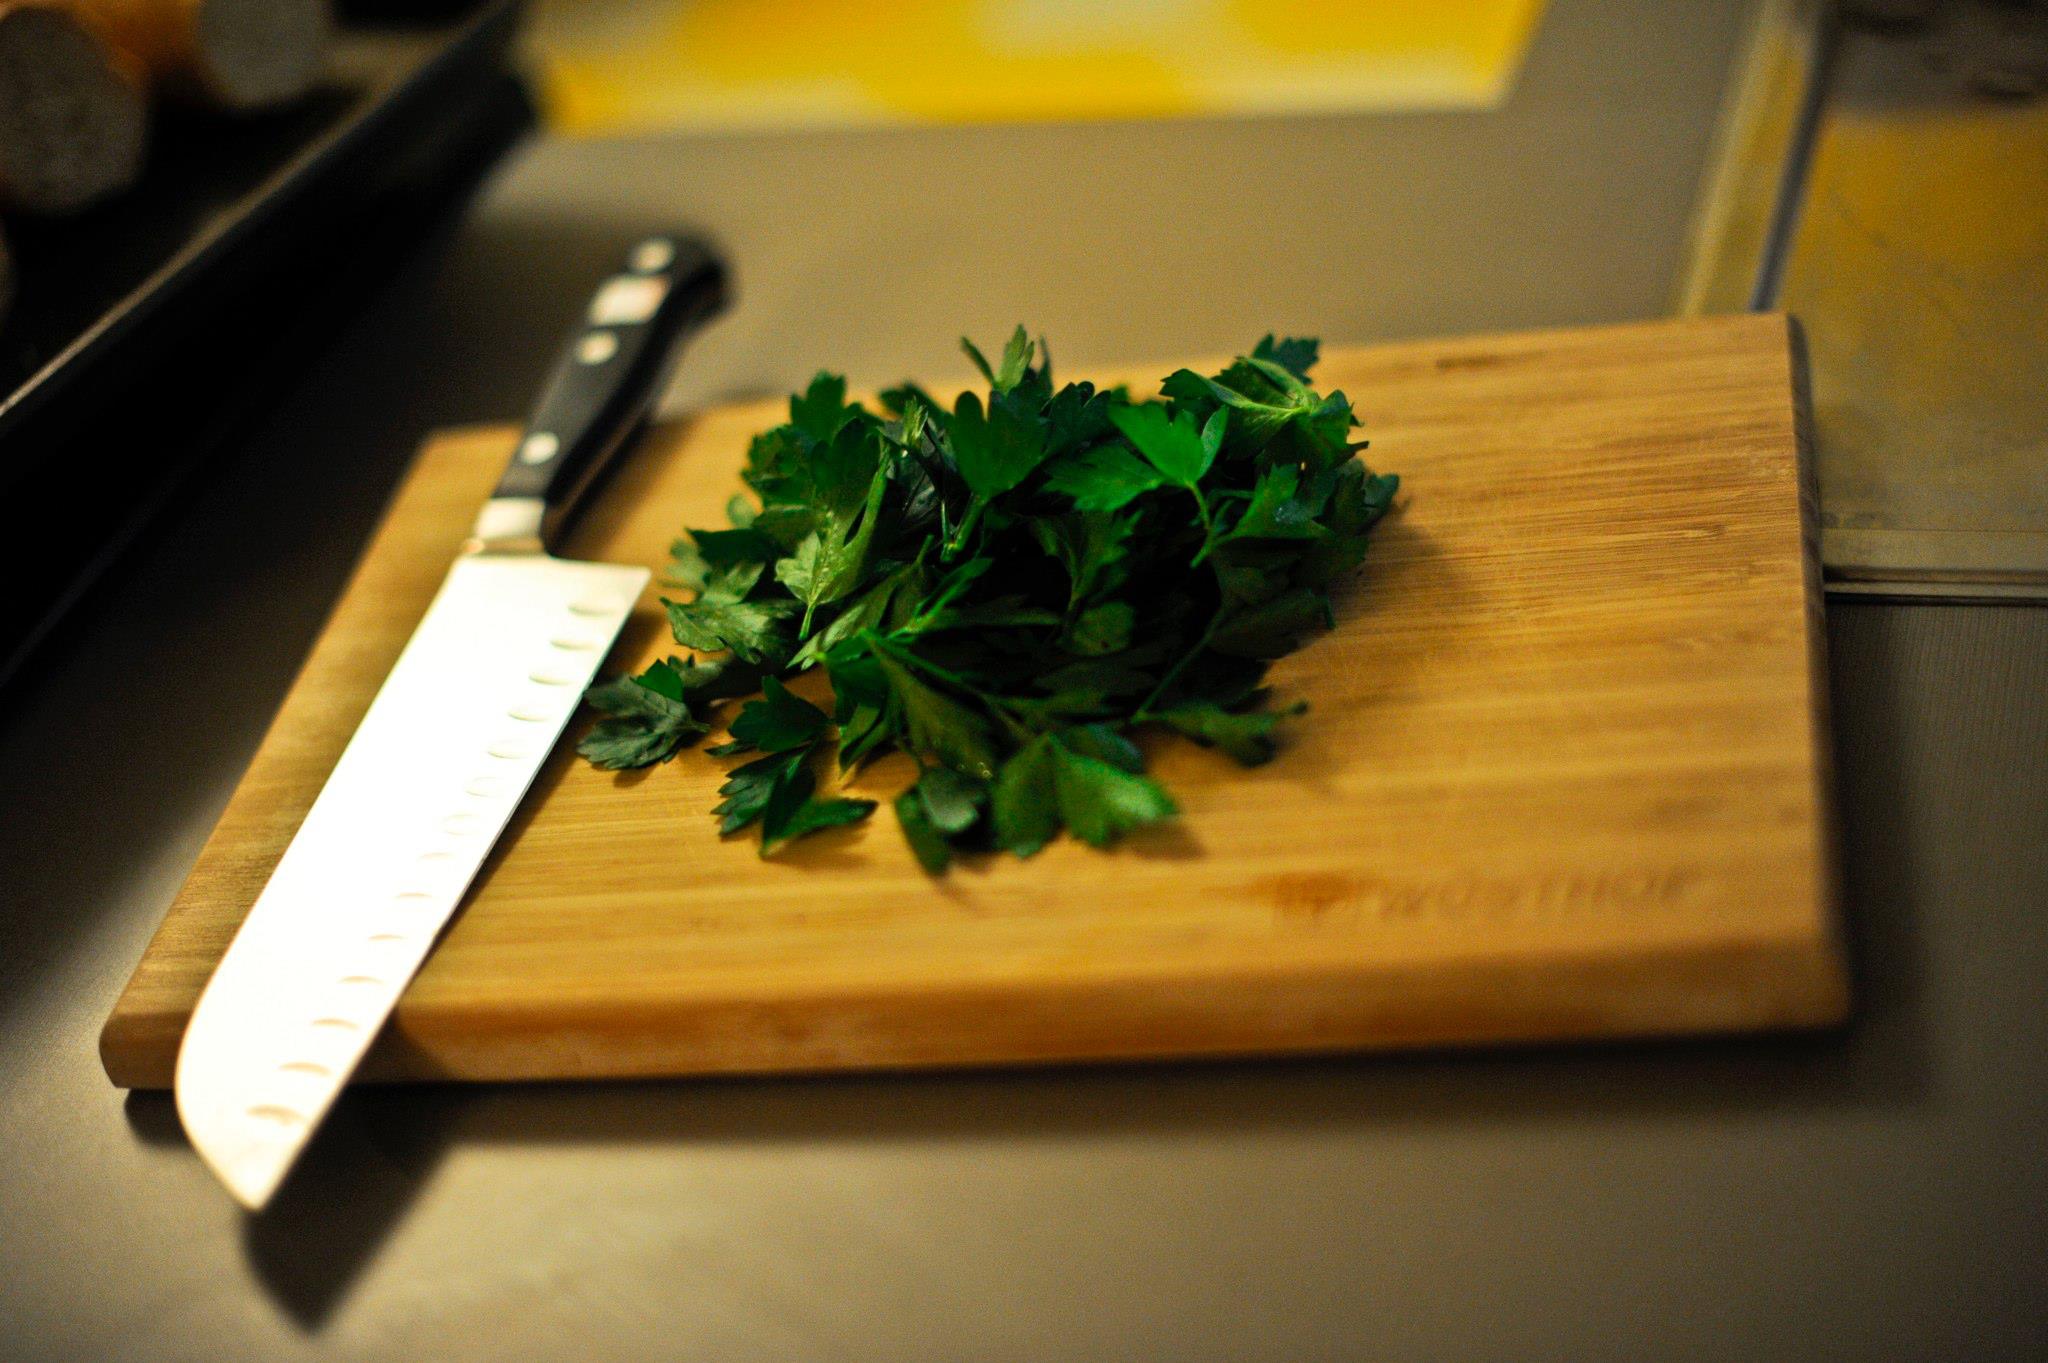
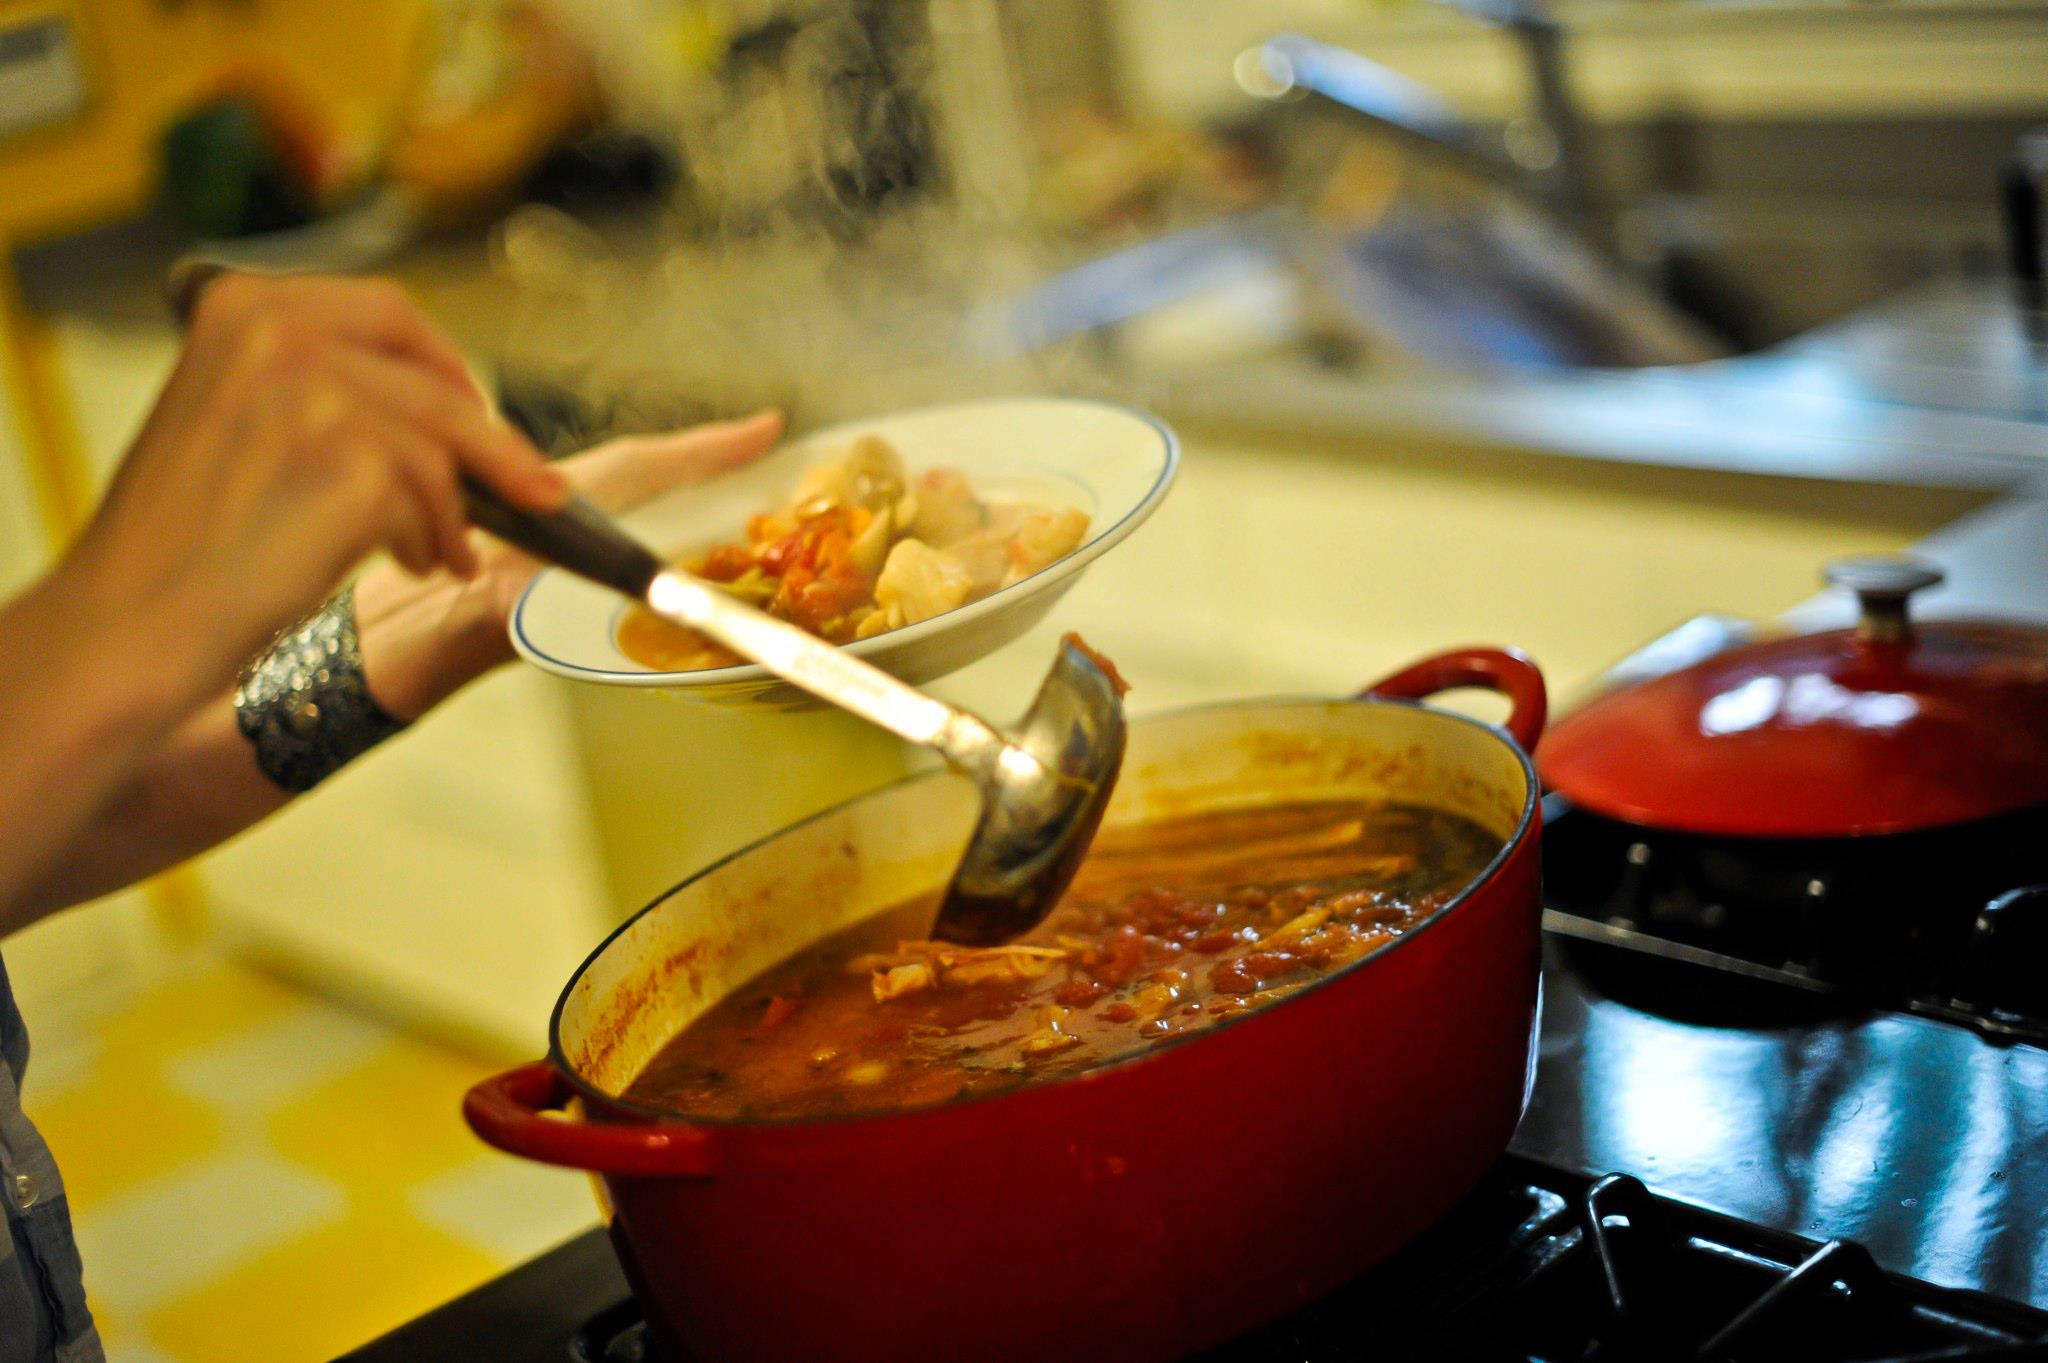
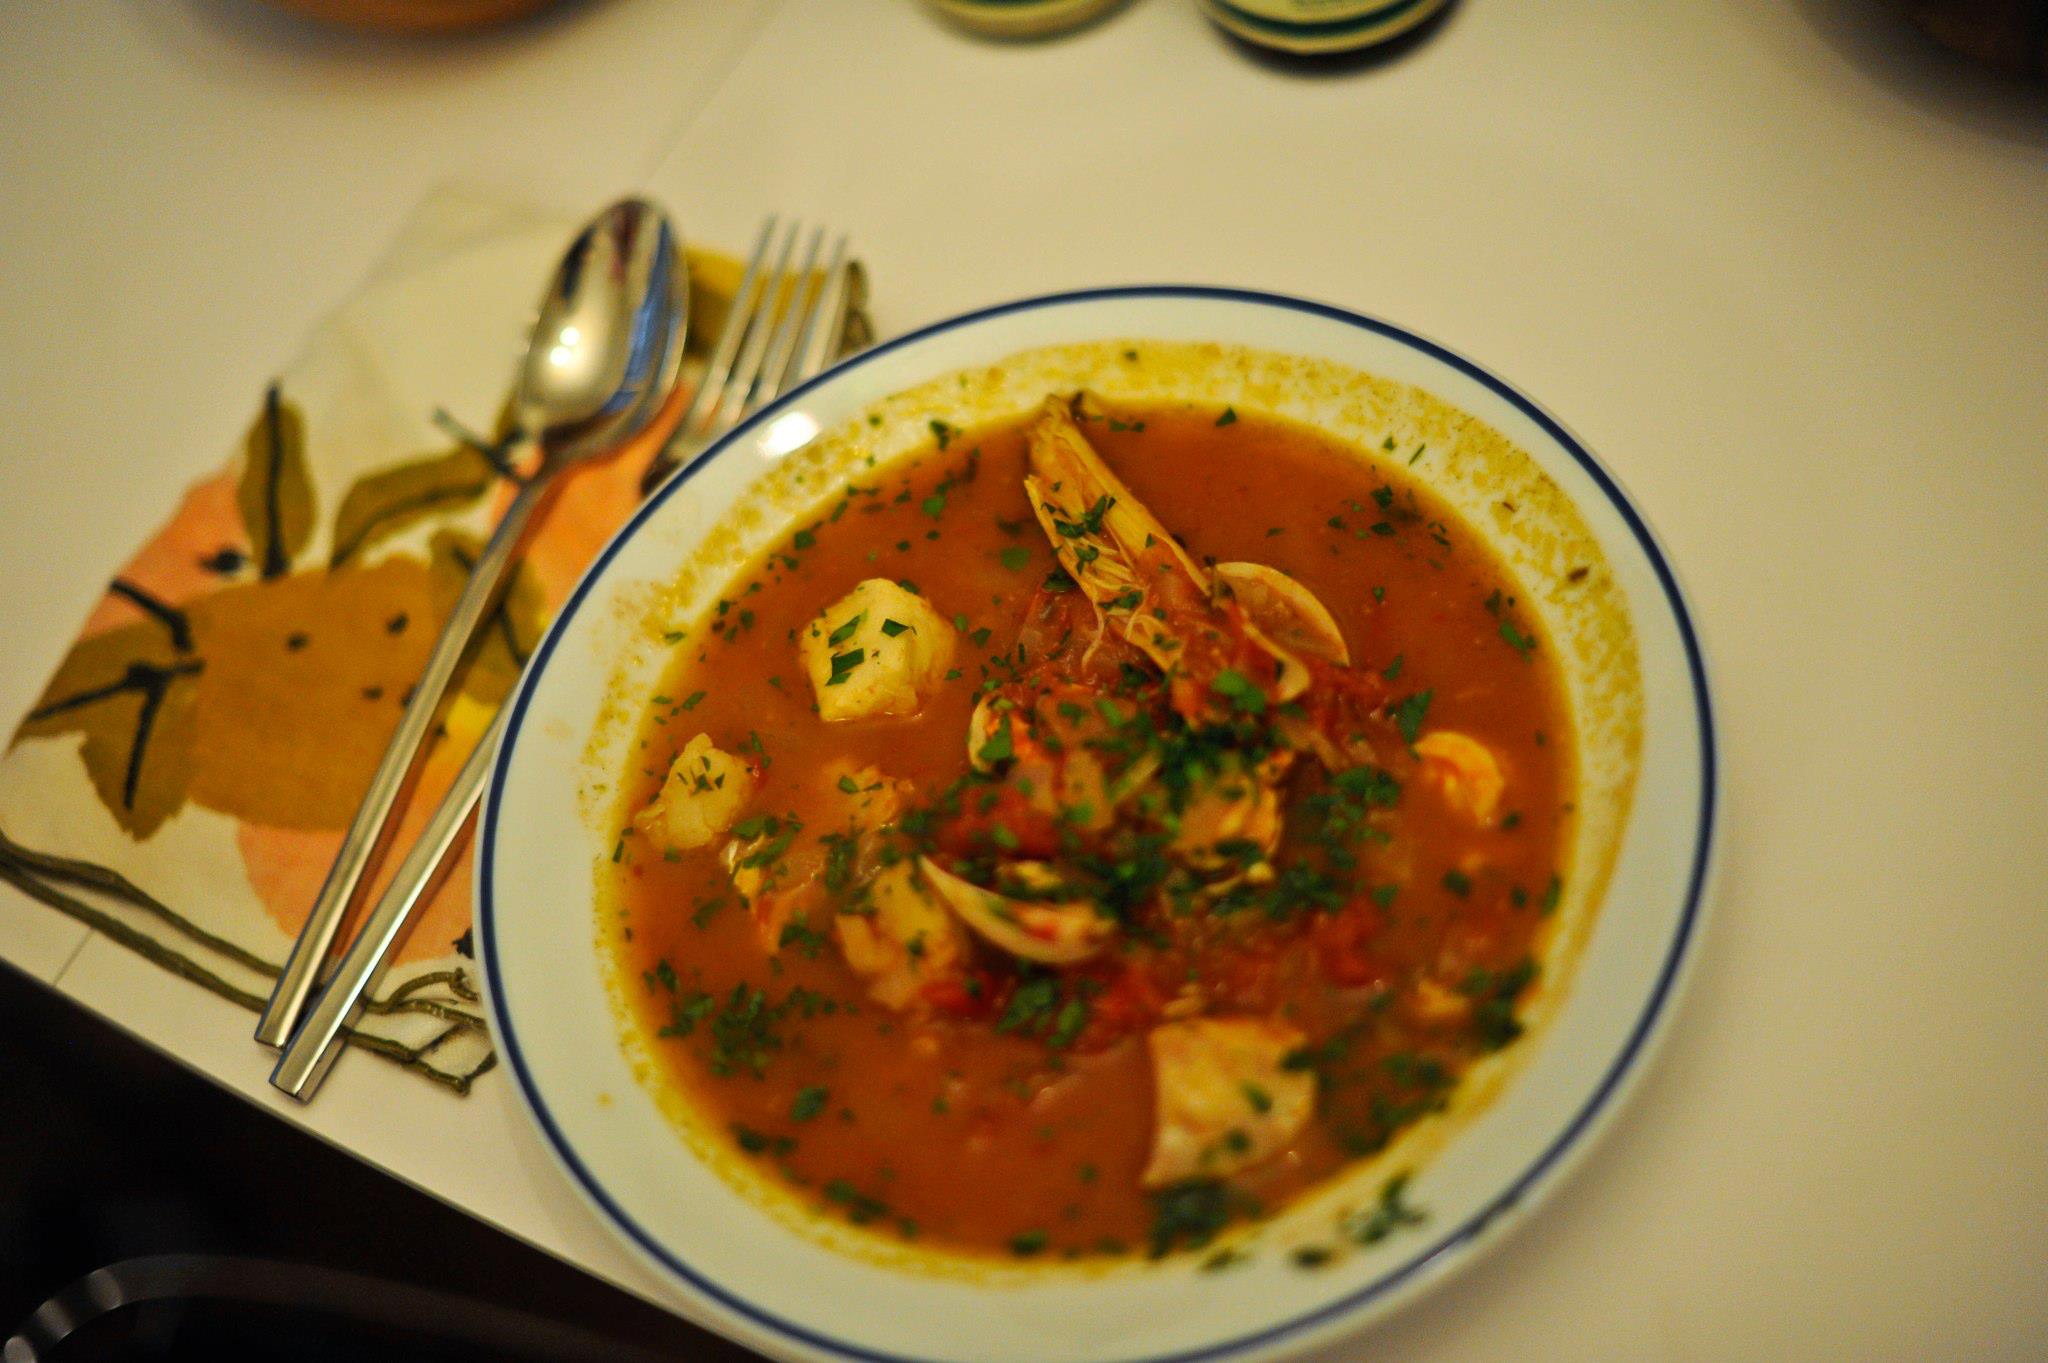
I love the Tour de France, the Rivera, and Champagne. Last Saturday was Bastille Day so we had an impromptu dinner party. It was super fun, and my wonderful friend Tamytha was there to capture it all. Here are some of my favorite snaps from the evening + my super easy take on Bouillabaisse.


[caption id="attachment_1240" align="aligncenter" width="490"] Nubi and Scott[/caption]


Nubi and Nik
Fiske Fish Stew (feeds 6 people)
Ingredients
1/4 cup butter
1 large onion, coarsely chopped
4 garlic cloves, minced
2 1/2 teaspoons fresh thyme
2 teaspoons dried oregano
1 teaspoon crushed red-pepper flakes
2 dried bay leafs
2 can (28 ounces) whole peeled tomatoes with juice, crushed
1 1/4 cups dry white wine
1 cup bottled clam juice
2 pounds shell-on king crab legs (or Dungeness crab legs), cut into 2-inch pieces (optional)
24 littleneck clams, scrubbed well
1 pound firm, skinless white fish fillets (such as red snapper, sea bass, or halibut), cut into bite-size pieces
Coarse salt and freshly ground pepper
1 1/4 pounds large shrimp (about 30), peeled and deveined, tails left on if desired
1/2 cup coarsely chopped fresh flat-leaf parsley
Directions
Heat butter in a large stockpot over medium heat. Cook onion and garlic until onion is translucent, 3 to 4 minutes. Stir in thyme, oregano, red-pepper flakes, and bay leaf.
Add crushed tomatoes and their juice, white wine, and clam juice; bring to a simmer.
Let this simmer for a little while.
Add crab and clams. Simmer, covered, until crab shells turn bright pink and clam shells open, about 10 minutes.
Season fish with salt and pepper. Add fish and shrimp to stockpot. Simmer, covered, until fish is opaque and shrimp are pink, 2 to 3 minutes.
Discard bay leafs and any unopened clams.
Remove pot from heat.
Stir in parsley.
Season with salt and pepper.
Williams-Sonoma wants you to have chickens!
Re-blogged from
Williams-Sonoma Launches Agrarian Line
| April 2, 2012 | By Amber Benham

Chicken coop (Photo courtesy of Williams-Sonoma)
At Edible nothing warms our hearts like somebody learning to grow their own tomatoes or make their own ricotta. We’re all about empowering home cooks to take control of their food, both where it comes from and how it’s made. So when Williams-Sonoma told us they’d be launching a new line this April to help customers take their food from seed to table, we couldn’t have been more pleased. The new line, Agrarian, will launch this Thursday, April 5th online and then on April 9th in a few stores across the country (none in New York just yet). We got a sneak peak at the products included in the new line and thought we’d share a few.

Shiitake Mushroom Log (Photo courtesy of Williams-Sonoma)
For home gardeners, or wannabe urban farmers, there are raised bed planters, heirloom seeds, live plants, slate garden markers from our own Brooklyn Slate and even chicken coops! Kitchen enthusiasts will love the home canning tools, DIY cheesemaking kits, and kombucha kits. Our personal fave? The shiitake mushroom log. It’s just so cute and boy, wouldn’t it be nice to pluck a few homegrown shiitakes off your window sill when you’re making dinner?

Raised beds (Photo courtesy of Williams-Sonoma)
“There’s a wide range of people who live in the suburbs or in the city who maybe aren’t growing their own herbs or food and here’s a way for them to get started,” said Shannon Gomes, public relations manager for Williams-Sonoma. “We’ve got a DIY cheese kit that only takes a gallon of milk and one hour and you’ll have your own mozzarella and ricotta cheese.”
In addition to the 275 products being featured in the new Agrarian line, for the past year or so Williams-Sonoma has been experimenting with something called “Artisan Market”–an initiative to highlight and bring local food purveyors into its stores. On the first Saturday of each month at six locations around the country, including our Columbus Circle store, local food and drink makers are invited to show off their goods. The selection of vendors changes quarterly, but some of the folks that have turned out so far include: Brooklyn Seeds, Brooklyn Slate, Kombucha Brooklyn, Brooklyn Brine, Early Bird Granola, Rough Confections, Saucy Sauce, Emily’s Homemade, One Girl Cookies, Dulce Nona, Crown Maple, and Kyotofu. The program has been a big hit so far, resulting in robust sales, according to Allison O’Connor, Williams-Sonoma’s vice president of merchandising. So far there are Artisan Markets in New York, Chicago, Atlanta, San Francisco, Austin and Portland, Oregon.